Friday, July 29

Country Album

I'm fortunate enough to live quite close to a Kaisercraft outlet store, where I recently found these books of paper and packets of collectables for just $5.00 each.  I don't generally go for these kinds of patterns, but felt it was about time to step out of my comfort zone and try something new, and given that I live in a semi-rural area,  I figured these were quite appropriate.


Here are a few photos of the finished album...


Thanks for stopping by!

Friday, July 22

New Release: A Light In The Darkness

I have an inspirational set to share with you today, that's all about letting our inner light shine.  The set contains five black and white line drawings as well as five full colour images and four matching sentiments.

A Light In The Darkness

A Light In The Darkness Digital Paper


Some inspiration from my designers...

Karin's Card

Petra's Creation

Three cards by AJ

Anesha's Card...

... and a fridge magnet, also by Anesha

Annie's Card

Carla's Card

Judy's Creation

Tuesday, July 19

Snag a Bargain!
It's time for another clean out here at Beccy's Place, and that means lots of bargains up for grabs!  The SALE bin is chocka-block full of old digis that will be discontinued in the next few months, but in the meantime, I've reduced the prices so you can grab your favourite images before they're gone.


Friday, July 8

New Release: Tippy

Tippy is a little mouse with a big smile!  Great for baby or children's cards, thank yous or just to cheer up a friend who's going through a difficult time.  The mini set comes with three sentiments, a black and white line drawing plus a full-colour image.

Tippy

Tippy Digital Papers


 Some inspiration from my fabulous designers

Judy's Card

Karin's Easel Card

Petra's Creation

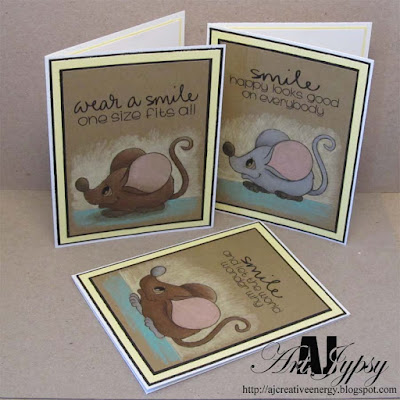
Three note cards from AJ

Two cards and a scrapbook page from Anesha

Two cards from Annie

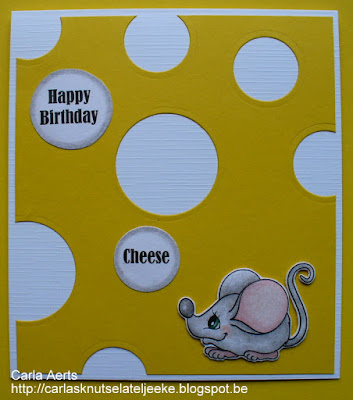
Carla's Creation

Wednesday, July 6

Tutorial - Tilt Cards


This style of card would be ideal for when you need a lot of space for a group of people to sign their names or add personal sentiments.   They fold out into a rectangle of card stock - as small or large as you like - and stand on a funky angle when placed up on display.  The best part about them is that they're pretty easy to make!


1.  Start with a rectangle of card stock.  It doesn't matter what size you use, but for the purpose of this tutorial I used a piece that measures 81/2" x 11".


2.  Score the card stock in half on both lengths so you end up with four equal sections.  Fold along the score lines and press the creases firmly with your bone folder.


3.  Now you need to score and fold a diagonal line that runs from the top left corner to the bottom right corner.  Fold it back and forth a couple of times along the score line to loosen the crease.


4.  The diagonal creases fold inward toward the centre of the card.  This takes a little bit of manoeuvring, but eventually you should be able to bring the two side creases together.  If you're having trouble with this step, try folding back and forth along the score lines a few times until everything folds together and you can flatten the card.


5.  To decorate the card, cut pieces of patterned paper for the sections shown below.  These sections will all be visible when the card is folded.


6.  Now you can add some stamps and embellishments to decorate the front of your card.  If you're feeling particularly ambitious, you can decorate all the other sections of the card and even add little hidden sentiments behind the different folds.  Have fun!