Showing posts with label masking. Show all posts

Tuesday, March 24

So Satisfying...

I've been doing a fair bit of masking lately, and I'm finding it super satisfying to peel away the paper to reveal the clean images underneath. It got me wondering about what other people find enjoyable while they craft. Is there something you find particularly appealing?


Products:

Wednesday, July 2

Tutorial - Pug Party


Today I want to show you, or perhaps remind you of, an old stamping technique that's making a bit of a comeback - masking. Whether it's with masking fluid, post-it-notes or low tack adhesive paper, the technique is versatile and relatively easy to do.


1. First, we need to create our mask. I'm using a large post-it-notebook that has a wide adhesive strip along the top edge. Choose something that's relatively low tack so you can remove it without tearing the cardstock.


2. Stamp your image making sure you include some of the adhesive section (if you're using a post-it-note). Use a pair of small, sharp scissors to cut around the image, directly over the stamped line. Cutting very close will ensure you don't end up with a gap (or halo) around your first image.


3. Stamp the front-most image on your cardstock. This is the dog that is sitting at the front of the completed picture.


4. Position the mask over the top of the stamped image. Line it up as perfectly as you can so that you don't end up with gaps or over stamping.


5. Stamp a second and third image on either side of the mask, reinking between impressions.


6. If you wish to position an image behind two others, you'll need to create another mask and layer it over the area you wish to protect. In my case, I want another pug to sit behind the first and third.


7. Carefully remove the mask from the dog on the right hand side and place it over the image on the left. Stamp again. Because the mask is relatively low-tack, you can use it over and over again.


8. Remove the masks and add some colour.


Products:

Wednesday, August 4

Tutorial - Masking


A great way to build a scene with traditional stamps is to use masking, a technique that involves covering a part of the image to prevent ink or other mediums from being laid down in particular areas. In the example below, I stamped the first sheep and then placed a mask over the top of the image so that I could add the two sheep in the background. Let me show you how...


Firstly, stamp the image that's going to be at the front or foreground of your scene. In my case, it's the little sheep who is laying down. Stamp the same image on a post it note or piece of adhesive masking paper and then fussy cut.


Unlike traditional fussy cutting where you want to retain the outline, when creating a mask you actually want to cut away the outer most line. This will allow you to stamp right up against the image without leaving a little white gap. As you can see in the photo below, I have trimmed away the stamped outline on my yellow mask.


Place the mask over the stamped image and then add the additional stamps in the background.


Remove the mask and you will have all three images layered perfectly and ready to colour. You can keep the mask and use it again for another project. It should last through quite a few uses providing it doesn't become too wet or damaged, and if you find the adhesive no longer sticks, you can simply refresh it with some repositionable glue.


Stamps:

Monday, June 14

Everything Papercraft - Masking

Masking, in paper craft, is a technique used to either produce a negative image or to protect an area of your project from the application of further mediums such as paint or ink. Paper crafters are able to purchase premade masks in a variety of shapes. They are usually made of plastic or strong card and have a tacky adhesive that holds them in place during use. The mask is semi-adhered to the paper surface and then ink or paint is applied directly over the top. The areas of paper not covered by the mask will pick up the colour, while the paper beneath the mask does not, thus leaving a negative image on the page once the mask is lifted. There are several other ways to mask an image, including the application of a liquid mask or applying a layer of paper or tape over part of a stamp before adding the ink, and then removing the layer before stamping.
Here are some useful tutorials:

Sunday, January 27

Masking On The Stamp


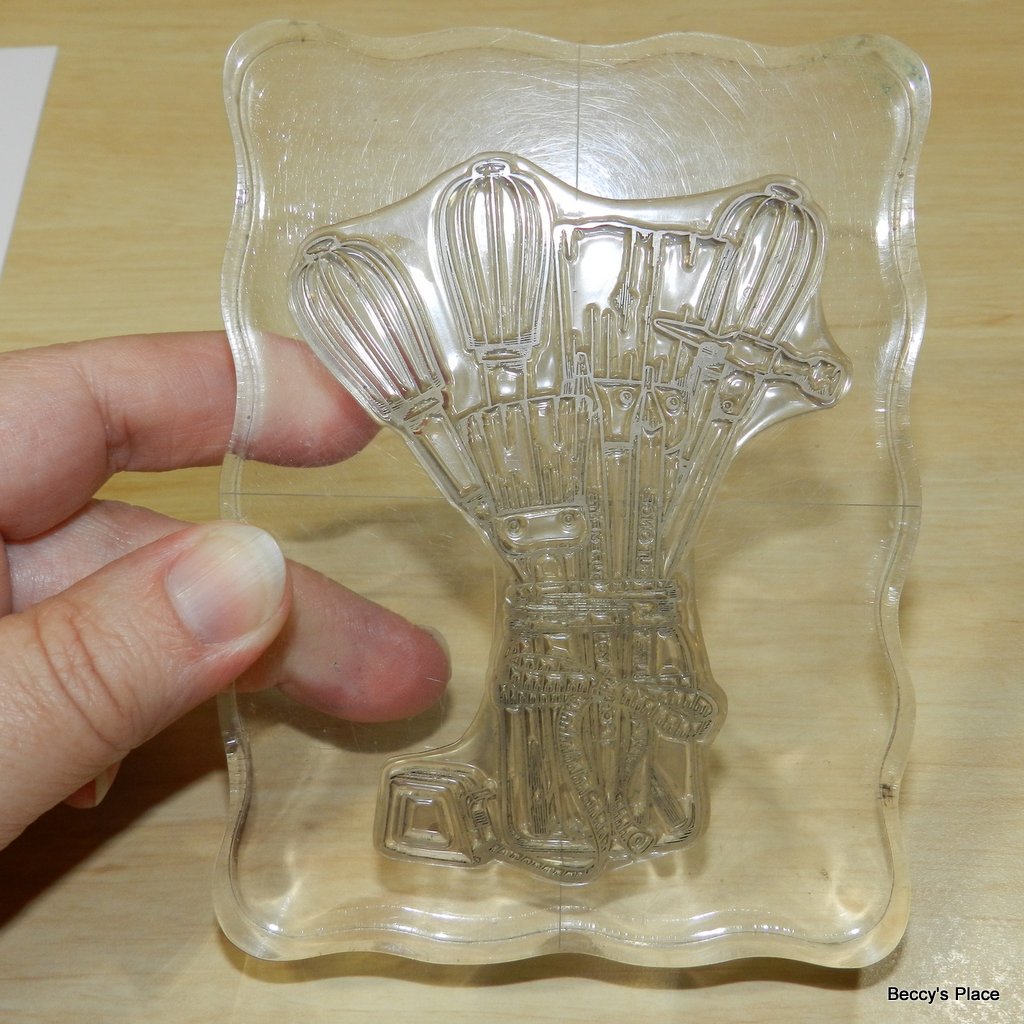
Today I want to share a quick and easy technique for masking parts of your stamp rather than masking your card. We're also going to create a fun, interactive card with a hidden message.


Today's tutorial is specific to the "Blooming Tools" stamp set I'm using. However, you can use the techniques with most other images as well, particularly the masking, which will work with any stamp.

1. Place the jar of tools stamp on a large acrylic block.


2. We only want the jar, not the tools sticking out the top, so we're going to mask off the section we don't need. Grab a piece of clear tape and place it as close as you can to the line at the top of the jar (see photo below).


3. Apply your ink to the lower half of the stamp. As you can see, any ink that goes above the area you want will end up on the tape effectively acting as a mask.


4. Remove the tape and discard immediately. Be aware that the ink on the tape will stay wet for quite a long time so take care not to get any on your work area.


5. Stamp the image as per usual. As you can see from the photo below, only the bottom section of the image is transferred.


6. Repeat the process, this time masking the bottom section of the stamp and only transferring the tools. Take care to CLEAN your stamp thoroughly between the two images or you may end up transferring more ink than you intended.


7. Once you've stamped the tools, draw two vertical pencil lines straight down your card stock. This will form the "tag" when you fussy cut this section.


8. Colour the two images.


9. Fussy cut around the tools. I always recommend starting with any inside pieces then moving on to the perimeter.


10. Cut around the tools and down either pencil line to form a tag. The uncoloured portion of mine is about 3/4" wide and 21/4" long.


11. Use a craft knife to cut a slit along the top of the jar. Remove a tiny amount of card stock by cutting a second line slightly above the first and pulling out the inside. The tag will slide better with this wider opening.


12. Stamp sentiments on the tag and on the card front as desired. I also added a border with black pen and a ruler.


FLIP THE CARD STOCK OVER


13. To prevent the tag from being completely removed from the card we're going to add a strip of card stock that is wider than our opening.


14. Secure a piece of card stock that is 11/4" long and 1/4" wide to the bottom of the tag with strong glue or double sided tape.


15. The card looked a little stark to me, so I added some paint spatters and a little more shadowing around the jar. It's much easier to add these details before the card is assembled, so try to figure that out a bit earlier than I did.


16. I used double sided foam tape to secure the card stock to my card blank. Be sure to keep any adhesives well clear of the tag and the area it slides through.


Photos and written instructions are copyright Beccy Muir.
All rights reserved.

Stamps: