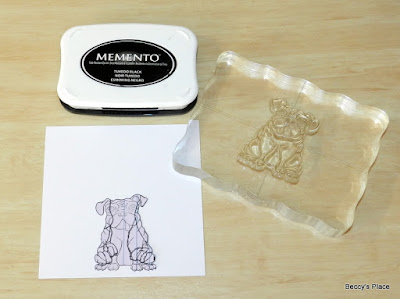
Today I want to show you, or perhaps remind you of, an old stamping technique that's making a bit of a comeback - masking. Whether it's with masking fluid, post-it-notes or low tack adhesive paper, the technique is versatile and relatively easy to do.
1. First, we need to create our mask. I'm using a large post-it-notebook that has a wide adhesive strip along the top edge. Choose something that's relatively low tack so you can remove it without tearing the cardstock.
2. Stamp your image making sure you include some of the adhesive section (if you're using a post-it-note). Use a pair of small, sharp scissors to cut around the image, directly over the stamped line. Cutting very close will ensure you don't end up with a gap (or halo) around your first image.
3. Stamp the front-most image on your cardstock. This is the dog that is sitting at the front of the completed picture.
4. Position the mask over the top of the stamped image. Line it up as perfectly as you can so that you don't end up with gaps or over stamping.
5. Stamp a second and third image on either side of the mask, reinking between impressions.
6. If you wish to position an image behind two others, you'll need to create another mask and layer it over the area you wish to protect. In my case, I want another pug to sit behind the first and third.
7. Carefully remove the mask from the dog on the right hand side and place it over the image on the left. Stamp again. Because the mask is relatively low-tack, you can use it over and over again.
8. Remove the masks and add some colour.
Products:


2 comments:
Ik vind dit héél erg leuk en wat heb je mooi gekleurd.
Cute card and great tutorial. Thank you.
Post a Comment