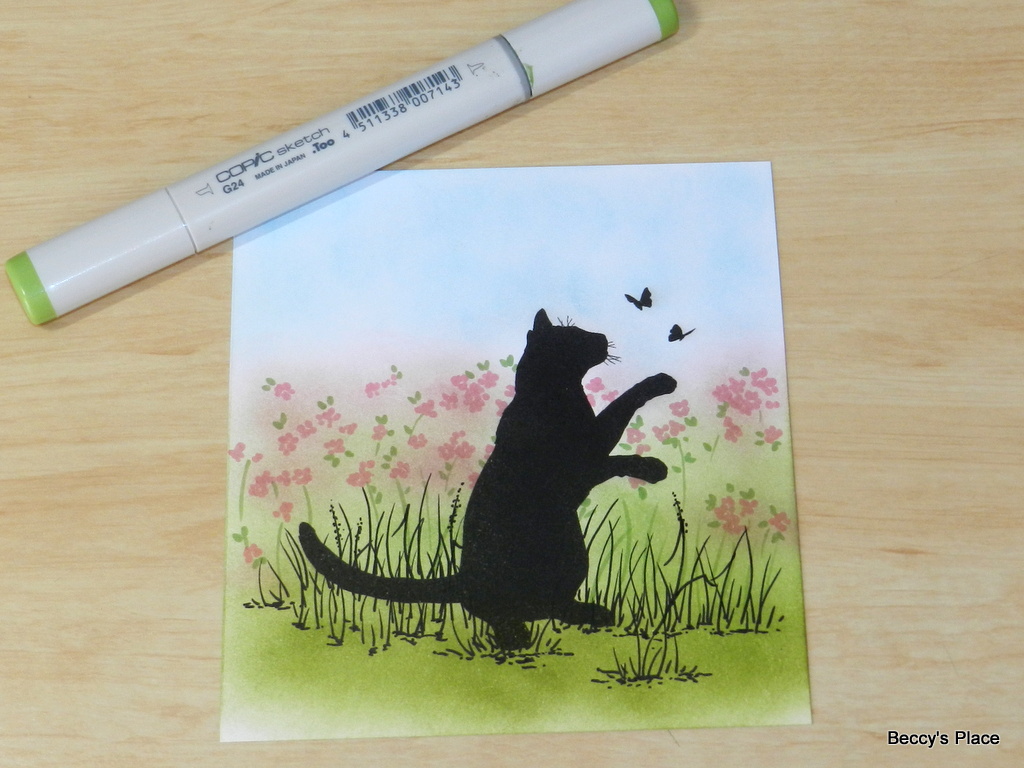
Today I want to show you how to create a simple background for your silhouette images by using a combination of water-based inks, alcohol markers and a fine line pen. Since the inks and markers have a different base - water vs. alcohol - they can be layered without smudging or bleeding together.
1. Start by selecting a few base colours to ink the background. I've chosen a couple of greens, a pretty pink and a light blue for the sky. You'll also need blending brushes or daubers, and, of course, a printed silhouette image.
2. Blend some of the darker green into the base of the image. Don't worry about making it smooth and consistent, a few blotches will add to the effect.
3. Now blend some of the brighter green above the first layer of colour. (If you don't have another green, just continue with your first colour)
4. Bring in some blue for the sky.
5. Add some patches of pink here and there. This will be the basis for your flowers.
6. Use a fine line pen to create long blades of grass. These are formed with simple, slightly curved strokes. Remember not to have them all facing in the same direction, and you also want to vary the length and placement. There's no need to fill in the entire area, just have little "patches" here and there.
7. At the base of each patch of grass, add some tiny, broken, horizontal lines and various sized dots to simulate soil and pebbles. This will also give the impression of little shadows.
8. Now "blob" in some flowers with a pink alcohol marker. Don't spend a lot of time trying to draw realistic petals... five or six blobs of colour in a loose circle is all you need, and there's no need to complete every circle. Bunch your flowers together, and again, vary the sizes, shapes and distances between flowers.
9. Add in some tiny leaves and a few thin stems with a green marker.
10. Add some more pen lines around your flowers, leaves and stems. Don't outline every flower and keep the lines broken and inconsistent.
11. Using warm grey tones, add in some shadows beneath the image and around the base of each patch of grass. Start with a dark grey and blend it down the page with a few lighter tones.
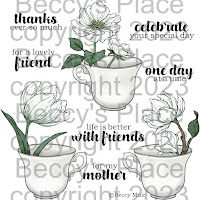
Digital Stamps: