Showing posts with label Gnomes in My Garden. Show all posts

Monday, November 20

Day 20 - "R"

Red is a fabulous colour to use for Christmas cards, especially when the image you're using isn't technically for Christmas, like this cute gnome. I also added a few stray snowflakes around his head, which are actually offcuts from a lovely border punch I have.


YOUR TURN: Create a card using the letter "R" as your prompt.
Click on the link to upload a photo of your creation:

INSPIRATION WORDS:
Reindeer, Rudolph, red, rejoice, reunion, rocker card, ribbons, rubber stamps, royal blue, ruby.

Digital Stamps:

Tuesday, November 8

Day 8 - "G"

Gnomes aren't traditionally associated with Christmas, but this little guy is too cute not to use on a holiday card. His big grey beard, pointy hat and long tunic definitely have a Christmas vibe.


YOUR TURN: Create a project using the letter "G" as your prompt.
Click the link below to upload your creation to the challenge:

INSPIRATION WORDS:
gifts, garland, gingerbread, green, gold, gamsol, gesso, gap card, gate fold card, gilding, gold leaf, glitter, glass, glossy accents.

Stamps:

Monday, November 8

Day 8 - "G"

There's nothing like a cute little gnome, decked out in his Christmas finery, to bring a smile to someone's face. The background has been embossed with a snowflake folder layered with small, punched snowflakes coated with a touch of Stickle Frosted Lace.

YOUR TURN: Create a project using the letter "G" as your prompt.
Click the link below to upload your creation to the challenge:

INSPIRATION WORDS:
gifts, garland, gingerbread, green, gold, gamsol, gesso, gap card, gate fold card, gilding, gold leaf, glitter, glass, glossy accents.

Stamps:

Thursday, November 19

Day 19 - "P"

Pop-up cards are lots of fun and can be made in several different ways. I've used a very simple mechanism to pop up my sentiment and image, made from a strip of card stock scored and folded in a couple of places. A quick Google search on pop-up cards will reveal a long list of ideas and tutorials.


YOUR TURN: Create a card or papercraft project using the letter "P" as your prompt.
Click on the link below to add a photo of your creation to the challenge:

INSPIRATION WORDS:
pudding, partridge, pears, presents, pine, pop-up cards, pyramid card, pocket card, pastels, purple, plum, paint, paper piecing, pleating, parchment, pearls, pencils, petals, photos, plaid

Stamps:

Tuesday, November 20

Day 20 - "R"

Where would Santa be without his helpers? Okay, so this guy is technically a gnome, not an elf... but I'm sure he'd still be very handy around the workshop. Plus he's all decked out in his fabulous red hat and tunic, perfect for tooling around the North Pole!


YOUR TURN: Create a card or paper craft project using the letter "R" as your prompt.
Click on the link below to upload a photo of your creation: 

INSPIRATION WORDS:
Reindeer, Rudolph, red, rejoice, reunion, rocker card, ribbons, rubber stamps, royal blue, ruby.

Saturday, September 2

Tutorial: Stippled Shadows

Last month I shared some photos of a colouring project I was working on that included areas of stippled shadow. I was asked by Kathy, one of my readers, to put together a little tutorial to explain how it's done.


1. You'll need a coloured image and some graded markers. I like to use either warm or cool greys for my shadows, but other colours work too. And although I'm using copic markers, this technique will work with other pens and mediums as well.


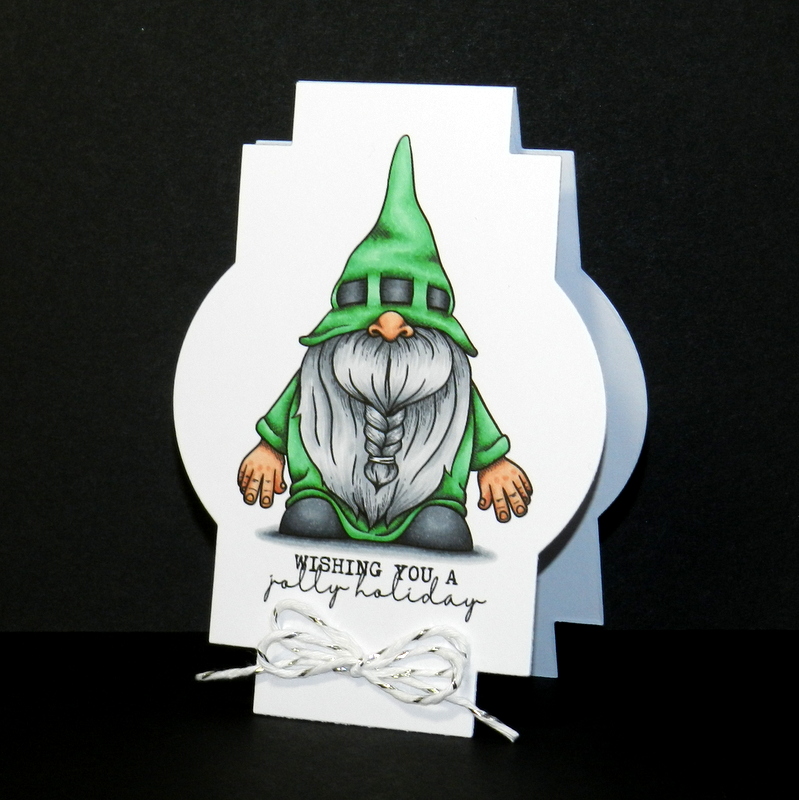
2. Apply dots of the darkest colour to the deepest area of shadow. In my case, that's below the body of the gnome and under his feet. Notice that my dots vary in size. Keep them larger and closer together in the main shadow section and a little smaller and further apart as you move outwards.


3. Use the next lightest marker to colour over the dark dots. Colour in small circles but don't overwork the area as you don't want to lose the dots you initially placed.


4. Using the same marker, add dots around the edge of the coloured area. Again, keep the dots larger and closer together when you're near the darker areas and smaller and further apart as your work outward.


5. Repeat step 3 and 4 with your lightest marker, remembering to vary the size of the dots. If you wish, you can use the blending pen (0), to gently fade the edges of your shadows if you feel they are too harsh.


Done! If you want shadows all around an image, like I did with the floral colouring from last month, simply use the same technique keeping the darkest dots in the deepest shadow areas where there is lots of shade, such as between and under flowers and leaves. As always, practice makes perfect, so drag out those pens and set to work!