Showing posts with label gnomes. Show all posts

Monday, November 20

Day 20 - "R"

Red is a fabulous colour to use for Christmas cards, especially when the image you're using isn't technically for Christmas, like this cute gnome. I also added a few stray snowflakes around his head, which are actually offcuts from a lovely border punch I have.


YOUR TURN: Create a card using the letter "R" as your prompt.
Click on the link to upload a photo of your creation:

INSPIRATION WORDS:
Reindeer, Rudolph, red, rejoice, reunion, rocker card, ribbons, rubber stamps, royal blue, ruby.

Digital Stamps:

Tuesday, November 8

Day 8 - "G"

Gnomes aren't traditionally associated with Christmas, but this little guy is too cute not to use on a holiday card. His big grey beard, pointy hat and long tunic definitely have a Christmas vibe.


YOUR TURN: Create a project using the letter "G" as your prompt.
Click the link below to upload your creation to the challenge:

INSPIRATION WORDS:
gifts, garland, gingerbread, green, gold, gamsol, gesso, gap card, gate fold card, gilding, gold leaf, glitter, glass, glossy accents.

Stamps:

Thursday, September 15

Tutorial - Die Cut Edge Cards


As the name implies, Die Cut Edge cards are decorated with a stamped and die cut edge, although the technique can also be done with a pair of sharp scissors and a steady hand. These cards can be created in any size and shape you like, and the decorative edge can be at the top, bottom or side depending on the look you're going for.


1. Start with a card blank. It can be any size and any orientation. I'm using a piece of A5 sized cardstock with a top fold for one of the cards I'm creating, and an A5 with a side fold for the second card.


2. Stamp the image in whatever position you desire. For the card below, I'm going to cut away the bottom of the card so that the gnome's legs and feet protrude over the edge, which is why I've stamped him in the bottom corner. 


3. Position the die around the image and secure in place with some low-tack tape.


4. Place the card and cutting die on top of the cutting plate. Position the top plate so that the edge of the plate reaches the place you wish to cut to. The area under the plate will cut, but the area not covered by the top plate will not. (See the images below)


5. Use a craft knife and ruler to remove the excess cardstock from the bottom of your card, and you have completed the base of your Die Cut Edge card.


6. If you don't have a matching die for your image it's possible to use a pair of scissors to get the same result. Stamp the image in the location you desire. Measure and mark how much of the cardstock you wish to remove from around the image. In this case, I'm going to cut a curvy line to give the impression the gnome is walking up and down a hillside. I've used a pencil to mark a cutting line.


7. Cut along the line until you reach the edge of the image. Fussy cut around the image until you arrive back at the line you marked earlier, then continue cutting until you reach the fold of the card.


8. Cut along the card fold and remove the top portion. Your card base is done!


9. Stamp a sentiment and colour the image as desired. I'm also going to add a piece of patterned paper on the inside of each card to contrast with the image and highlight the shaped edge.


Products:

Friday, November 19

Day 19 - "Q"

I have this fabulous embossing folder in my collection that adds a wonderful quilted texture to my card stock. To really emphasise the design, I added some clear versamark ink to one side of the folder, embossed on a piece of kraft card stock, and then heat set white embossing powder over the pattern.


YOUR TURN: Create a card or papercraft project using the letter "Q" as your prompt.
Click on the link below to add a photo of your creation to the challenge:

INSPIRATION WORDS:
quilt, quilted paper, quote, quilling, quill, quiet, quarter fold card, quatro fold, quartz

Stamps:

Monday, November 8

Day 8 - "G"

There's nothing like a cute little gnome, decked out in his Christmas finery, to bring a smile to someone's face. The background has been embossed with a snowflake folder layered with small, punched snowflakes coated with a touch of Stickle Frosted Lace.

YOUR TURN: Create a project using the letter "G" as your prompt.
Click the link below to upload your creation to the challenge:

INSPIRATION WORDS:
gifts, garland, gingerbread, green, gold, gamsol, gesso, gap card, gate fold card, gilding, gold leaf, glitter, glass, glossy accents.

Stamps:

Tuesday, June 22

Kathy's Creations


Check out this fabulously creative card from the very clever Kathy Asper. She has used the sentiments from the Gnome Style set to create a fabulous, bright background for her card... the perfect backdrop for Halvar and his arm load of gifts. She has also decorated the inside of the card with a sentiment and a fabulous candle. Check out that decoration!


Kathy also made a cute little gift tag with a perfectly coloured image of Bjorn. For more of Kathy's cards and projects, click on the link at the bottom of this post to head over to her personal blog.


Sunday, June 20

Tutorial - Multi-Panel Accordion Cards


I have an awesome card fold to share with you today - not too difficult, and it looks spectacular when standing up on display. Although it does take a lot of card stock, it would be fantastic for a special occasion or for an event where lots of people wish to sign their name. 


TEMPLATES

1. Start by trimming your card stock to size. You'll need a 12" x 51/2" piece for the card base plus an extra 41/2" x 51/2" piece to extend the base. You'll also need an 81/2" x 31/4" piece and a 9" x 31/4" piece for the insert.


2. Time to score everything. Place the 12" x 51/2" piece horizontally on your score board and score at 4" and 8". Fold along the score lines starting with a valley fold then a mountain fold.


3. Place the 41/2" x 51/2" piece of card stock vertically on your score board and score at 4". This will leave you with a 1/2" tab on one side.

4. Place the 81/2" x 31/4" piece of card stock horizontally on the score board and score at 23/4" and 51/2".

5. Place the 9" x 31/4" piece of card stock horizontally on the score board and score at 23/4", 51/2" and 81/2". Fold along all the score lines.


6. Apply glue or double sided tape to the 1/2" tab on the 41/2" x 51/2" piece of card stock. Secure it to the right-hand side of the 12" x 51/2" piece, keeping the tab to the back of the card. Your card base should resemble the letter "M" when viewed from above. Set aside to dry.


7. Apply glue or double sided tape to the 1/2" tab on the 9" x 31/4" piece of card stock and secure it to the right hand side of the 81/2" x 31/4" piece of card stock.
IMPORTANT NOTE:
The 81/2" x 31/4" piece of card stock has been divided into three panels by the score lines you added earlier. The panels measure 23/4", 23/4" and 3" in width from left to right. Make sure you are joining the tab to the 3" section. When you fold the insert along the score lines, you should notice that middle section is 1/4" longer than the other two sections. See the photos below.


8. Your card stock should now look like the photo below. The taller piece is the card base and the narrower piece is the insert.


9. Choose a set of rectangular nesting dies to cut the windows from the card base. The dies need to be tall enough for the insert to fit comfortably inside (see photo below). They should be wide enough to leave a minimum of 1/2" on either side of the panel.
If you don't have dies, it's perfectly okay to use a trimmer or craft knife to cut windows in the base, keeping all four cuts at least 1/2" from the sides of the panel.


10. Your insert should fit through both windows with plenty of room to spare.


11. Time to decorate! For the insert, you'll need four pieces of patterned paper measuring 21/2" x 3" and two pieces measuring 23/4" x 3". For the card base, you'll need five pieces of patterned paper measuring 33/4" x 51/4", which includes one piece for the card front.


12. Cut a window in two of the 33/4" x 51/4" pieces of card stock to form frames for the card base. This is where the nesting dies really come in handy as you can use the next size up from the one you used on the card base.


13. Use glue or double sided tape to secure all the patterned paper to the card base and the insert. You may prefer to leave one of the panels on the insert blank for a message or stamped sentiment.


14. Add your embellishments and sentiments, keeping everything relatively flat so it doesn't add too much bulk to the finished project.


15. Once your insert is decorated, thread it through the two windows as shown in the photos below.


16. Apply adhesive to the back of the first panel of your insert and secure it to the card base, about 1/2" from the outside edge. Repeat for the last panel of the insert.


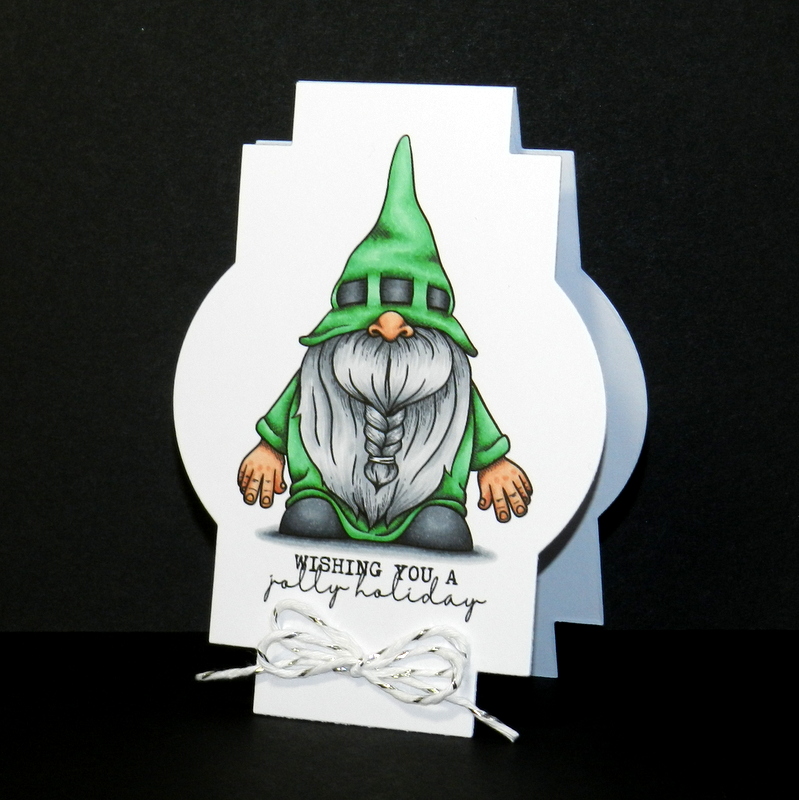
17. Since the card is very bulky, it will not stay closed without a little help. I found the simplest solution was to create a belly band from a 11/2" wide strip of card stock and some embellishments.


18. Wrap the card stock around the centre of the card, leaving a small overlap. Secure into a loop with glue or double sided tape. Decorate with a strip of patterned paper, images, stamps and sentiments.


NOTE: I adapted these instructions to remove the ribbon closure that was included in all the other examples I could find of this card, and replaced it with a simple belly band. If you'd prefer the ribbon closure, just do a google search for "multi-panel accordion cards" and you'll find lots of great tutorials.


Products: