Showing posts with label alcohol ink. Show all posts

Friday, June 20

Alcohol Inks

Long ago, during my painting days, there was a trend to create washy, acrylic backgrounds with navy blues, browns, pinks and purples and then layer pretty roses over the top. I decided to revisit some of those colours but with my alcohol markers and some blending card. I have to admit, it's nothing at all like the paintings, but I still love the effect!


Products:

Saturday, April 4

Tutorial - Saturating the Ink


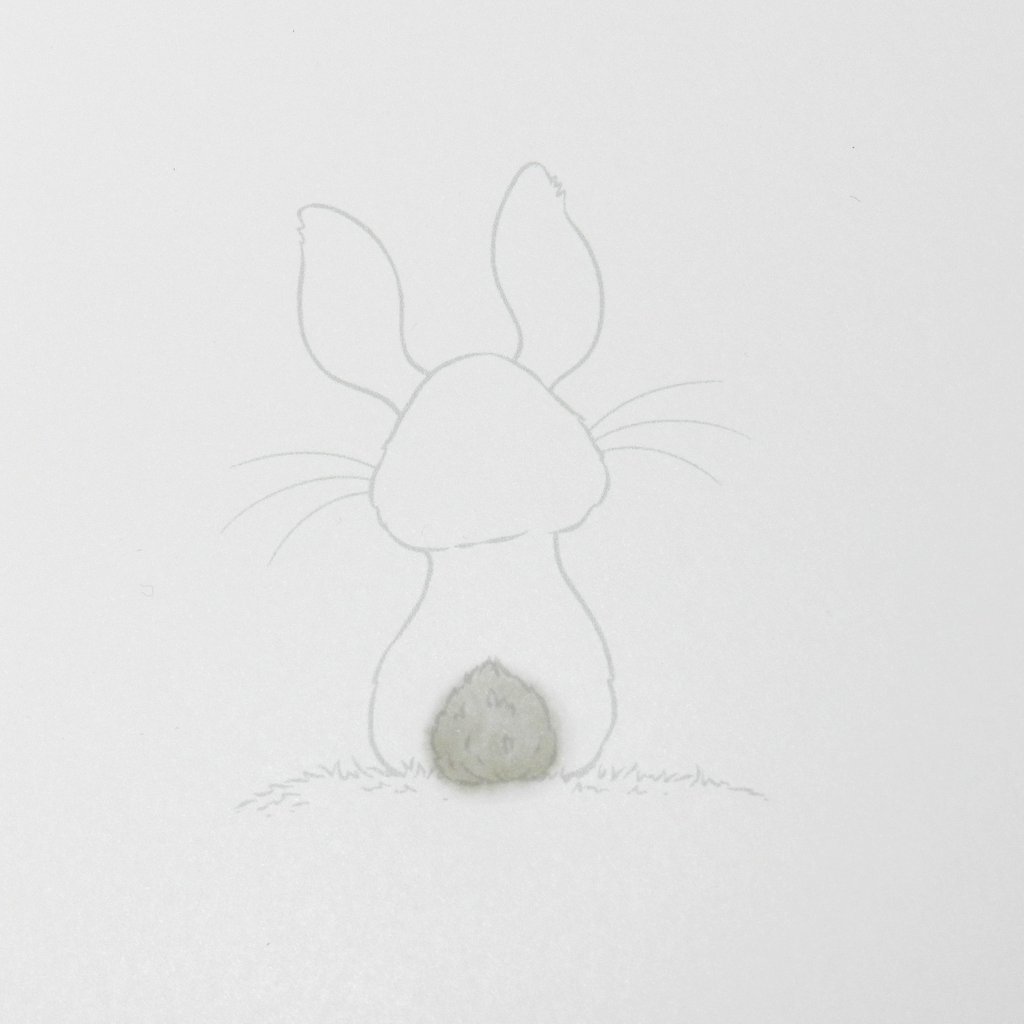
One of the very first things I learned about alcohol markers was not to overwork the image, which, of course, meant that it's one of the very first things I did (what's the worst that could happen, right?) It's true that the ink becomes mottled and splotchy with no way to correct it. But...


... it makes fabulous fluffy bunnies!!


For the best results, print or stamp your image with a very light colour. A heavy black outline will camouflage a lot of the effect that we looking to achieve with this technique.


Soak a small area of your image with the 0 blending pen, and while it's wet, add your colour. Don't wait for anything to dry between layers, just keep adding the ink. It won't take long before you start to notice a "halo" form around the area you're colouring. This is the ink starting to bleed outward.


Work in small stages so that the ink doesn't have time to dry. Add lots of ink to each layer, working light colours into dark until the pigment starts to become mottled and you end up with a splotchy look.


Once the ink dries, you'll notice the edges are fuzzy from where the ink has bled outward... and you've now got a lovely fluffy bunny!


Stamps:

Thursday, February 13

Mottled Background

To get a fabulous mottled background for your images, you must do what we've always been advised against... over blend your alcohol markers! Adding lots of light colour over a considerably darker shade will unevenly break up the pigment rather than leaving a nice blend. You can achieve the look with a clear blender pen too.


Stamps:


Saturday, February 8

Blue Blossoms

Monochromatic colouring is a great way to practice adding shadows and highlights to add shape to an image. Not worrying about the true colours of objects and just sitting and using a favourite colour is a pleasant way to spend an afternoon... plus you can end up with some great results!


I stamped a selection of flowers from the Cherry Blossom set onto blending card and coloured them with alcohol markers. I wanted a monochromatic look and decided that a nice calming blue would be a lovely change.


I used the matching dies to cut out the various flowers and then built my card up in sections. Some of the flowers I adhered directly to the card base so they were flat, while others were built up with a layer or two of foam tape to vary the heights and give more depth to the image.


Stamps and Dies:


Saturday, January 4

Alcohol Ink Background

My watery, bubbly background was created by dripping different shades of blue alcohol ink onto glossy card. A quick spritz of isopropyl alcohol or blending solution before the colour is applied allows the ink to move around a little more freely. I heat embossed the goldfish onto a piece of translucent paper, similar in look to vellum, then die cut around each one.


Stamps & Dies:
  

Sunday, December 29

Happy Hour

To make the background for this card, I started by colouring with very light-coloured alcohol markers in patches around the uncoloured image. The splotchy effect is cause by dripping blending solution straight from the bottle onto the coloured card. 


Stamps:

Friday, June 21

Alcohol Lift

I love alcohol lift ink, not only is it a cool and arty technique, but you also end up with two images for the effort of one!

I started with the card on the right, which has an alcohol ink background on glossy, synthetic card. The lift ink was applied to the large, solid stamp from the eucalyptus set, and stamped over the alcohol ink background. The lift ink activates the alcohol ink, allowing it to be picked up by the stamp and transferred to a second piece of card stock, which is the card on the left.


Stamps:
Eucalyptus
clear stamps

Wednesday, August 15

Alcohol Inks


Alcohol ink is so named because the dye is suspended in an alcohol solution making it fast drying and suitable for various surfaces including non-porous items like glass. Generally speaking, alcohol ink is purchased in liquid form contained in small bottles or pens. It can be applied in a number of ways, including brushes, direct application, daubers or felt pads. What many people don’t realise is that it is quite easy to make your own alcohol ink at home with a couple of basic ingredients.

Here’s a recipe:
In a small, clean screw top jar, mix ½ cup of isopropyl alcohol to every two teaspoons of liquid Rit dye. Add more dye as necessary to create a deeper colour, but keep in mind that a little goes a long way. Shake well, making sure the two liquids combine properly before use. Apply using your favourite method.


Wednesday, November 1

Day 1 - "A"

For the first day of our challenge we're going to start at the very beginning... a very good place to start. You can use any "A" word as inspiration for your project, from techniques to card folds, colours to holiday icons. I went with "A" for alcohol ink, which I've used to create the mottled paper, colour the image and also tint the ribbon to the right shade of green.

At the bottom of my post I've included some Inspiration Words to help get those creative juices flowing. I'll do my best to brainstorm a list of words for you each day, and when I say "brainstorm", I actually mean surf the net!


Your Turn: Create a holiday themed card using the letter "A" as your prompt.
Click on the link to add a photo of your creation:


INSPIRATION WORDS:
Angel, accordion cards, a-frame cards, altered, aperture, A2, acetate, acrylic, alcohol ink, aqua, alabaster, almonds, apricots, apples, amethyst, antique, Arctic.