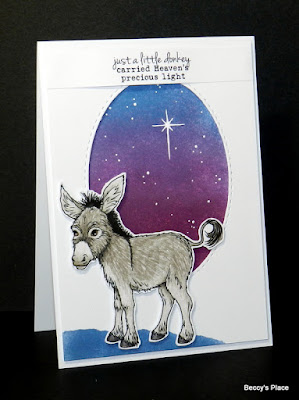
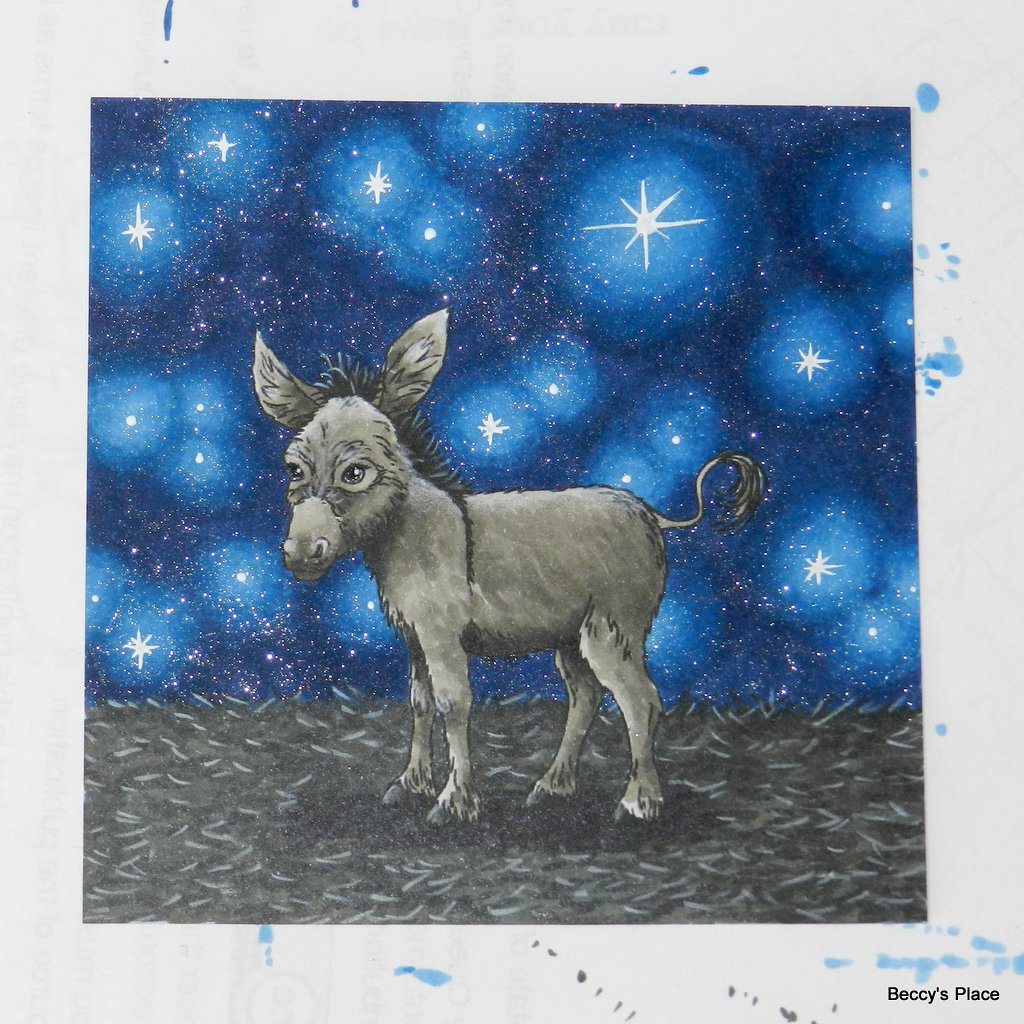
A night sky filled with stars is the perfect backdrop for my little donkey, and today I want to show you how to achieve this look using Copic markers on blending card.
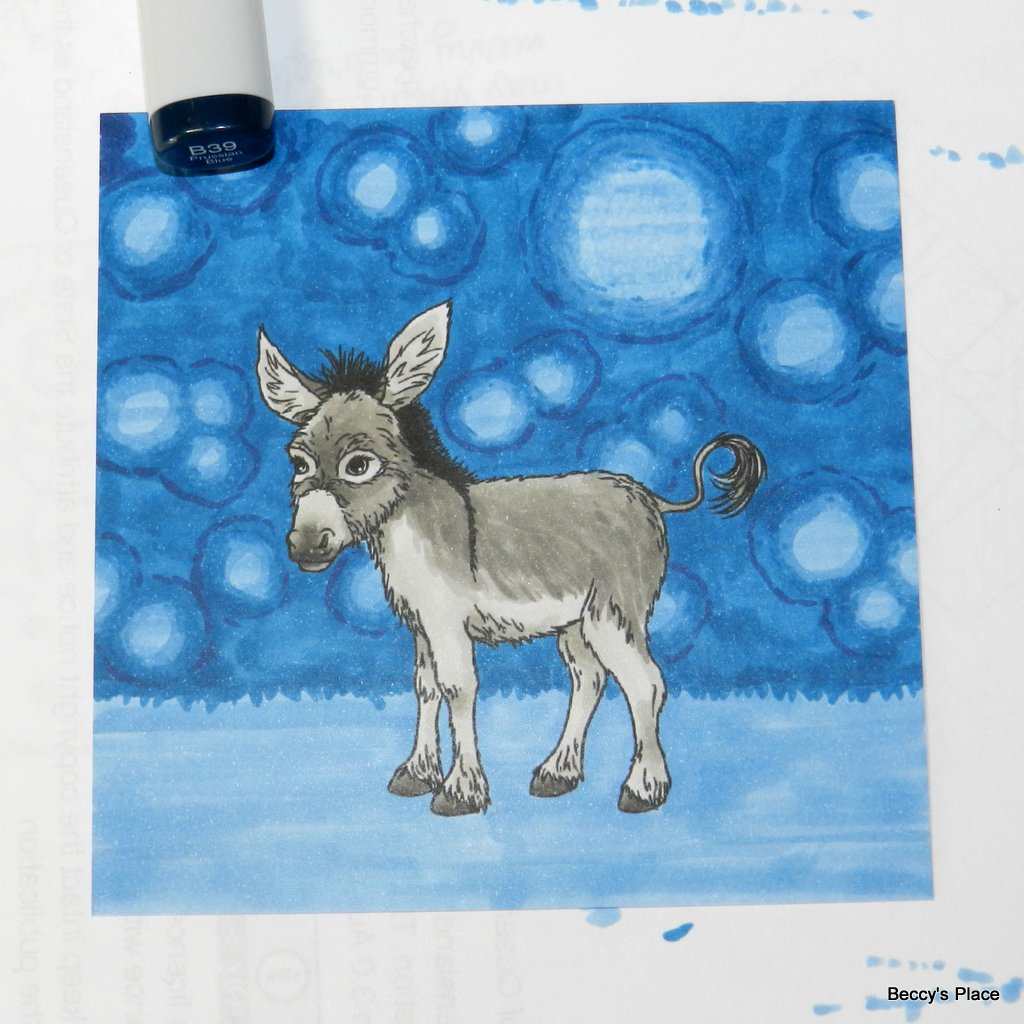
I started by colouring the donkey using various shades of warm grey, from W2 up to W7. If you're not feeling overly confident with colouring the focal image, you can print a coloured version on your blending card and focus instead on the background.
I used B45 to colour the entire background. At this stage, I'm not worried about the streaky lines created by the pen, as they will start to disappear as further layers are added. I tend to use the wide end when colouring large areas and the brush end when working close to the focal image.
Using B37, I've plotted out the positions of each star, as well as the ground where the donkey is standing, with a simple dotted line. Make the circles quite large as this will be the area that "glows" around each star. Don't forget to add some partial circles behind your focal image and off the edges of your cardstock. This gives the design continuity.
Now use the B37 marker to colour around each circle. As you can see, with just the addition of one extra layer of colour, those streaky lines are already starting to disappear.
Come back in with the B45 and colour over the edge of each circle - we're beginning the blend between the B45 and the B37. Don't worry that there's still an obvious line between the two shades... we'll continue to work on that as we go. Don't be tempted to overwork the colours or you'll end up breaking up the pigment resulting in a mottled effect.
Using a B39 marker, we're going to mark larger circles around our stars in the same manner we did before. As you can see from my picture, some of the circles will start to converge, which is perfectly fine. Just keep the circles even and don't add the darker colour inside the lighter areas.
Colour with the B39 marker right up to the dotted lines you drew in the previous step. Don't try to make the borders between each colour nice and straight and clean, you'll get a better blend if you keep them a little messy.
Now we're going to get serious about our blending, and from this point on, you want to try and work in a circular motion around each star. Using only the three markers we've already coloured with, we're going to colour each area again, overlapping the colours slightly. Start with the B45 and colour from the very centre of each circle to about halfway through the B37. Now switch to the B37 and colour from slightly outside the first dotted line, which will be a little over the area you just coloured, out to just over the second dotted line. Finish by using the B39 from slightly outside the second dotted line to slightly outside the second dotted line of neighbouring stars.
I find it easiest to work each star one at a time until the blend is nice and smooth. If things are still a little streaky, repeat the process again until you're happy with the result.
The next step is to colour the straw beneath the donkey's feet. Since it's nighttime, all the colours will be toned and dark, so we're going to be working with our warm greys again. Use a W8 marker to stroke in some short lines going in all different directions and crossing over each other haphazardly. Don't lay the strokes all in the same direction or the texture won't look right.
Use a W9 marker to add more strokes over the first ones. You don't want quite as many as the W8, so just aim for the spaces you missed the first time around.
Now with a W10 marker, use very small strokes to fill any remaining spaces. This extra dark colour will give further depth and texture to the straw.
Add a shadow beneath the donkey using the 100 marker. Don't colour a solid shape, rather stroke in short patches in the same way you did the straw. It's okay to leave a few small spaces between strokes.
I used the W8, W9 and W10 to deepen all the shadows on the donkey, particularly the underside of its chin and belly, and in the ears. To get the effect of bright white starlight shining down, apply a light coat of white pencil to the high areas of the donkey - it's back, tips of the ears and top of the nose. Stroke in some white pencil on random areas of the straw too... just don't go overboard!
I covered the entire sky with a clear coat of Wink of Stella. It's subtle enough not to overpower the image as glitter might, while still giving the effect of a sky full of tiny pinpricks of light.
Use a white gel pen to add a dot in the very centre of each circle you coloured. Vary the size of the dots depending on how large the circle is. If you wish, you can drag the white pen out from the centre to give the effect of star beams.
Take a moment to look carefully at your scene. Decide if the shadows are deep enough to contrast with the night sky, and don't be afraid to add a little extra if you think it necessary. Have fun!
Stamps: