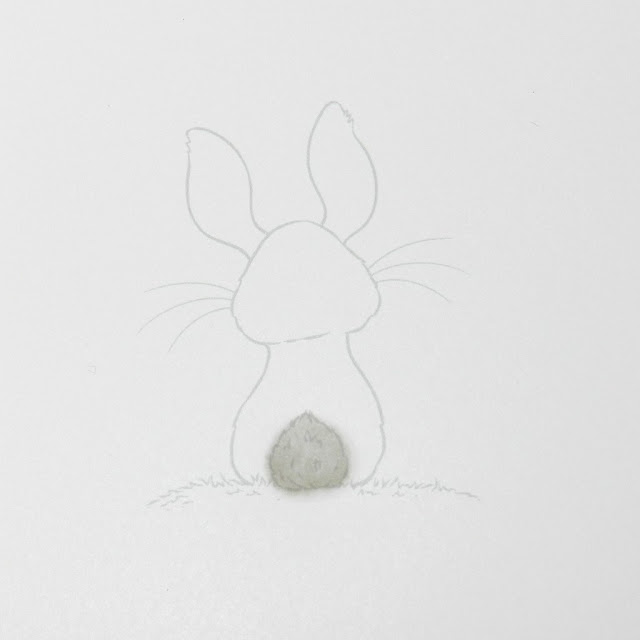
One of the very first things I learned about alcohol markers was not to overwork the image, which, of course, meant that it's one of the very first things I did (what's the worst that could happen, right?) It's true that the ink becomes mottled and splotchy with no way to correct it. But...
... it makes fabulous fluffy bunnies!!
For the best results, print or stamp your image with a very light colour. A heavy black outline will camouflage a lot of the effect that we looking to achieve with this technique.
Soak a small area of your image with the 0 blending pen, and while it's wet, add your colour. Don't wait for anything to dry between layers, just keep adding the ink. It won't take long before you start to notice a "halo" form around the area you're colouring. This is the ink starting to bleed outward.
Work in small stages so that the ink doesn't have time to dry. Add lots of ink to each layer, working light colours into dark until the pigment starts to become mottled and you end up with a splotchy look.
Once the ink dries, you'll notice the edges are fuzzy from where the ink has bled outward... and you've now got a lovely fluffy bunny!
Stamps:


9 comments:
Thanks for the tutorial. I've never thought about printing in a light colour. I love the fluffy bunny! xx
Wonderful technique.
This is a great tip and very cute. [Bunny]
Briiant! .. clever all your inspiration. ❤
Thanks for sharing, and may God bless you and all you love, and keep you well in these troubled times. In God we trust.
Hugs, Shaz in Oz.x
{Wonderful Words of Life - Shaz in Oz}
{Calligraphy Cards - Shaz in Oz}
Thanks for the tutorial and the bunny turned out awesome....great looking card.
Cute card. TY for the tutorial!
What a great tutorial for creating texture and shading, Beccy! Thank you!
I never have good results with markers, so this is invaluable to me. Thank you.
Keep safe and well
Faith x
I love how soft he looks! I must try this technique... and soon!Thanks for sharing.
Post a Comment