Let's create a retro-style card using bright colours,
a delicious image, and some basic card-making techniques.

You'll need:
- 13.5cm x 13.5cm white card base
- 13cm x 13cm red cardstock
- 12cm x 12cm yellow cardstock
- 12cm x 12cm green cardstock
- 12cm x 12cm white cardstock
- 10cm x 10cm white cardstock for stamping
- scrap of white cardstock for the sentiment
- scrap of green cardstock for the sentiment
- Burger and Fries stamp set
- black, oil or solvent based ink pad
- alcohol markers OR coloured pencils
- yellow water based ink pad
- blending brush
- sparkle brush pen (eg: Wink of Stella)
- basic tool kit
1. Stamp the burger image onto the 10cm x 10cm white cardstock. Choose the colours you wish to use for your image, including a light, mid, and dark tone. Use the lightest of the markers to colour your image.

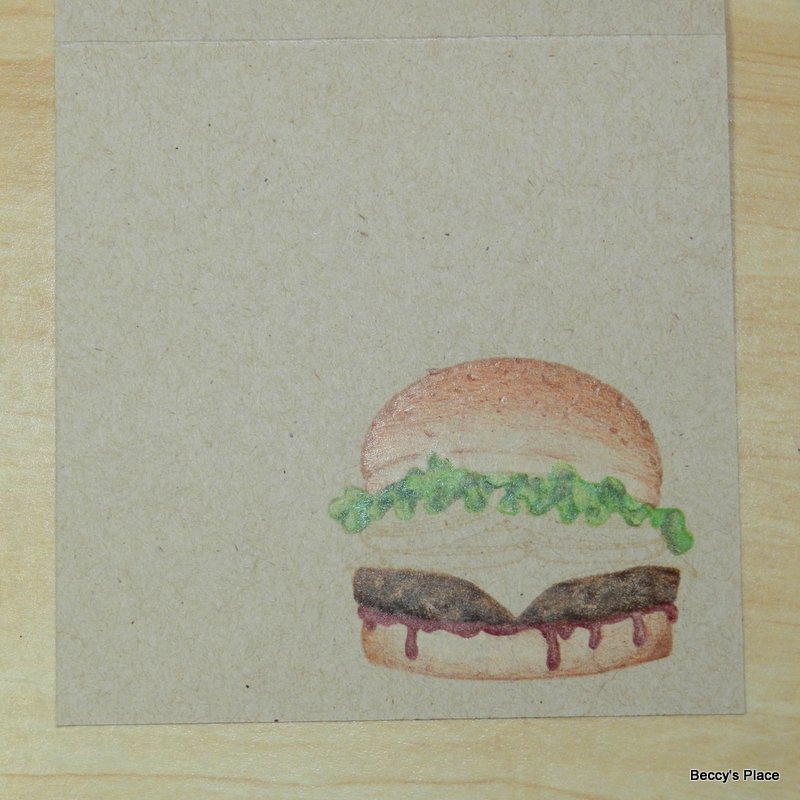
2. Working with the mid tones, colour over your first layer, leaving a small portion in the middle of each item uncoloured. In the photo below, you can see that I've left a spot on the bottom piece of bun as a light area.

3. Use the mid tones to colour the other elements of your burger, leaving some of the lighter tones peaking through. Don't worry too much if you can't figure out where to put the light, just add some variation here and there, particularly with the lettuce.

5. Now add your darkest tones to the edges and places where the shadows would fall. Again, don't worry too much about the colouring, and just ignore the hard lines between the tones... that's the style we're aiming for with this particular project. (However, feel free to blend the colours if you wish.)

6. Use a small pair of scissors to cut around the burger image.

7. Using deckled-edge nesting dies, cut three circles from the white, yellow, and green cardstock. The white cardstock circle should have a diametre of around 10cm, but a centimetre here and there is fine. The other two circles should be incrementally bigger so you can layer everything together.
(NOTE: I actually cut my circles with round dies, then used a pair of pinking shears to add the deckled edge)

8. Use a blending brush to add yellow water-based ink to the centre of the white circle. The ink should be visible when you place the burger on top, but you still want 1.5 - 2cm of white around the edges.


9. Because we've used a water-based ink, we can now add some fun details using a water-based medium... in this case, a sparkle pen. Start in the centre of the yellow circle and brush outward, lifting the brush so that you come to a point. The sparkle pen will activate the yellow ink, pulling it in the direction of the brush stroke to give you a line. Repeat in four directions as shown below.


10. To make a star burst pattern, add more brush strokes between each of the four lines, and then more lines between those strokes, until you end up with sixteen lines radiating out from the centre of the circle.

11. Add a shorter line between each of the 16 lines for some variation (and to add more sparkle!).

12. Secure the green circle to the yellow one, then use your sparkle pen around the edges of both.


13. Secure the starburst to the centre of the yellow and green cardstock.

14. Stamp the sentiment onto the scrap of white cardstock, then use a pair of scissors to cut a point in one end. (You can use a die or punch if you prefer). Mount onto a scrap of green cardstock and cut to form a small border.


15. OPTIONAL: Place the red cardstock square onto a score board and score lines every 1" (2.5cm). Score a second line close to each one so that you have a repeating pattern across the cardstock. Turn the cardstock 90 degrees and score lines every 3/4" to form an embossed checkered pattern. (Alternatively, use a grid or lined embossing folder).


16. Secure the red cardstock to the card base with glue or tape.

17. Secure the circles to the lower, right-hand corner of the card, allowing the side and bottom to overlap the edge of the card. Secure the sentiment to the left-hand side of the card, overlapping the circles by a couple of centimetres and extending beyond the left-hand edge of the card. Trim the excess so everything is flush with the card base.


18. Secure the burger to your card with foam tape, and you're done!

Products: