Showing posts with label Surprise Pop-Up Card. Show all posts

Friday, July 17

Tutorial - Surprise Pop Up Card 2.0


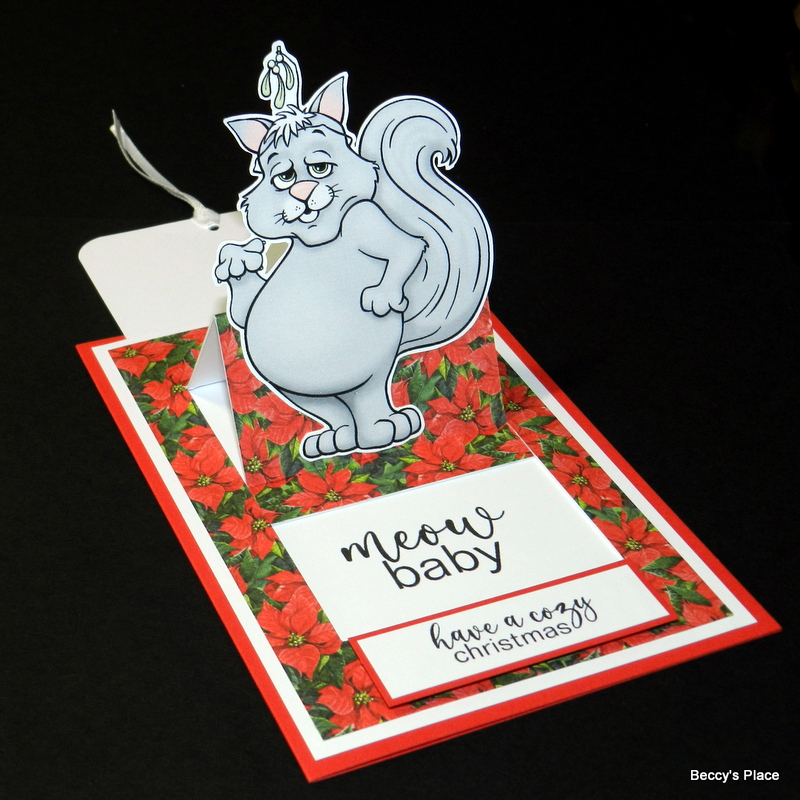
I created my first Surprise Pop-Up card several years ago, but thought I could tweak it a little to simplify the mechanism. I also decided to make the card into a single layer, but if you'd prefer, you can mount it onto a card front for a more traditional style.


TEMPLATE:

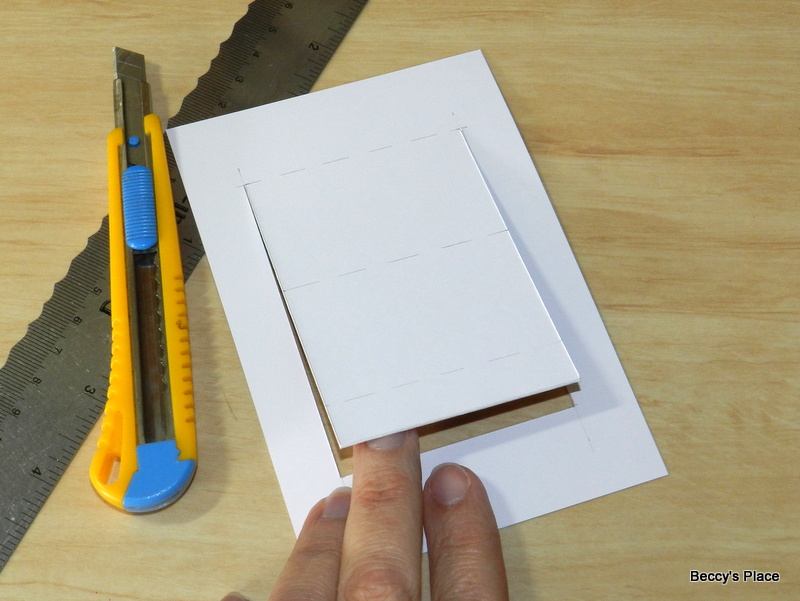
1. Cut a sheet of A4 cardstock in half vertically so that you end up with a piece that measures 10.5cm x 29.7cm. Score in the centre and fold in half as though you were making a tent fold card. Use a craft knife or trimmer to cut a flap in the front of the card that is 3/4" from the centre fold and 3/4" from either side. Refer to the template above for correct placement.


2. Open the card out and lay horizontally on your score board. Score 3/4" from the bottom edge, between the two cut lines (at the base of the flap you cut in step 1). Score again at 23/4" between the two cut lines, and then one more time at 43/4". Fold along the score lines. (All the score lines will be on the flap you cut in step 1. Refer to the template if necessary).


3. Turn the card around so that the centre fold is facing you (it will look upside down). Stamp a sentiment in the section indicated below. Don't add any embellishments here as you want the cardstock to slide easily.


4. Cut a large tag measuring 3" x 51/2" and round the four corners. Stamp or write the word "pull" at the top, or if you'd prefer, you could add a little pull tab.


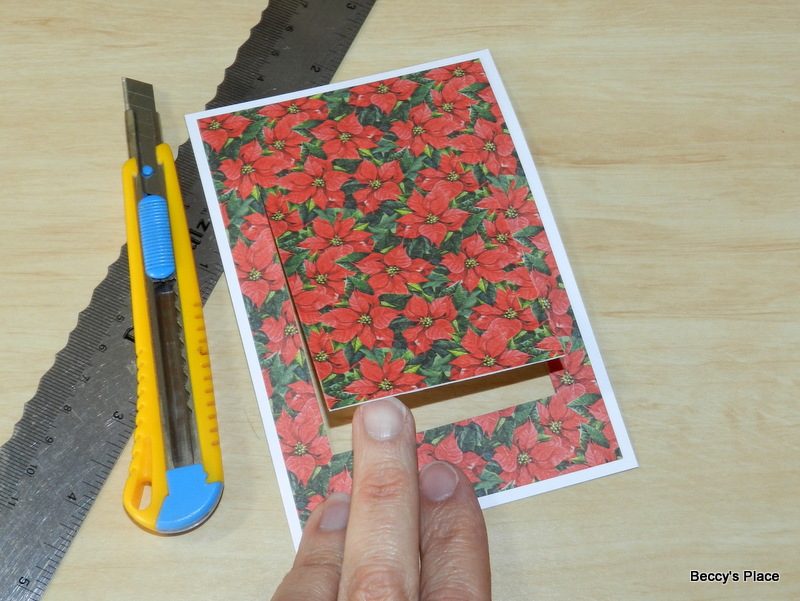
5. Decorate the front of the card with patterned paper or more stamping.


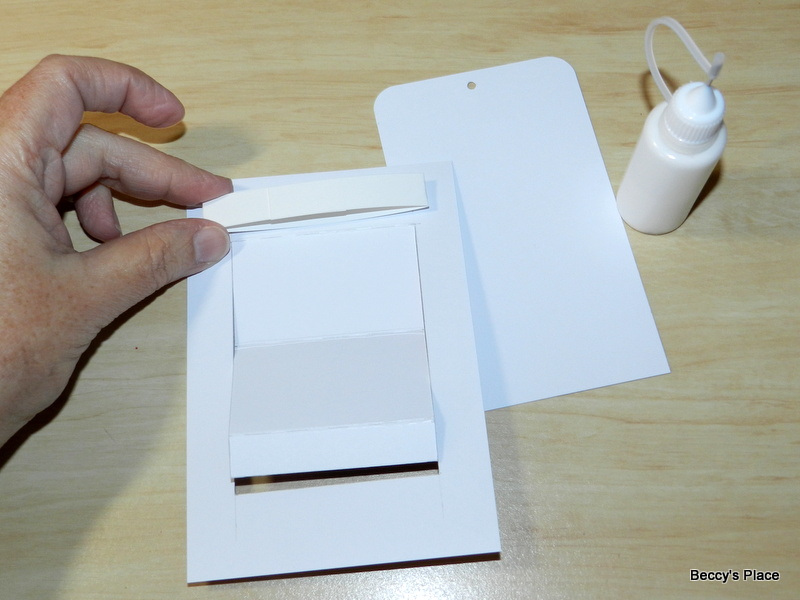
6. Now we're going to secure our large pull tag to the narrow section at the end of the flap. I've added a series of photos below to show you how it's done...


Place a ruler or straight edge about 1/4" from the cut edge of the flap.
Use the edge as a guide for keep the large tag straight.


Add glue to the narrow strip at the end of the flap.


Line up the bottom edge of the large pull tag with the edge of the flap,
and line up the side with the ruler to keep it straight.


Turn your card over.
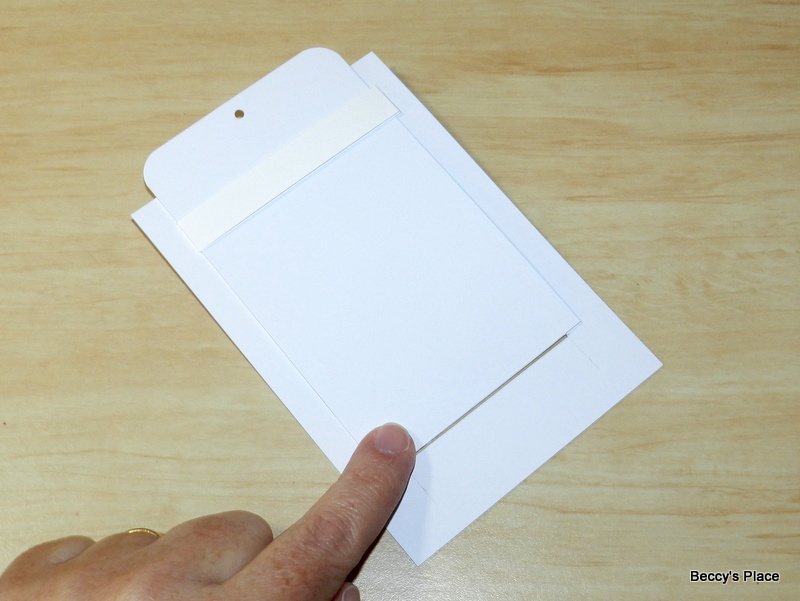
The easel section should retract when the tag is pulled.


7. Open the card again and place glue on the card base, around the large tag, to form a pocket (see photo below). Close the card to secure in place.


8. Time to decorate!


Add one of the long sentiments to the bottom of the card, just over the cut line.
Keep the adhesive on the frame, around the bottom and side edges as shown below.
The easel should slide easily behind the sentiment panel.


I find it easiest to glue my images together first, then secure them to the easel.


Sunday, October 23

Tutorial - Surprise Pop-Up Cards


Surprise Pop-Up cards are fun to create and have plenty of room for sentiments and hidden embellishments. The mechanism creates a tiny, pop-up easel panel right in the centre of the card, with the added benefit of a large tag that's perfect for holding a handwritten message or bonus image.


1. Cut a piece of card for the base measuring 8" x 53/4". Score and fold in half so that you have a 4" x 53/4" card base. You'll also need a piece of coordinating cardstock measuring 33/4" x 51/2" and a piece of patterned paper measuring 31/2" x 51/4".


2. Use glue or double sided tape to secure the patterned paper to the piece of cardstock leaving a small border around all four edges.


3. Turn the cardstock over and mark out the cutting and scoring lines for the mechanism of your card. See the template for measurements and placement.


4. Cut along the three cut lines, ensuring your knife or trimmer blade go through both the cardstock and the patterned paper. You've now created a window cover in the front panel of your card.


5. Score along each score line, then fold, pressing each crease firmly.


6. Cut a large tag measuring 3" x 5" from a piece of cardstock. If desired, round the top corners and punch a hole in the centre top.


7. Cut a long piece of cardstock measuring 71/4" x 1/2" and loosely fold it around your tag. There should be plenty of room for the tag to slide easily through the loop. Secure the loop with glue or double-sided tape.


8. Slide the loop off the tag and secure it to the back of the window panel, just above the first score line.


9. Once the glue is dry, slide the tag into the loop.


10. Apply glue or double-sided tape on the 1/2" section at the bottom of the window cover. See the photo below for correct placement.


11. Slide the tag down over the adhesive until the bottom edge is flush with the bottom edge of the window cover. Press in place to create the pop-up mechanism.


12. The front panel will eventually be fixed to the card front. Once the mechanism is activated, the window cover will slide back to reveal a hidden message or image. This message is actually located on the card blank. I used a panel of cardstock measuring 3" x 4" with a sentiment positioned at the bottom edge. If you prefer, you can stamp directly onto the card blank.


13. Use glue or double-sided tape to secure the front panel onto the card base. Position the adhesive down the left and right side of the panel, along the bottom edge and on the cardstock loop. I have marked the adhesive location in the image below. Secure the front panel to the card blank and allow to dry completely.


14. To decorate, add an image to the pop-up easel, taking care to only add the adhesive to the middle panel of the window cover. Tie a piece of ribbon or twine through the hole in the tag and add a sentiment if desired.


Stamps: