I have a fun card to share with you today, which is actually five cards in one. Although I've just used the little easel cards as decoration, they are definitely suitable for messages, images or sentiments if you wish.
1. You'll need a 12" x 6" piece of cardstock for your base; four 51/2" x 23/4" pieces of cardstock; four 23/4" x 23/4" pieces of cardstock; and embellishments, including four dimensional items to act as anchors (I'm using sentiments popped up with foam tape).
2. Score and fold the 12" x 6" piece of cardstock in half to form a 6" x 6" card base. Set aside.
3. Place one of the 51/2" x 23/4" pieces of cardstock horizontally on your scoreboard, and score at 23/4".
4. Score from the top of the centre score line to the bottom right hand corner of the cardstock. The line should be a 45 degree angle. You can use a scoreboard insert to make it easier, or simply fold the right-hand side of the cardstock in half on an angle. See the template below for correct placement.
5. Fold along the score lines to form the easel card base. Repeat steps 3 - 5 for each of the other 51/2" x 23/4" pieces of cardstock to create your four easel cards.
6. Place one of the easel cards on the desk in front of you with the fold at the top and the opening directly in front of you. We're going to secure each of the 23/4" x 23/4" pieces of cardstock to the left hand triangle on each easel card.
7. Apply glue to the triangle section of the left-hand side of the card (see the photo below). Place the square of cardstock over the glue to secure in place and form the easel.
8. Repeat with the other three easel cards.
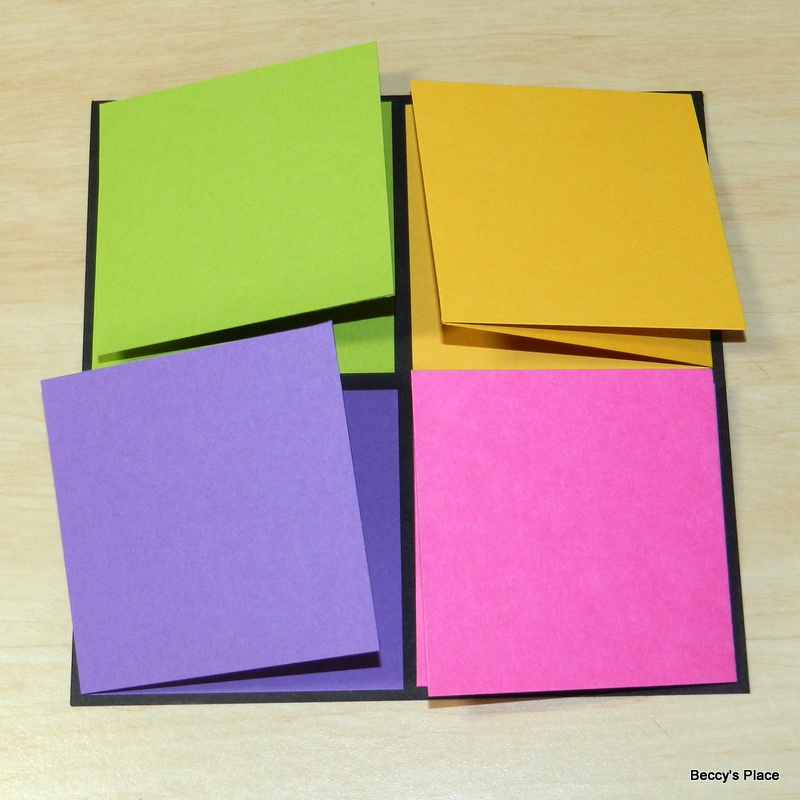
9. Before securing the easels to your card base, do a "dry run" to figure out the correct placement. There are a couple of ways to add your easels - in a pinwheel, which is what I've chosen, or all facing the same direction. If you want your easels to face the same direction, simply secure them to the 6" x 6" base in the same orientation.
10. To form the pinwheel, the easels need to be rotated a quarter turn each time. However, you must place them correctly so that they are able to fully open and not get in the way of the easels either side.
Open each easel. You'll see that the diagonal score line starts on the centre fold. Place this section of the easel in the corner of your card base. (For example, I'm placing the purple easel at the bottom left corner of my card base. I'll rotate the pink easel a quarter turn so that the diagonal score line is next to the bottom right corner of my card base. I'll rotate the yellow easel a quarter turn so that the diagonal score line is next to the top right corner of my case base, and then rotate the green easel so that the diagonal score line is next to the top left corner of my card base.)
11. Apply glue to the back of each easel and secure to the card base.
12. Time to decorate! I've added white cardstock with hand drawn borders and individual balloons, coloured to match the cardstock. Remember to match the decorations to the orientation of each easel.
13. The final step is to add our anchors. These are dimensional elements that hold the easel cards open. You don't want them to be too thick, as they are placed on the inside of each card, but you do want them substantial enough to hold the card open. I've used sentiments from the same digital set, printed, mounted on cardstock and applied with a little foam tape.
Digital Stamps: