Yo Yo Spinner cards contain an awesome, interactive element that spins like an old fashioned yo yo every time someone pulls the string. The spinner can be attached to just about any kind of card, and you can easily vary the size by simply cutting smaller or larger circles!
Requirements:
- 51/4" x 51/4" card base
- 5" x 5" piece of red card stock
- 43/4"x 43/4" piece of white card stock
- two 13/4" card stock circles (I have one red and one white)
- 11/2" card stock circle
- two 1" acetate circles
- small brad
- 12" length of string
- a sentiment and some embellishments
1. We'll start by constructing the spinner element. Measure and mark the centre of the three card stock circles and the two acetate circles. Use an awl or piercing tool to make a hole in the centre of each circle.
2. Use glue dots or high-tack double sided tape to secure one of the acetate circles to one of the 13/4" card stock circles. Avoid placing the adhesive over the holes you pierced earlier.
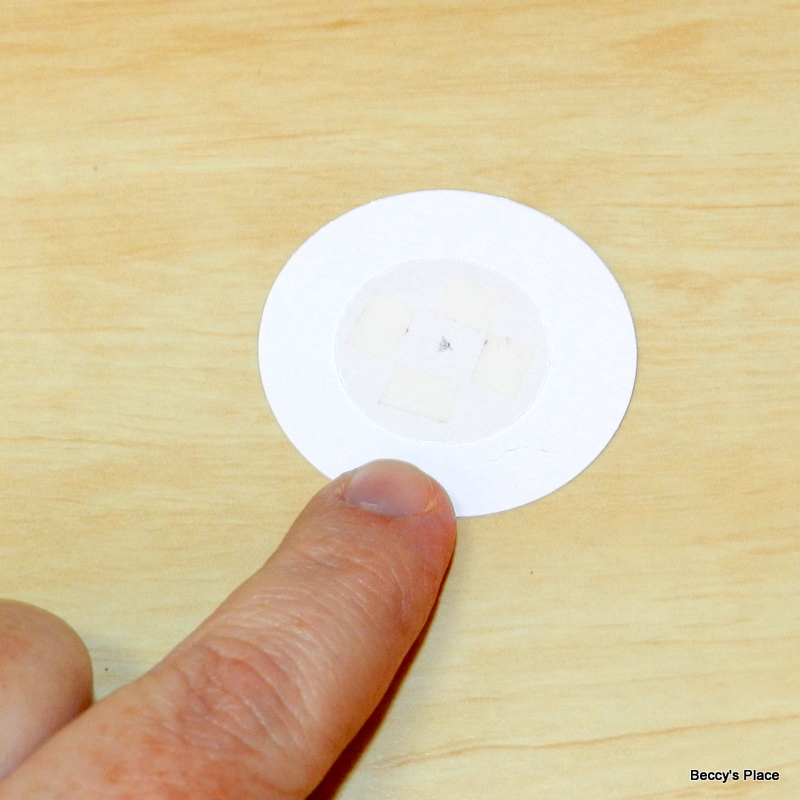
3. Trim a piece of foam tape into a rough 1/2" circle. (Start with a square of foam tape and trim off each of the four corners). Place it in the centre of the second piece of acetate, directly over the hole you pierced earlier.
4. Remove the backing, and secure one end of the string to the piece of foam tape. To ensure maximum hold, it's a good idea to fray the end of the string a little so that it sits flat against the adhesive.
5. Cut another piece of foam tape and place on top of the first, sandwiching the string between them.
6. Pierce through the layers of foam tape using the hole in the acetate as a guide. Keeping the acetate on your piercing tool, remove the backing from the foam tape and adhere to the second 13/4" circle of card stock. Use the piercing tool as a guide.
7. Now push the brad through the card stock, the foam and the acetate so that the head of the brad is against the card stock circle and the pins are protruding from the acetate. See the photos below.
8. Push the brad through the first 13/4" circle so that the two acetate pieces are touching. Open the brad pins but DO NOT make the brad too tight. The circles should move easily.
9. Decorate the spinner as desired. I added one of the candies from the Gingerbread Wishes set, but you can add any little image or sentiment you like. It doesn't have to be a circular image and it doesn't need to be smaller than the spinner, although you don't want it to be too big or you might have trouble winding the string around the mechanism.
10. Decorate your card base with the card stock squares, the embellishments and a sentiment, remembering to leave space for your spinner.
11. Apply adhesive to the back of your spinner taking care to avoid the brad pins. Make sure the string is completely unwound from the mechanism and your image or sentiment is upright before you secure it to the card base. Allow the adhesive to dry completely.
12. Now wind the string around the mechanism... and then pull! It may take two or three attempts to get the spinner to move smoothly.
13. The final step is to add a little grip to the end of the string. You could use buttons, tie a knot, add a bead or, as I've done, sandwich the string between two little circles of card stock.
This card is so much fun and will add an extra little surprise to your card-giving.
I hope you'll give it a try!
Stamps: