Showing posts with label Everything Papercraft. Show all posts

Friday, January 5

Everything Papercraft - Tombow Markers


Tombow Pencil Co. is a manufacturer that was originally founded in Japan in 1913, initially producing high quality writing and coloured pencils, and later adding other stationery and art supplies such as glue, correction tape, erasers, and markers.

Tombow markers are dual ended, water-based markers that feature a brush nib on one end and a fine bullet tip on the other. They come in over 100 different colours, plus a blending pen, and are very popular with papercraft artists due to their vibrant pigments and wide availability. The flexible brush tip and odorless ink also make them a favourite of calligraphers and graphic artists.

Saturday, December 16

Everything Papercraft - Water Markers


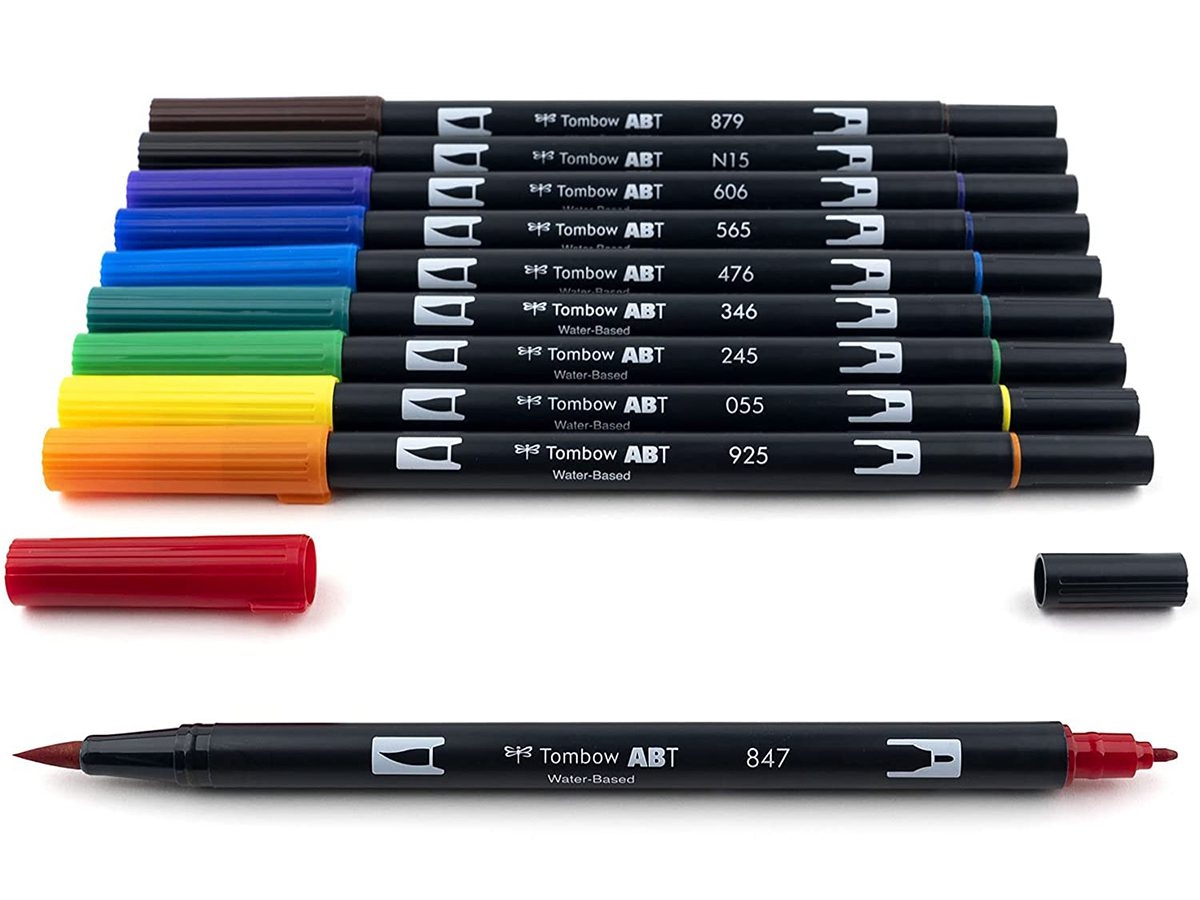
Water markers are felt-tip pens that contain a reservoir of water-based ink. There are hundreds of different brands that vary in quality and versatility, from the inexpensive markers used by school children to the artist grade pens you’ll find in well-stocked art studios.

Some of the main differences between water markers include the style of nib, the quality of the ink, the size and shape of the barrel, and the composition of the reservoir housed inside.

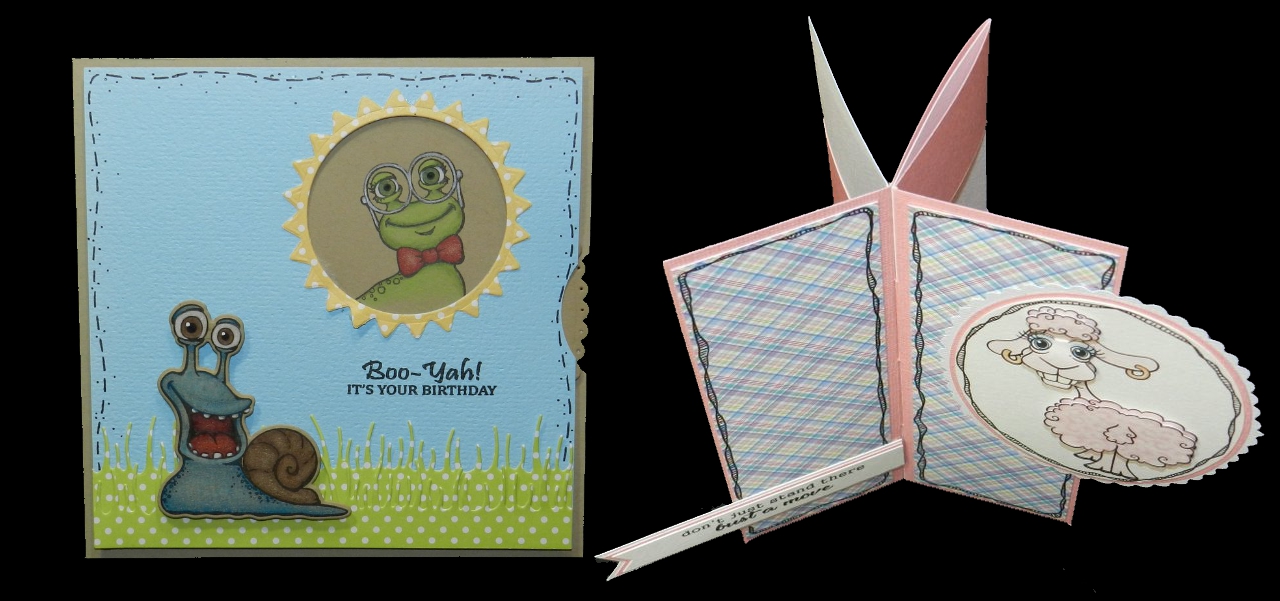
Nibs are generally made from synthetic fibres that are shaped in various ways, such as brush nibs, chisels and bullets. Different tips result in different lines and shapes and make certain techniques easier to achieve. For example, it’s easiest to form flower petals with a brush nib, while bullet tips are great for stippling.

Ink quality varies significantly between brands, so it’s always a good idea to do a little research before investing in a set of water markers. Good brands will have ink that is vibrant, long-lasting and blends well with other colours. It will also stay true to colour when thinned with water.

The ink reservoir is housed inside the barrel of the marker and can be made from a variety of materials, such as cotton filaments or polyester fibres, depending on the type of ink. Better quality pens will have reservoirs that hold lots of ink, which prolongs the life of the marker, reducing cost and waste.

The size and shape of the marker barrel is really a matter of personal preference. Large, wide pens are often good for children who are still developing their fine motor skills, while general crafters may prefer markers that are around the same shape as a biro.


Note: I personally prefer Distress Markers, but I also have Tombows and simple Crayolas from the grocery store that I use now and again. I always advise crafters to try out different brands, such as during craft shows, classes or in certain stores, until they find what best suits their needs and style. 

Saturday, October 14

Everything Papercraft - Texture Paste


Borrowed from the world of decorative painting, texture paste is a substance that is usually mixed with acrylic paint to stiffen its consistency allowing it to hold a shape or form. In papercraft, it’s widely applied to surfaces through a stencil, which leaves a raised pattern that is further decorated or coloured once dry.

Here is a recipe for making your own texture paste at home:
2 parts acrylic paint
2 parts talc (or cornflour)
1 part PVA glue
Mix together thoroughly and store in an air-tight container.

Saturday, September 16

Everything Papercraft - C.A.S. Cards


C.A.S. is an acronym meaning “Clean And Simple”. There’s often debate about what constitutes a clean and simple card with some challenge groups having strict instructions about what can and cannot be included.

Generally, CAS cards have large areas of clean cardstock, often referred to as “white space”, “blank space”, or “open space”, that’s free from images, textures and patterns. They are usually one layer with clean lines, minimal to no embellishments and simple sentiments.

Monday, August 14

Everything Papercraft - Brayering


A brayer is a hand-held tool used to break up and spread ink during the printing process. Originally created in the late 19th century, brayers were used to smooth and spread pads of ink before they were applied to the printing plate. This ensured an even distribution and prevented over-inking and bleeding. Modern printers rarely use brayers, although they can still be found in artisanal settings or for historical re-enactments.
As paper crafters, we use rubber brayers to smoothly transfer ink to large areas of paper or cardstock, mostly commonly to create backgrounds. The process of rolling the brayer through the ink helps to spread the pigment, and blend colours when more than one ink is used.

Saturday, July 15

Everything Papercraft - Aperture Cards


The word “aperture” means an opening, hole, or gap, so an aperture card is any card that has an opening, hole or gap as one of it’s features. Paper crafters use a range of tools to create apertures, such as cutting dies, punches, and circle cutters, and this means that we’re able to produce an endless array of fabulous designs. Apertures can be decorated to resemble windows, doors, or even peep holes into secret gardens, and they’re a great way to give a little sneak peek into the card or to help bring design elements together.

Monday, June 5

Everything Papercraft - Watermarks


A watermark is an image or design that is stamped or pressed into paper during manufacture. It is usually subtle and difficult to observe without adequate lighting and will often be a company logo or security seal.

Paper-crafters can imitate watermarks by stamping with clear Versa Mark stamp pads, which will leave an image that is slightly darker than the paper being stamped on. Because Versa Mark ink is designed to stay open (wet) longer than normal ink pads you will need to leave it to dry for a longer period of time or set it with a heat gun. You could even add some clear embossing powder for a less subtle result.

Saturday, May 13

Everything Papercraft - Shaped Cards


As the name suggests, shaped cards are simply cards that are cut to resemble something, such as a cake or a vase of flowers. Usually, the cards will have a section of the spine or fold in tact so that they open as normal, creating a kind of mirror effect. You can get as creative as you like with shaped cards cutting them with a small pair of scissors, cutting dies or electronic machines. You can even head to the internet to take advantage of the many free templates on offer.

Here are a couple of tutorials:

Friday, April 21

Everything Papercraft - Distressing


Distressing is a decorative process that adds texture and gives paper projects a vintage or worn look. There are many techniques paper crafters use to distress paper and cardstock, including inking the edges, tearing, applying paints and tints, scrunching, burning, and roughing up the edges with sandpaper, scissors or specific tools. It’s an inexpensive technique that can add a great deal of character and interest to a project and is popular for shabby chic or grunge-style crafts.

Roughing the edges and scrunching the cardstock for a shabby chic result.

Wednesday, March 8

Everything Papercraft - Generation Stamping


Generation stamping is simply the repeated stamping of an image without adding more ink between impressions. It’s a super easy technique that is generally used to create the illusion of depth, or to achieve a more subtle impression, such as you’d see with a watermark. The first impression is the “first generation” of stamping, the next impression is the “second generation” and so on. The first generation will always be the darkest or most intense, since most of the ink is transferred at this point. Ultimately, the ink will be completely removed from the stamp until it no longer leaves an impression. The number of generations produced will be determined by the consistency and amount of ink laid down at the beginning of the process.

Friday, February 10

Everything Papercraft - Framing


Framing is one of the principles of visual design, along with balance, contrast, proportion, repetition, and a few others. Interestingly, framing is most noticeable when it’s missing or incorrectly used in a piece of art. Most of us are familiar with the concept in relation to the borders around a painting, but it also applies within the artwork itself. Framing helps to focus the viewer’s attention on a particular part of the image, known as the focal point, as well as making the entirety of the image more aesthetically pleasing.

As paper-crafters, frames are often created by layering mats of cardstock or paper. Sometimes we draw borders with fine tip pens, small stamps or even by inking around the edges of a cardstock panel. Many cutting dies have built in frames, such as faux stitched borders or embossed edges. Less formal frames can be created by stamping on either side of a focal image or by layering die cut embellishments at the top and bottom of a panel. Have a look at some of the cards or pages you’ve created, you’ll be surprised how many times you’ve sub-consciously used the principle of framing.

Monday, January 16

Everything Papercraft - Digital Stamps


Digital Stamps

Digital stamps are images and sentiments that are downloaded to a computer and printed for use on cards and paper craft projects. They can be thought of as print-at-home colouring pages that can be resized, flipped, skewed and recoloured as desired. Many digital stamps include a full-colour version for quick crafting or for those who don’t like to colour. Another big attraction is the fact that they take up no physical storage space. Hundreds of images can be saved into assorted files to make finding an image quick and easy. There are many free images on the internet that can be instantly downloaded to your computer, including a long list right here on the Beccy’s Place blog: FREEBIES


For those who have never used digital stamps before, here's a simple way to save them in Microsoft Word:
1. Open a blank page in Microsoft Word.
2. Go to the image you want to use. Right click on the image and select "Copy".
3. Go back to your blank Word document and right click anywhere on the page. Now select "paste" and the image should appear.
4. You can now save the document so you'll always have the image in your Microsoft Word files, and you can print it ready for use.

And this is how you can save them to another location in your computer:
1. Go to the image you want to download.
2. Right click on the image (click with your right mouse button). A little box will pop up with a few different options. Click on "save as" or "save picture as".
3. Now you will be taken to a list of files in your computer. You can create a new file for all your pictures or you can simply pop it into one of the existing ones. Give the picture a name you will remember and then hit "save".
4. To use the picture, open Microsoft Word or your favourite photo editing program, and use the insert picture command to open it on a page. You can now resize, stretch, recolour or rotate the picture. When you're happy, click print and your picture will be ready to use.

Tuesday, December 27

Everything Papercraft - Omitting


Omitting is a stamping technique whereby some of the stamp is left un-inked so as to exclude it from the stamped design. It is similar in effect to masking, except that it occurs prior to any stamping being done. One method is to ink only the desired parts of the stamp with a water-based marker, which gives you a little more control over the colour placement. Another method is to lay tape over the section of the stamp you wish to omit, then add the ink, and remove the tape before stamping. This technique helps to make your stamp collection much more versatile, giving you more options for your images.

Monday, October 17

Everything Papercraft - Monograms


Monograms are motifs that consist of two or more letters combined in an aesthetically pleasing way, often to represent a person, brand or company. The first known use of monograms was on Greek coins around 350BC, where they were used to represent individual cities. Historically, they’ve also been used as royal signatures, Christian symbols, artists’ marks, and as part of military standards.

In Victorian times, monograms were used by the upper class as a symbol of their wealth and prestige. Many modern-day companies use monograms as their primary means of identification, such as car brands, fashion houses, electrical companies and even banks and law firms.

For paper-crafters, monograms are a fun way to add a decorative element to cards, journal pages and scrapbook layouts. They can be sketched, stamped, die cut or even assembled collage-style. As always, we’re only limited by our imagination!

Some well known monograms
Image from the internet

Friday, September 23

Everything Papercraft - Liquid Pearlized Mediums


Liquid, pearlized mediums are versatile, waterproof pearlescent paints specifically designed for paper craft projects, although they can also be applied quite successfully to fabric. The medium is usually purchased in small squeeze bottles that have a built-in, easy flow tip that you apply directly to your project.

Many paper crafters use liquid pearlized mediums in place of self-adhesive pearls because they are better value for money, they can be applied in various sizes and in difficult to reach places. Simply squeeze out little drops of the liquid paint and allow to dry for a wonderful, shimmery card or page accent.

Monday, August 15

Everything Papercraft - Kiss Stamping


Kiss stamping is a fun and easy technique that involves loading a stamp with ink then pressing it against another stamp to transfer the image or pattern before stamping onto cardstock. It generally works best when one of the stamps is solid, and the other has a pattern.

For these examples, I actually inked both stamps, “kissed” them together and took impressions from each. You can see the eucalyptus image was added to the mosaic background stamp, and the mosaic pattern was added to the eucalyptus leaves. It’s a fun way to extend your stamps and also add some additional colour and texture to your images.

Saturday, July 16

Everything Papercraft - Hidden Elements


Hidden elements are literally items that are not visible when you first view a project. Little tags with names and dates that slide down behind a photograph on a scrapbook page, or perhaps a cute image or touching sentiment that is revealed only when part of a card is unfolded. View Finder cards, Secret Message cards, Venetian Blind cards and Wiper cards are all examples of great card folds that hide a little secret. Hidden elements add an interactive, playful ingredient to paper craft projects as well as offering other “spaces” for information or decoration.

Wednesday, June 8

Everything Papercraft - Gatefold Cards


Gate fold cards are simple to make and are a fast way to add dimension and movement to handmade cards. Gatefolds are basically cards that have two folds with a centre opening, although there are many design options you can add to change the size and shape of the finished product. While there are no hard and fast rules for making gatefold cards, it is important to carefully and accurately measure, score and fold for a good end result. You only need a piece of cardstock, a folding tool and your imagination to create unique handmade cards suitable for any occasion.

Here are some tutorials for different gatefold cards:

Tuesday, May 17

Everything Papercraft - Fabric


Fabric is a versatile and widely available item that can add both colour and texture to handmade cards. It comes in an endless array of patterns including holidays and celebrations, food, florals, children’s prints, animals, and so on. Most fabrics are easy to work with and can be glued, stitched or pierced to hold them in place.
Fabric can be used as a background by applying an adhesive, such as PVA, directly to the fabric and then laying it over a card front and smoothing out any air pockets, or it can be used in smaller pieces to embellish a larger design. Strips of fabric can replace ribbons, lace and pieces of patterned paper, and can be tied into decorative knots and bows.
It's also possible to stamp on fabric, which is great for making personalised t-shirts, bags or other items, or just to add a little more interest to your fabric embellishments. Here's a TUTORIAL.

Wednesday, April 20

Everything Papercraft - Folded Cards


The most popular method of folding a card is, of course, simply folding your cardstock in half to create either a side or bottom opening card. Although this will probably remain the most popular of folds, there is a plethora of ways to make different shaped cards by simply altering the position and direction of your folds and the size of your card blank.

Next time you're online do a little research into the many different methods of card folding. Search for tri-fold cards, shutter cards, wiper cards, easel cards, triptych cards, pyramid cards, folded star cards, pocket and double pocket cards, envelope cards, origami cards, pop-up and 3D cards, necktie cards... the list is endless! Don't forget the library of card folds we have on this blog too, maybe consider working through the list to find something you haven't tried before.