Original artwork by Beccy Muir, all rights reserved.
Images are for personal use and must not be copied, swapped, shared, resold or mass produced without the express written permission of the artist.

 1. Start with two images that are exactly the same. You will want an image that has some areas that can be cut and reattached with foam tape, such as this poinsettia flower. The top petals are perfect for cutting away from the rest of the image.
  2. Use your preferred method to colour the images. As you can see in the photo above, you will only need to colour and shade the petals that you are cutting out from the first image. The base image however (the lower flower) needs to be coloured completely. Make sure you add some nice deep shadows and use a darker tone on the background petals since these will recede once you add your cut outs.
 3. Cut out your individual top petals as well as the entire bottom image. (Alternatively, you could simply trim around the bottom image leaving it on a background of white card.)
 4. Using a ball tool (or a rounded pen lid) and a foam square, rub the back of each of the individual petals. This will give them a rounded shape and help them to stand up from the base image.
 5. Apply a piece of double-sided foam tape in the centre back of each petal. This will support the cardstock and help it to retain the shape you added with the ball tool. Add a little dot of strong glue to either end of the petal to "anchor" it into the picture.
  6. Adhere each petal in it's correct position and press firmly on the foam tape and the glued ends. At this point you might like to add some beads or brads to the centre of the flower instead of simply colouring the image.
 7. The finished dimensional image is now ready to be added to your project! You can use it as a card topper like I did, or perhaps decorate an altered notebook, Christmas recipe tin or little album.


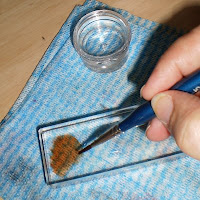
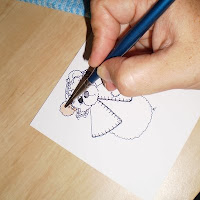 thinner, wetter consistency. Add as much or as little water as you wish depending on the depth of colour you want to achieve. Fill in the printed image as you would if painting. Try and work quickly as the colour will absorb and dry unevenly if it is allowed to sit for any length of time. If you have a particularly large area to colour it's a good idea to use a larger brush for quicker application.
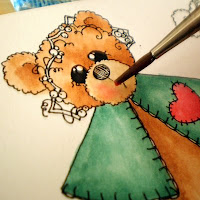 tone, but with this technique, we are applying shadows by increasing the depth or amount of colour in certain areas. Wash off your brush and apply enough clean water to make it moist but not dripping. Now you want to pick up the colour only on the very tip of your brush. Do this by swiping the tip of the brush gently through the colour.
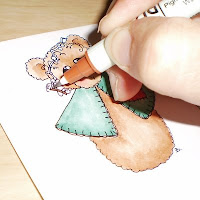 held further up the bristles will dilute the colour as it leaves the tip giving you a nice even, graduating shadow. If you are left with a very distinct line of colour, simply rinse the brush and gently apply some clean water over the area until the colour evens out. Be careful not to overwork it or the paper will start to disintergrate and come away.
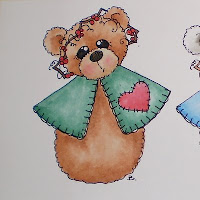 opposite side to the light source. We also have shadows in areas that recede such as eye sockets or under the edges of clothing and in folds of fabric.
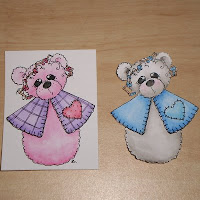 coloured area again. Your brush will soak up some of the liquid.