Tuesday, May 30

Hey!

One friendly cockatoo sending birthday greetings to a friend!


Stamps:

Sunday, May 28

Bright and Bold


Check out the awesome cards Anesha created with the new For The Birds set of digital stamps. Bright colours, fabulous patterned paper and fun die cuts resulted in three great cards that are sure to bring a smile to someone's face.


Friday, May 26

Inspired By Nature


Carla has created two beautiful cards inspired by nature and the changing of the seasons. She embellished the image panels from our new Card Panels 1 set and layered them onto beautiful coordinating backgrounds.


Thursday, May 25


Selected, retired digital stamps at an incredibly low price for just 48 hours.
No rainchecks. No repeats.

Nasturtium
digital stamps

Tuesday, May 23

Tutorial - Diagonal Cut Cards


Quick, resizable, folds flat for postage AND it's a two-for-one!!


1. Start with a piece of cardstock - I'm using an A4 piece but the size doesn't really matter, so use whatever you have in your stash. Place it vertically on your scoreboard and score at the halfway point. Turn it 90 degrees so that it's horizontal and score again at the halfway point.


2. Cut the cardstock diagonally from one corner to the other. Your cut should pass through the intersection of the two scored lines. These two pieces will be individual cards (the two-for-one I mentioned earlier).


3. Fold along the score lines to form the card base.


4. Time to decorate! Cut a piece of patterned paper that is 1/4" shorter and 1/4" narrower than your card base. (For example, if your card base measures 6" x 4", cut your patterned paper to 53/4" x 33/4")


5. Cut the patterned paper diagonally from one corner to the other. These two pieces will fit on the front panels of your card base with a small border around the edges. Secure them in place with glue or double sided tape.


6. Decorate the front in whatever manner you wish. I found that an image panel fixed on one side of the opening provided enough weight to hold the card closed. Just remember to only apply adhesive to one side... you don't want to glue the card closed!


7. I added a white panel to the centre of my card for a personalised message, as well as a little image and some sentiments.


Stamps:

Sunday, May 21

A Little Bird


Glittered edges and a big blue bow are the perfect embellishments for the cute card Deanne created with the new For The Birds set of digital stamps. Head over to her blog for more great projects!


Saturday, May 20

Panels

Using the pre-coloured digital image made this card super quick and easy to create, and the narrow strips meant that I could use up some of the cardstock offcuts that accumulate so quickly in my drawer!


Stamps:

Friday, May 19

Make Mine A Budgie


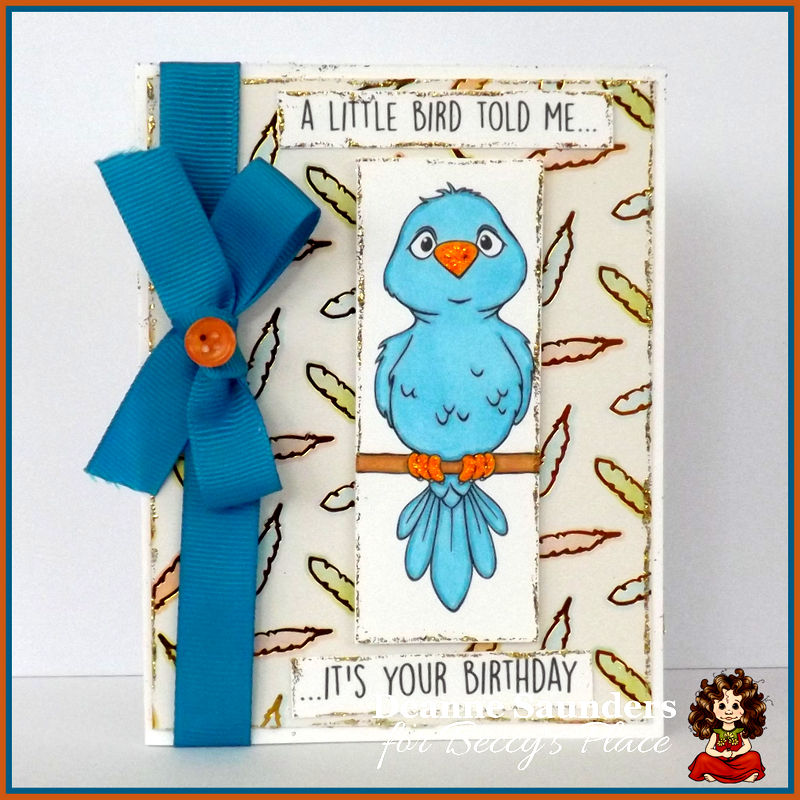
It's handy to have versatile images that can be coloured in various ways for different people or occasions, such as this little bird. In the digital set, he is a Peach-faced lovebird, but with a few colour tweaks and added markings, he becomes a cute budgerigar.


I've coloured the image with alcohol markers, but you can easily use your favourite colouring mediums to complete the project. Remember to use the appropriate paper for your medium, which will make the process much easier.


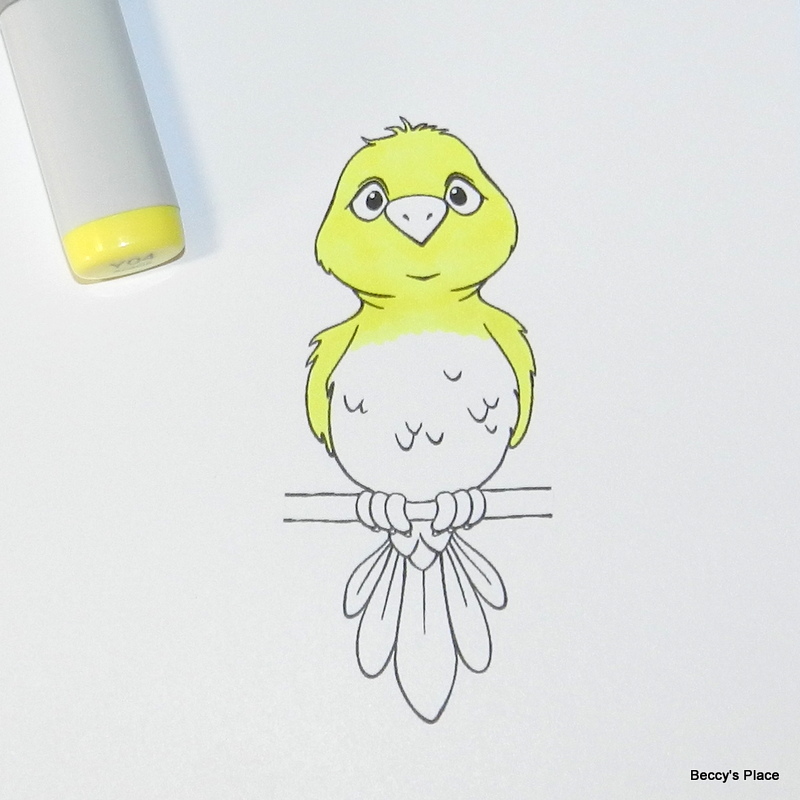
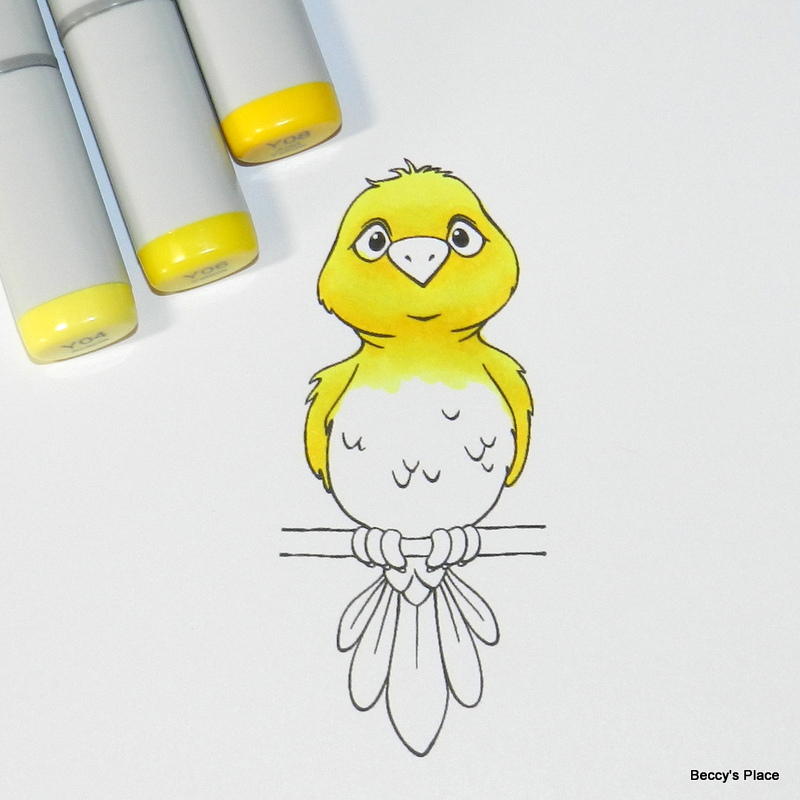
Colour the head, neck and wings with a bright yellow, then add shading around the eyes, under the beak, either side of the neck and under the wings. Blend the yellow shades using a variety of markers for a nice smooth transition.


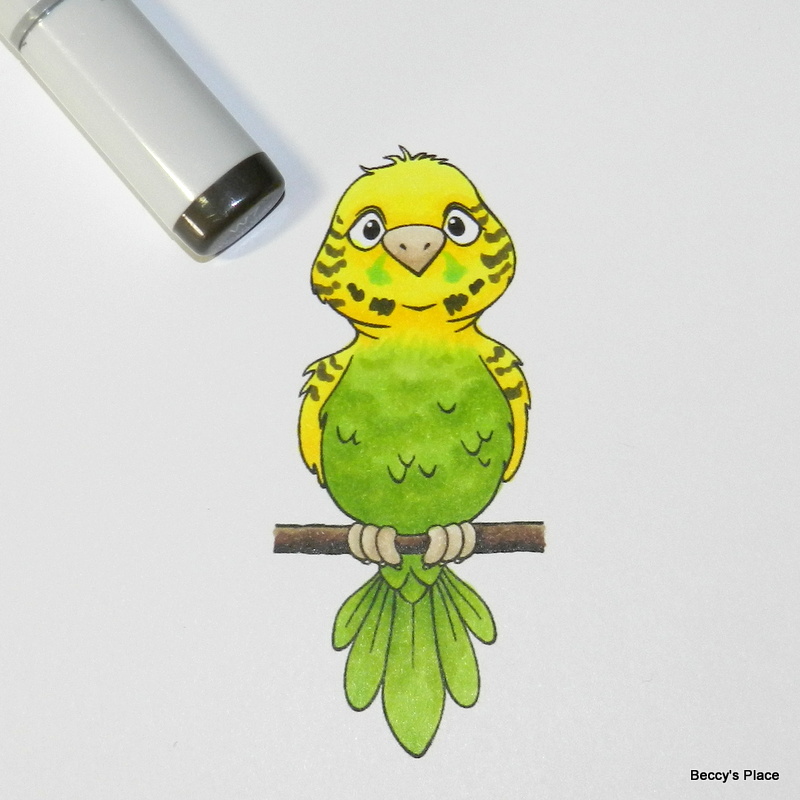
Now colour the rest of the bird with a light green shade. Add your darkest green in the shadow areas - under the tail, at the bottom of the stomach, and under the loose feathers. You can even add some additional texture to the bird if you wish. Blend with the medium markers for a nice, smooth transition.


Beaks and feet are generally the same colour - a warm grey or earth tone.


Colour the stick however you wish, remembering to contrast the colour of the bird's feet with the colour of the stick so they are both discernible.


Time to add the markings that will make this bird recognisable as a budgerigar. Use a dark, warm grey to add little lines around his chin... a bit like a goatee beard.


Now use a blue-green pen to place markings on either side of the face, right next to the beak. These markings should resemble upside-down commas.


Finally, use a lighter shade of warm grey to add textured "stripes" on the sides of the face and shoulders. Make sure you keep them quite rough and textured like the tips of feathers, rather than having smooth sides like a triangle.


Stamps:

Wednesday, May 17

Card Collection


Anesha has created a gorgeous collection of cards using the new Card Panels set of digital stamps. She combined rich, warm tones with shades of orange, yellow and green cardstock to bring a decidedly autumn feel to her first card, which was embellished with beautiful die cut ivy. She went on to create a set of four goldfish cards that would be suitable for a wide variety of occasions. Three of them feature the pre-coloured image from the set, and the fourth was coloured by Anesha using orange and yellow markers.