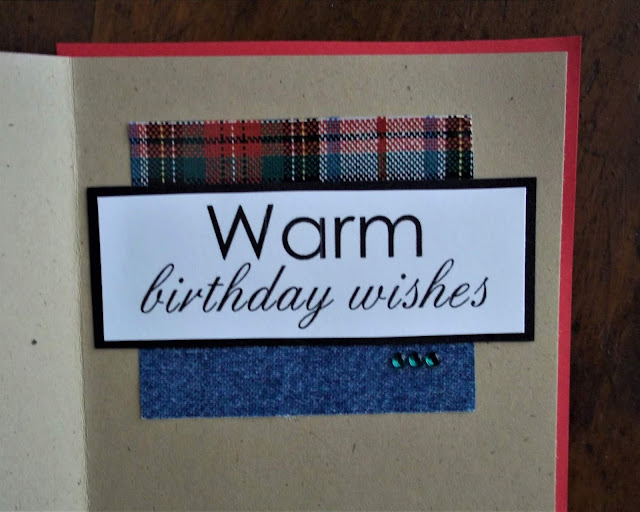
I have a fabulous X-Fold card tutorial to share with you today that I think would be best used as a little photo book or special birthday or Christmas card. It has lots of little spaces to hold embellishments, pictures, sentiments or stamped images. The addition of a ribbon means it can be tied closed or held open for display.
1. Start with four pieces of card stock measuring 4" x 4". For a larger or smaller card, simply adjust the size of your squares.
2. Score one piece of card stock at 2", turn it 90 degrees and score again at 2" so that you have four even sections (see the photos below and the template above).
3. Score a diagonal line in one of the four sections - it doesn't matter which one. Start from the top outer corner and score toward the centre of the card stock as shown below. In the diagonally opposite corner, you will be creating a tab to hold adhesive. Use a pair of sharp scissors to cut through the score line until you reach the centre of the card stock. Use a pencil to draw in a simple tab that's about 1/4" wide, then trim away the excess card stock.
4. With the tab piece on the desk, fold along the diagonal score line until the card stock is flat.
5. Apply adhesive to the tab section then fold it over to secure it to the piece below. This will form a three sided box.
6. Now fold along the diagonal score line again, this time in the opposite direction so the fold is between the other pieces of card stock. See the photos below.
7. Repeat steps 2 - 6 for the other three pieces of card stock so that you have four, three-sided boxes.
8. Using glue or strong double-sided tape, adhere two of the boxes together so that the diagonal score lines are flat on the bottom.
9. Secure the third box to the second box in the same way, making sure the diagonal score line is on the bottom.
10. Secure the fourth box to the third, again keeping the diagonal score line on the bottom of the card. DO NOT adhere the fourth box to the first or you won't be able to open and close your card.
You should be able to fold the card in on itself...
11. Collect the embellishments, images and patterned papers you'd like to add to your card as well as a piece of ribbon about 16" long.
12. Add a strip of double-sided tape horizontally to the centre front and back of the card. There is no need to add the tape over the "spine" where all the folds meet.
13. Secure the ribbon around the card with the loose ends on the opening side.
14. The ribbon can be tied to hold the card closed or open for display.
15. Add your papers, sentiments and embellishments to the different sections of your card. Don't forget a front and back cover too!
Stamps:


