I'm happy to announce that the issue with the gift certificates and store credit seems to be resolved. Thank you everyone for your patience and understanding while the engineers worked on the problem. Happy shopping!


Sunday, February 26
Open Space
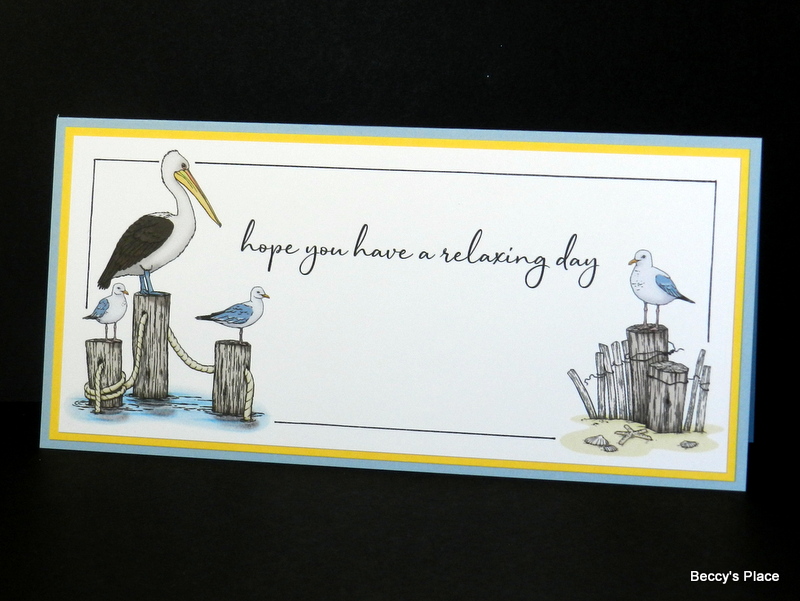
I chose to leave a lot of open space on this card... although I have to admit, it might be a little too much and could end up with a bird or three before it actually gets used. The image was printed along with the sentiment, then coloured, fussy cut and popped up to give a little more dimension.

Stamps:

Friday, February 24
A Little Sunshine

Kathy's card features the seabirds from the new Beachside Bliss set of digital stamps. Take a look at the gorgeous ocean she has created, complete with reflections and deep shadows that give the image depth and movement. Make sure you head over to her blog for more details!


Thursday, February 23


Wednesday, February 22
Beachside Bliss
I've created a couple more cards using the pre-coloured digital images from the new Beachside Bliss set. The first card uses both images, one on either end of a slimline design. For the second card, I enlarged the pelican image and trimmed one side to fit the card front. The sentiments on both were printed at the same time with a simple MS Word program. Again, super quick and easy!

Stamps:

Monday, February 20
La Femme

Carla has created two gorgeous cards with the La Femme set of digital stamps, one in shades of pink and the other in soft blues. Both are coloured with Polychromo pencils on white card and she has embellished with additional stamps, die cuts and patterned paper.


Stop by her blog for more details and inspiration!
Saturday, February 18
Tutorial - Extended Faux Step-Fold Card

This faux step-fold card gives you the same look as a centre step card but without all the measuring, cutting and folding. Easily made from a single sheet of cardstock (A4 or letter), and can be decorated with offcuts of your favourite patterned paper.

1. Trim the base card to 41/2" x 11" and the centre panel to 3" x 8". (It's not too difficult to alter the size of this card once you understand how it fits together.)

2. Place the base card horizontally on your score board and score at 41/2", 9" and 10". Fold, concertina style, along the scored lines.

3. Place the centre panel horizontally on your score board and score at 21/2". Fold along the score line pressing the crease firmly with your bone folder.


4. I prefer to decorate the pieces before assembly, but feel free to assemble the card first if you prefer. You'll need four pieces of patterned paper to decorate: 23/4" x 51/4" for the centre panel, two pieces measuring 3/4" x 41/4" for either side of the centre panel, and one piece measuring 3/4" x 41/4" for the bottom. (All paper will be vertical in orientation except for the bottom piece.)
NOTE: I also placed a piece of pink ribbon around the bottom of my centre panel before assembly.


5. Secure the centre panel to the middle of the bottom section of the base card. The adhesive should only be applied to the section before the first fold.


6. Fold the card flat and flip it over.

7. Apply adhesive to the back of the centre panel to secure it to the base card. Be mindful of where you place the glue as the centre panel is higher than the base card.


8. Now add whatever additional embellishments you'd like to complete your card.

Stamps:

Friday, February 17
Pretty In Pink
After colouring the digital stamp with my alcohol markers, I decided to add a layer of Wink of Stella to the background. I was pleased to discover that it gave the image a starry appearance, as if she is walking through a deep night scene.


Stamps:

Thursday, February 16
STORE CREDIT
My apologies to anyone who has been trying to use their store credit to purchase digital stamps. The store is still having issues that are under investigation (and hopefully repair) by the Big Commerce Team. In the meantime, please email me if you'd like to purchase any of the digital stamps using either your store credit or gift certificates. I am able to process them manually.
Cheers,Beccy
Wednesday, February 15
Colouring For Texture
Sometimes I play around with my markers just to see what kind of result I'll get. In this case, I used long narrow strokes to colour the water and sky, not worrying too much about blending the colours together. For the sand, I chose a stippling technique that I think gives it a coarser, grainier texture.

Stamps:

Tuesday, February 14
Hot Tip Tuesday

Love a bit of washi tape? Then consider creating your own!
DIY washi tape can be made very simply with strips of double sided tape and some tissue paper. You can decorate the tissue with inks, paints, markers and stamps or purchase pre-decorated tissue paper or even serviettes.

Tissue Paper + DS tape = DIY washi tape
Sunday, February 12
Thinking Of You
Pre-coloured digital stamps are so useful for quick card making. I printed two of the Beachside Bliss seagulls, fussy cut around them and used some foam tape to mount them on pieces of beautiful hammered cardstock. The card on the left has a little blue ink brushed into the background, while the card on the right has a blue cardstock base. Both quick and easy!


Stamps:

Friday, February 10
Everything Papercraft - Framing

Framing is one of the principles of visual design, along with balance, contrast, proportion, repetition, and a few others. Interestingly, framing is most noticeable when it’s missing or incorrectly used in a piece of art. Most of us are familiar with the concept in relation to the borders around a painting, but it also applies within the artwork itself. Framing helps to focus the viewer’s attention on a particular part of the image, known as the focal point, as well as making the entirety of the image more aesthetically pleasing.
As paper-crafters, frames are often created by layering mats of cardstock or paper. Sometimes we draw borders with fine tip pens, small stamps or even by inking around the edges of a cardstock panel. Many cutting dies have built in frames, such as faux stitched borders or embossed edges. Less formal frames can be created by stamping on either side of a focal image or by layering die cut embellishments at the top and bottom of a panel.
Have a look at some of the cards or pages you’ve created, you’ll be surprised how many times you’ve sub-consciously used the principle of framing.

Wednesday, February 8
Faith Over Fear

Kathy has created an inspiring slimline card using one of the images from the La Femme set of digital stamps. As always, she has beautifully decorated the inside of the card, combining two of the sentiments from the same set.


Monday, February 6
Faith Over Fear
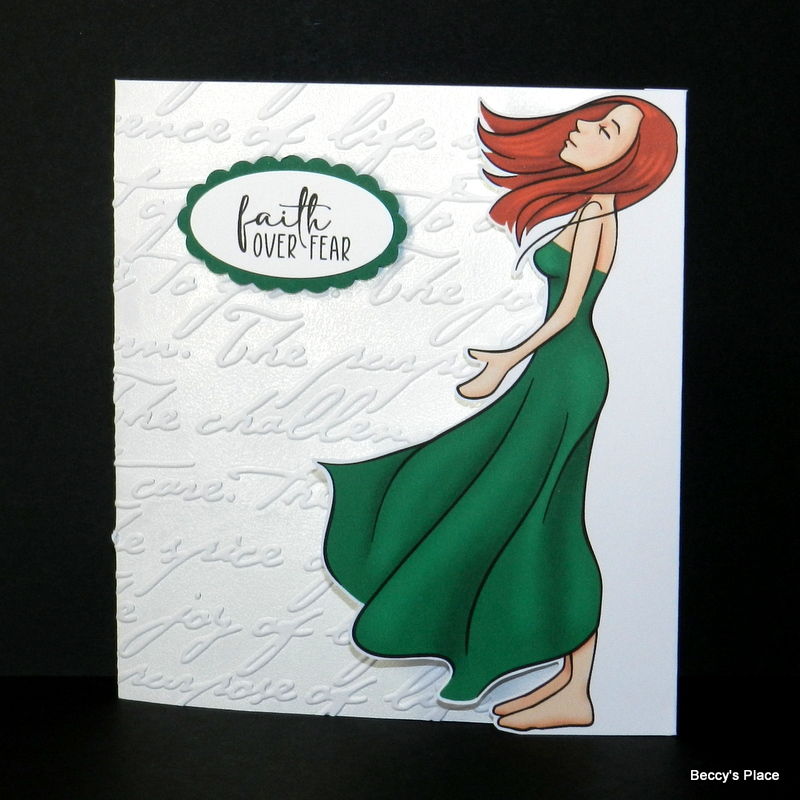
I've used one of the images from the La Femme set to create this wrap around card. The base has been double embossed with both embossing powder and an embossing folder for a fabulous, shiny finish. Last month I made a similar card using the Popping In set of digital stamps. Here's a little TUTORIAL for those who are interested.
Stamps:

Saturday, February 4
A Day At The Beach

These two fabulous cards were created by Carla, using the new Beachside Bliss digital collection. Both creations feature kraft cardstock, a staple in most card maker's supplies as it teams so well with other colours, as you can see from the wonderful background on Carla's first card. It's also reminiscent of natural places making it perfect for woodland and beachside themes.


Subscribe to:
Posts (Atom)