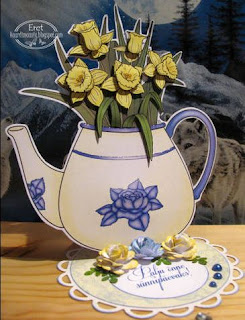
Colouring printed digital images is one technique that seems to generate a lot of questions and causes a great deal of frustration. The printer ink bleeds or fades altogether, the paper pills or it ends up all buckled and difficult to work with! Grrrrrr... it's frustrating just writing about it!
Today I want to show you an easy and inexpensive trick for keeping your ink in place - heat setting. And just to make it interesting we'll do a comparison of a couple of different methods.
Before we really get going, I would like to point out that the type of ink you use in your printer as well as the type of paper you print on will have an impact on the results you get. Try to buy the best quality ink for your machine that you can afford as well as the best type of paper for the colouring method you want to use*.
HEAT GUN
Heat guns produce a stream of very hot air, topping out at around 400C / 750F. In paper crafting we generally use them to melt enamel and embossing powders or to dry inks and paint.
The downside to using a heat gun is that it tends to leave the paper warped, more so if you are heating a large area.
HOT DRY IRON
Another method is to use an iron, but make sure you turn off the steam setting first. (Who knew there would actually be a useful purpose for an iron!?)
The downside to using an iron is that it's relatively easy to scorch the paper, as you can see in the image below. It will leave a yellow cast to the paper... brown or black if you leave it longer!!
COLOURING
I coloured three of the images with copic markers - one image with no heat setting, one image heat-set with a heat tool and the third image heat-set with the iron. Have a look at the differences between the following pictures...
Notice how the image with no heat setting has a slightly muddy look to it, particularly in the pink of the flowers. The second image, set with the heat gun, has much less of a muddy appearance, but it is still obvious that the ink has run. The best result, in my opinion, is from the hot, dry iron.
DISTRESS INKS
I repeated the same process again but coloured the images with distress inks. Interestingly, this colouring method did not seem to cause the printer ink to run as easily as it did when using the alcohol markers. I assume this is because the blending process with the markers is a lot more involved, giving the printer ink a lot more opportunity to bleed.
It's a good idea to compare different papers, colouring methods and inks until you are satisfied with your results... and who knows, maybe irons will make a comeback!
* I have an Epson ink jet printer and only use Epson brand ink. The cardstock I used for today's tutorial is Whisper White by Stampin' Up. I am not affiliated with either company.


