This is a pretty little card that folds up into a nice, tidy 4" square. It reminds me of the Japanese art of origami because of the folds required to create it, but fortunately it's not too complicated for those of us who could never quite line up our folds!
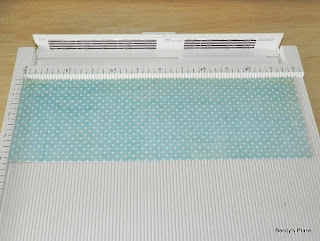
1. Start with a 12" x 4" piece of sturdy, double-sided, patterned paper. Cardstock really isn't suitable for this card as it's too heavy for the folds required.
2. Score the paper at 2" and 10", then crease firmly along the score lines.
3. Hold a ruler vertically along the mid-line of the paper, which is at 6". Fold the right hand side of the paper down along the ruler as shown in the picture below. Crease firmly.
4. Repeat for the left hand side, bringing the two edges together. Crease firmly.
5. Unfold the paper and turn it around on your score board so that the previous two creases now form a "V".
6. Repeat steps 3 and 4 pressing all the creases firmly.
7. Unfold your paper. You should have a number of intersecting creases that form a diamond shape in the centre of the card. Crease all of the folds again, one way and then the other (mountain then valley) so that you have plenty of movement in the creases.
8. On either side of the diamond you will notice several triangles. Hold the paper so that one of the ends is facing downward. Press your thumbs into the triangles and bring all of the creases together lining them up carefully. Press the folds firmly.
9. Repeat step 8 on the other end of the paper. Remember to press the creases firmly so the card holds it's shape.
10. All that's left is the decoration. I used a stamped image from Flourishes, an old corner stamp from my stash and a scallop edge punch to decorate my card. I then made a ribbon loop that slides on and off to hold the card closed (see the first image). Have fun!


