Showing posts with label Blue Wrens Patterned Paper. Show all posts

Friday, January 23

Chocolate Mousse

I always consider brown to be a foundation colour, one that doesn't necessarily shine on its own, but plays a very important support role for other colours. For example, the red and purple in this image are what really catch the eye, but I think that's in part because of the contrast with the brown. And if that doesn't sell you on this fabulous colour, then just remember it's also the colour of chocolate!


Products:

Sunday, January 4

Pretty in Pink

The last quarter of 2025 has been exceptionally busy, and a little bit challenging, for my family and me. Spending time stamping and colouring helps me relax and gives my mind some down-time... with the added benefit of creating some pretty cards to gift to people who are dear to me.


Products:

Saturday, December 27

Green and Gold

A piece of pretty green paper makes a nice contrast for the yellow magnolias. I also added a white embossed sentiment and some little drops of Nuvo paint.


Products:

Friday, July 4

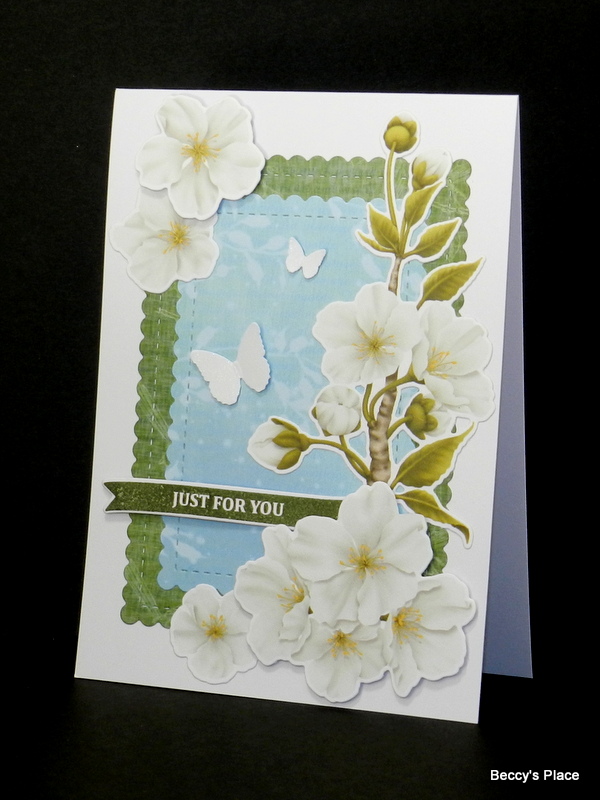
Just For You

Keeping it simple with some die cut patterned papers, pretty flowers, and a versatile sentiment.


Products:

Sunday, April 27

Little Blue Wren

A simple card, created with layers of patterned paper and silver mirror card, a heat embossed sentiment, die cut bird, and some organza ribbon. The white spots are tiny drops of Nuvo paint.


Products:


Saturday, April 26

Layout - "Boyhood"

I actually spent some time creating a scrapbook layout today, but I think the design would also be great for a card... just on a smaller scale. I used a combination of the toned images from the Blue Wrens cut sheets plus torn strips of patterned paper to create a vintage-looking page. Some black Nuvo drops and pieces of twine add a little more texture and offer a nice contrast to all the straight lines.


Products:

Tuesday, April 15

Wishing You A Beautiful Day

Nesting dies are very handy for creating beautiful dimensional frames, and you can make them with whatever shaped dies you have. Just add some foam tape or off cuts of chipboard between the layers to give the extra dimension.


Products:


Saturday, March 29

To Someone Wonderful

Rather than fill the entire background with one sheet of patterned paper, consider cutting it into pieces for a more interesting look. For more contrast, you could switch out one or two of the pieces for other colours... and don't forget to add different layers for extra dimension.


Products:


Thursday, March 20

A Little Bird For You

Brown and blue is a fabulous colour combination, or in this case, kraft and blue. I always have a healthy stack of kraft cardstock in my stash, I find it comes in handy for most holidays and occasions.


Products:


Wednesday, March 12

Birthday Pair

The Blue Wrens Cut Sheets include some images that are toned or shaded for a more vintage look. They combine beautifully with the muted blues and greys from the patterned paper set, particularly the grid papers that have light images of the little birds.


Products:


Sunday, March 2

Tutorial - Nest Card


Every little bird needs a comfy nest to come home to.
Luckily for us, we can create a nest using a few simple items that you may already have in your stash.


1. Start with this little bird from the Blue Wrens set. I've used one of the images from the Blue Wrens cut sheets, but you can stamp and colour your image if you prefer.


2. Use a small pair of scissors to remove the legs and branch from the bottom of the image, then separate the legs from the branches.


3. You'll need a piece of paper for the background, a scrap of kraft cardstock, and a small piece of hessian or burlap. Use a pencil to draw a rough outline of a nest, which will look a bit like a curved sausage... it doesn't have to be perfect as it will be covered by the hessian. Make sure your nest is big enough to hold your bird.


4. Cut out your nest shape and colour it roughly with different coloured brown markers or pencils. Again, don't worry too much about the colouring as most of the nest will be covered by the hessian.


5. Pull the hessian apart so you're left with lots of strands.


6. Apply a generous amount of glue to your cardstock nest and start securing the hessian strands over the top. The strands should run roughly in the same direction, but make sure they cross over, intertwine, and have messy edges.


7. I added a few sprinkles of flower soft for a bit of variation. You might like to look around your craft room for little pieces of thread or yarn, or perhaps go outside and collect some very tiny, dry twigs.


8. To construct the card, I secured a large kraft cardstock frame around my patterned paper with foam tape. Then I played around with the positioning of the nest and branches. Once I was happy, I began to secure the different pieces in place, starting with the main branch that will hold the nest.


9. I find it easiest to secure the little bird and the end branches to the back of the nest rather than adhering them to the paper. It's easier to adjust the placement first and then adhere the whole thing to the background.


10. Now add the panel to your card blank and you're done!


Products: