


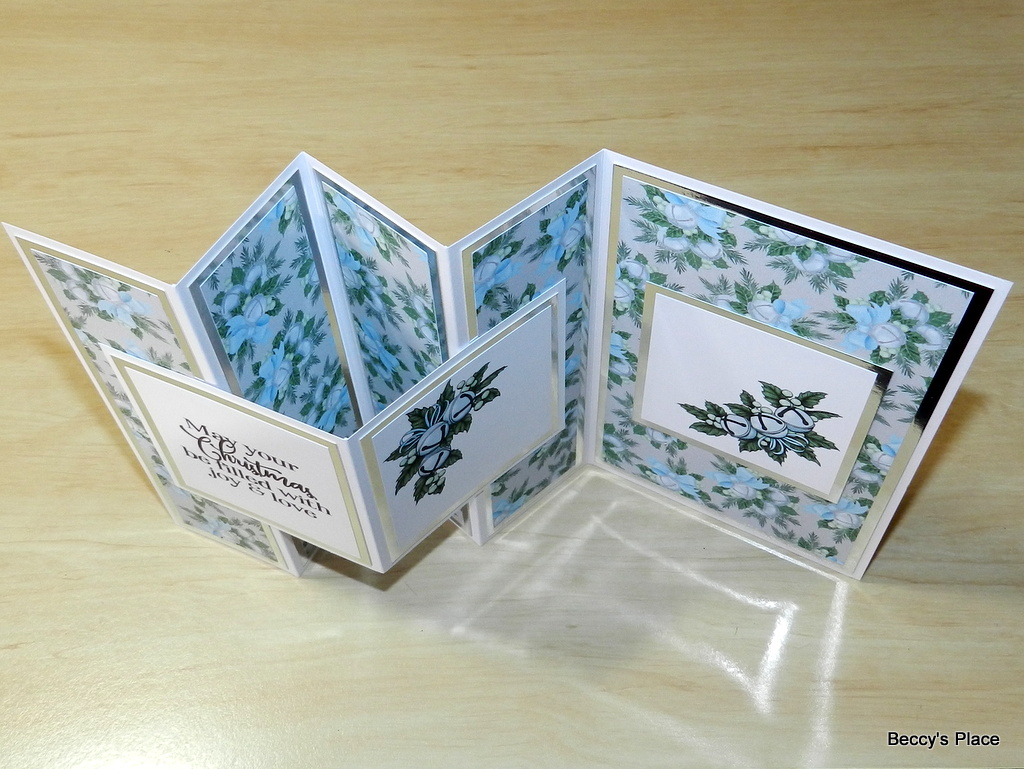
Created from two pieces of folded cardstock that resemble the letters "W" and "V", these fabulous cards are great for showcasing pretty papers and multiple images. They fit into a standard envelope and fold flat for postage, which is always a welcome bonus!

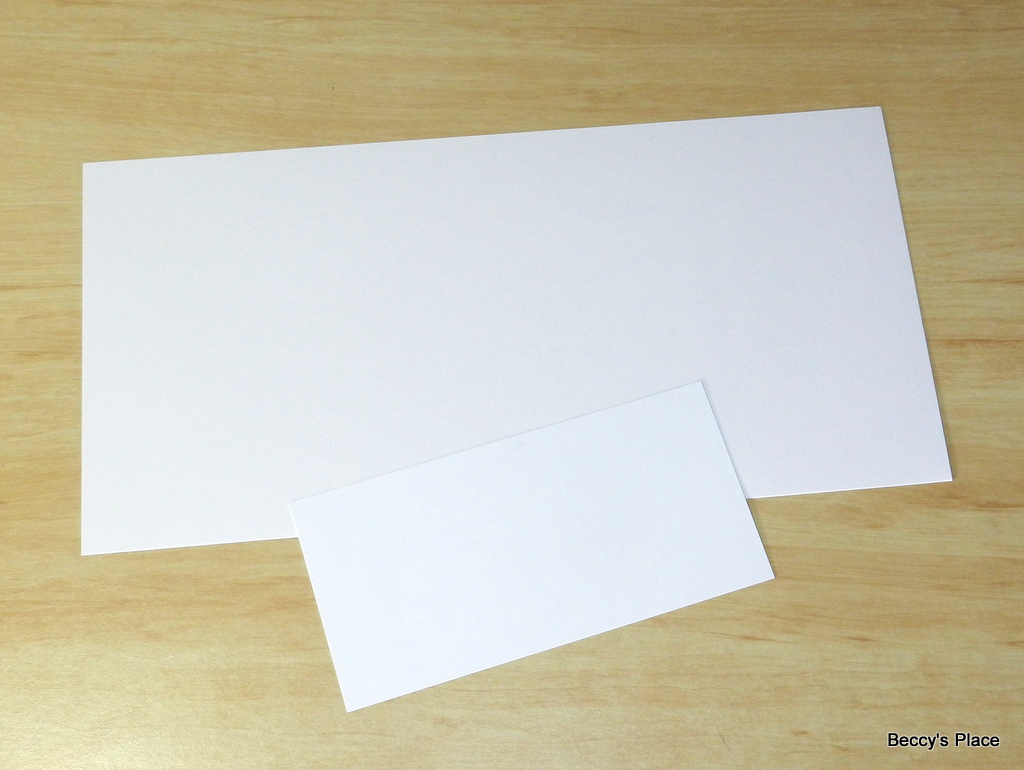
1. To create the card base, you'll need one piece of cardstock measuring 12" x 6" and one piece of cardstock measuring 6" x 3".
2. Place the larger piece of cardstock horizontally on your score board and score at 2", 4", 6" and 8". Make a mountain fold, a valley fold, another mountain and end with a valley so that you have a concertina.

3. Place the smaller piece of cardstock horizontally on your scoreboard and score at 3". Fold along the score line.


4. To decorate, you'll need:
- one piece of patterned paper measuring 33/4" x 53/4"
- four pieces of patterned paper measuring 13/4" x 53/4"
- three sentiment / image panels measuring 23/4" x 23/4"
(NOTE: I used the above measurements to cut pieces of silver card, which I then topped with patterned paper / cardstock that was 1/4" smaller)

5. Secure the patterned paper to the large card base with glue or double sided tape. Secure two of the image / sentiment panels to the small card base - the panel on the left hand side is the panel that will appear on the front of the closed card.

6. Secure the third panel to the end of the large card base, centring it as well as you can.

7. Now fold the small card and position it over the third panel. Take care to hold it perfectly in place while you complete the rest of the steps below.


8. Open the small card taking care to hold it in place.

9. Bring the closest fold over the top of the small card and mark the edge with a pencil. This will give you a guide for adding the adhesive.

10. Open the large card again and apply glue or double sided tape to the left hand side of the small card, up to the pencil mark. Remember to keep the small card centred over the panel. Once the adhesive is in place, bring the fold over again and secure the sections together.


11. Completely close the large card, and open the small card. Apply glue or double sided tape to the right hand side, no further than 11/4" from the edge. Close the small card securing it to the first panel of the large card base.


Digital Stamps:

5 comments:
Beautiful card, I love the fold. xx
Wat een fijne duidelijke uitleg.
Dank je wel.
Wonderful card Beccy. Anesha x
Stunning and a fab tutorial and images x
ABSOLUTELY GORGEOUS card Beccy!
... so sorry, I thought I had commented when you first posted this card and tutorial but I must have been too excited by this lovely new release.
Anyway, I came back again today because I've been trying to make a W-V fold card just like yours. I've followed your instructions, got all my panels adhered except for the final "V" panel.
Can I please ask a dumb question?
When you adhere the "V" panel, do the inner folds open up to make a "square" when looking down on the "tunnel" bit, or is it more of a diamond shape? Sure hope it's a diamond, otherwise I might have to request a house-call :)
THANK YOU SO MUCH for your INSPIRATION!
Post a Comment