Trimming the tree is one of those wonderful holiday traditions that many households enjoy together, and as such, it's also a popular image for holiday cards. Today I want to show you one way of colouring and decorating a Christmas tree image for your cards, scrapbook pages, art journals and paper craft projects.
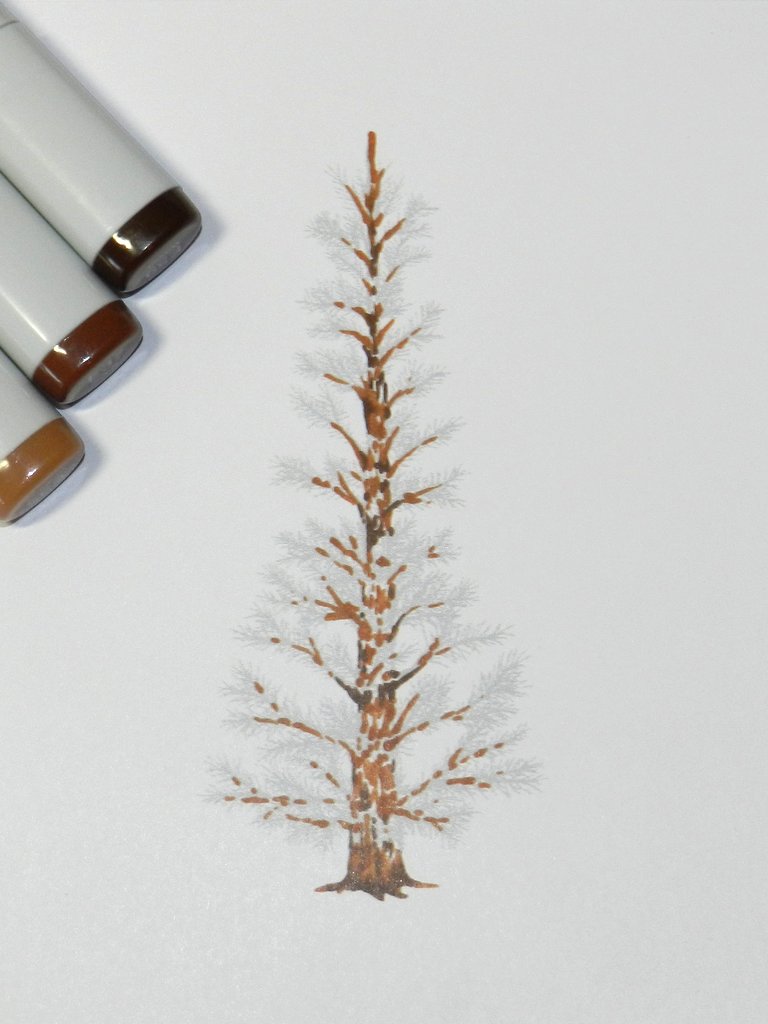
I've printed a digital image in light grey by using the "washout" feature in Microsoft Word. The lighter lines will allow me to add more colour, rather than solid black lines, and results in a finished piece that looks more like a painting or drawing rather than a stamped image. Since I'm planning to use alcohol markers, I've printed on a piece of blending card.
Start by colouring the trunk and branches of the tree. You want to use a few shades of brown to give a little bit of depth and interest, but there's no need to worry too much as the pine needles and decorations will cover most of it. As you can see, I've left a lot of white space in my colouring so I can layer the green over the brown. Alcohol markers are transparent and lower layers will show through whatever you apply over the top. To give the impression that some of the pine needles are actually in front of the trunk, you need to make sure the brown isn't showing through.
Add the pine needles with small strokes from the very tip of the marker.
Fill in as much or as little as you like.
Add a little bit of light green to the tips of the branches where new needles would grow.
Once the colouring is done, it's time to decorate!
I love using different mediums to add dimension, colour and texture over the top of the image. I've found some mediums are better than others at holding their shape, but it's good to mix it up with different brands. Don't forget you can also add rhinestones and self adhesive pearls. If your image is large enough, you can even think about die cuts and small stamped baubles. Have fun!
Stamps: