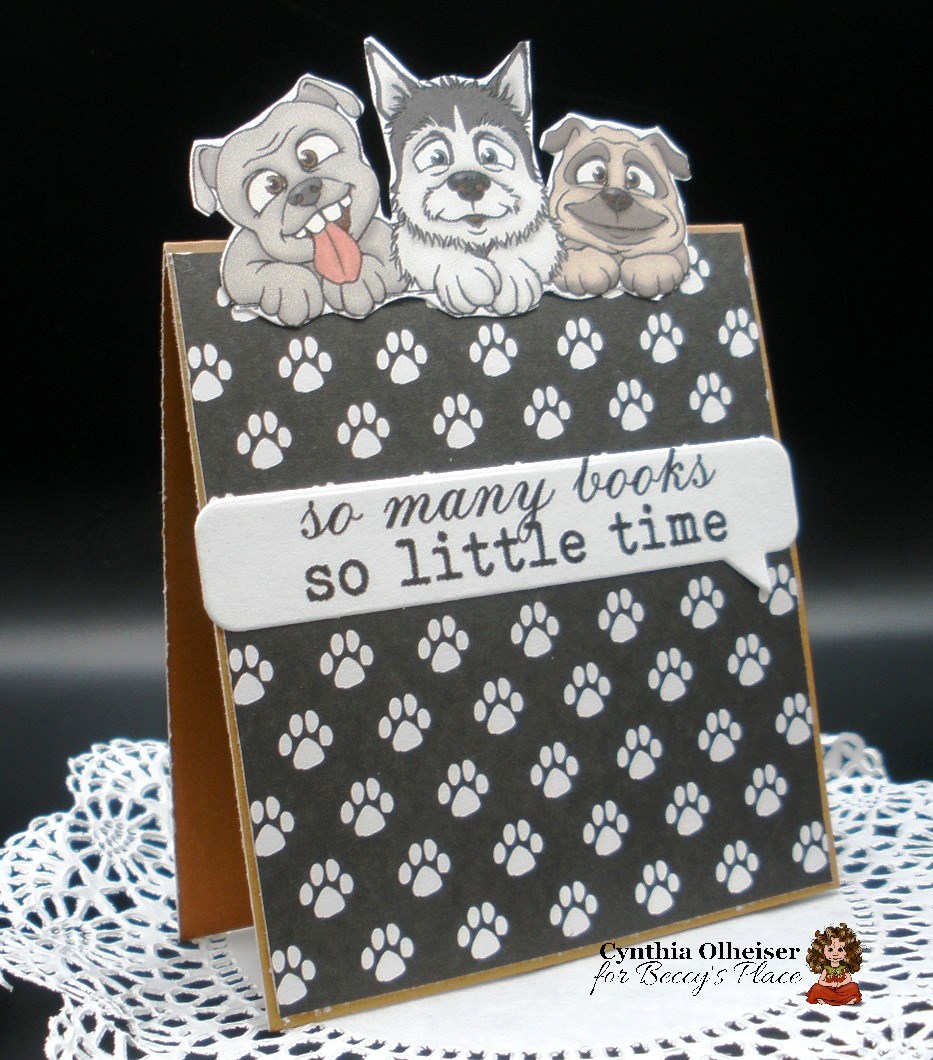
Today I'd like to show you how I create single-layer cards using digital stamps and Microsoft Word.
1. Start by opening a blank page in MSWord (or your preferred software equivalent)
2. Click on the "Layout" tab at the top, then select the first option, "Margins". Change the top, bottom, left, and right margins to 0cm and click OK. If a warning pops up to tell you the margins are too small, simply select "ignore".
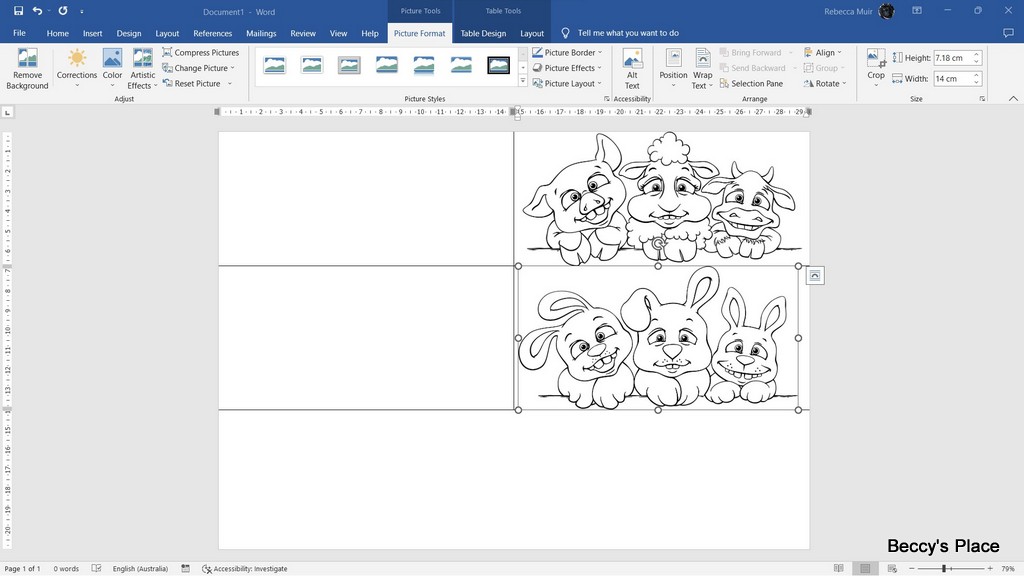
3. Click on the "Insert" tab, then select "Table". You want a table with two rows and two columns. Click OK.
4. Click in the top, right hand box so that your cursor appears. Select the "Insert" tab at the top of the page to access your picture files. Find and click on the image you want to use, it should appear in the table. Select the "Home" tab while the image is selected, then click centre to place the image in the middle of the box.
5. Resize the image by right clicking on it and selecting "Size and Position" from the drop-down menu. Change the width to 14cm.
6. Repeat the process with another image in the bottom, right hand box. This will give you two cards on the same sheet of A4 paper.
7. Click on the top image again, then hit the right arrow key so that the cursor is to the right hand side of the image. Press the "Enter" key so that the cursor is now below the image.
8. Select the "Insert" tab again and then choose a sentiment from your files. Resize it in the same way you resized the image, or drag the corner boxes in or out if you prefer. My sentiment is 1.5cm high. Repeat for the lower image.
9. Click on the top image again, then hit the left arrow key to bring the cursor to the left hand side of the image. Press the "Enter" key to add some space at the top of the image. Repeat for the bottom image. Ideally, you want the same amount of space at the top of both images and at the bottom of both sentiments.
10. Right click in the top, left hand box, then select "Table Properties" from the drop down menu. At the bottom of the box, click on "Borders and Shading". Select "None" in the first column and then hit OK, and OK a second time. You should notice that the lines of your table are now dashes or dots rather than solid.
11. Time to print! As you can see, the lines don't show up in the print dialogue and they won't print on your paper either. Make sure you change your settings to suit the weight of paper you're using and the quality of the print.
12. Once printed, cut the A4 sheet in half horizontally, then fold each piece to create your cards. To create the specific card at the beginning of this post, I coloured, then fussy cut around the top of the image and adhered a piece of patterned paper to the inside.