Showing posts with label Easter Joy. Show all posts

Sunday, April 19

Like A Bunny Loves Carrots

I like to create stamp sets that can be used for more than just one occasion, so when it came time to design something for Easter, I made sure to sneak in a couple of elements that could be used after the holiday was over. I think this sentiment would also work well with the little bunny sitting with his back to us.


To give a little more depth to the image, I actually printed it several times, fussy cut around the carrots and built it up, paper-tole style.


Stamps:

Sunday, April 12

Easter Joy

I don't generally sent out many Easter cards, but this little chicken is too adorable not to make at least one.
Happy Easter!


Stamps:

Friday, April 10

Tutorial - Free Standing Pop-Up Card


These fabulous cards pop open to reveal a festive display that will stand up proudly throughout a special holiday or event, and they even fold completely flat for postage in a standard size envelope! 


SCORING TEMPLATE

1. Place a piece of card stock measuring 11" x 41/4" horizontally on your score board and score at 1" 23/4", 33/4", 51/2", 71/4", 81/4" and 10". Fold along all the score lines.


2. Make a vertical cut at the 51/2" score line that is 3/4" from the top and 3/4" from the bottom of the card stock. See the template above for correct placement.


3. Prepare your sentiment panel. Start with a piece of card stock measuring 51/2" x 23/4" and decorate as desired. Keep the surface of the card stock smooth so that it can slide up and down the cut you made in step two - don't add any embellishments, foam tape or card stock cut outs. I added a coloured image that is slightly smaller than the piece of card stock.


4. Place the 51/2" x 23/4" piece of card stock into the slot you cut in step two. It should be a snug fit, but still able to move. If it's too tight, cut the slot a tiny bit at either end.


5. I've added pencil marks to the areas of the card that require adhesive. Use wet glue to give yourself time to manoeuvre everything into position.


6. Fold the card in half where the slot was cut. Your image panel should still be in place. The panels on each end of the card will be folded in and adhered together with the bottom of the image panel sandwiched firmly between.


7. We'll start by adhering the image panel to one side of the card. Add some glue to the panel that's resting on your desk and centre the image panel over the top, keeping the bottom edge flush with the edge of the card base.


8. Apply more glue along the entire length of the bottom panel including a small section of the image panel as shown below. Press the two sides together firmly and allow to dry completely.


9. To decorate, cut some patterned paper into strips. You'll need two strips measuring 4" x 3/4" and four strips measuring 4" x 11/2". Adhere them around the card base leaving a small, even border around each strip.


10. Once your card is completely dry you can try out the pop-up feature. Press gently but firmly on the middle fold where the slot was cut. The card base will form a little box that acts as a stand for the image panel.


11. The last step is to add some embellishments. Avoid the area on the image panel that slides in and out of the slot as it will prevent the card from opening and closing properly. You can add some die cuts on the outside of the box and the very top of the image panel, and you can also add some ribbon or twine around the top of the box if you wish.


Stamps:

Wednesday, April 8

Celebrate the Season


Easter is just around the corner and today Judy is sharing some of the fabulous cards she created to celebrate the holiday and send joy and good wishes to her friends and family.


Judy has used lots of lovely soft colours for these projects, which are traditional at Easter and reminiscent of spring flowers. The beautiful bows on each card are great decorative elements as well as performing the practical task of anchoring the little sentiment tags. She has carefully fussy cut each of the characters from the Easter Joy set and popped them up for some extra dimension.


Judy has kindly shared a project colour guide for each of her beautiful cards.
To see more of Judy's work, click the link at the bottom of this post to head over to her blog.


Monday, April 6

Easter With Kathy


Kathy is sharing some adorable Easter cards with us today using the new Easter Joy set of digital stamps. The first card folds open for display and can be used as part of her Easter decor. Wouldn't it look fabulous on the table for Easter lunch? She has coloured the little chick with lots of wonderful, bright colours reminiscent of spring flowers.


Kathy's second Easter card could also be given for Valentine's Day, a birthday or just to let someone special know that she's thinking of them. How cute are those thought bubbles filled with carrots?! She has finished the inside of the card with a large sentiment and another little carrot.


Kathy has shared colouring guides for both of her fabulous projects...


You can find more of Kathy's work over on her blog:

Saturday, April 4

Tutorial - Saturating the Ink


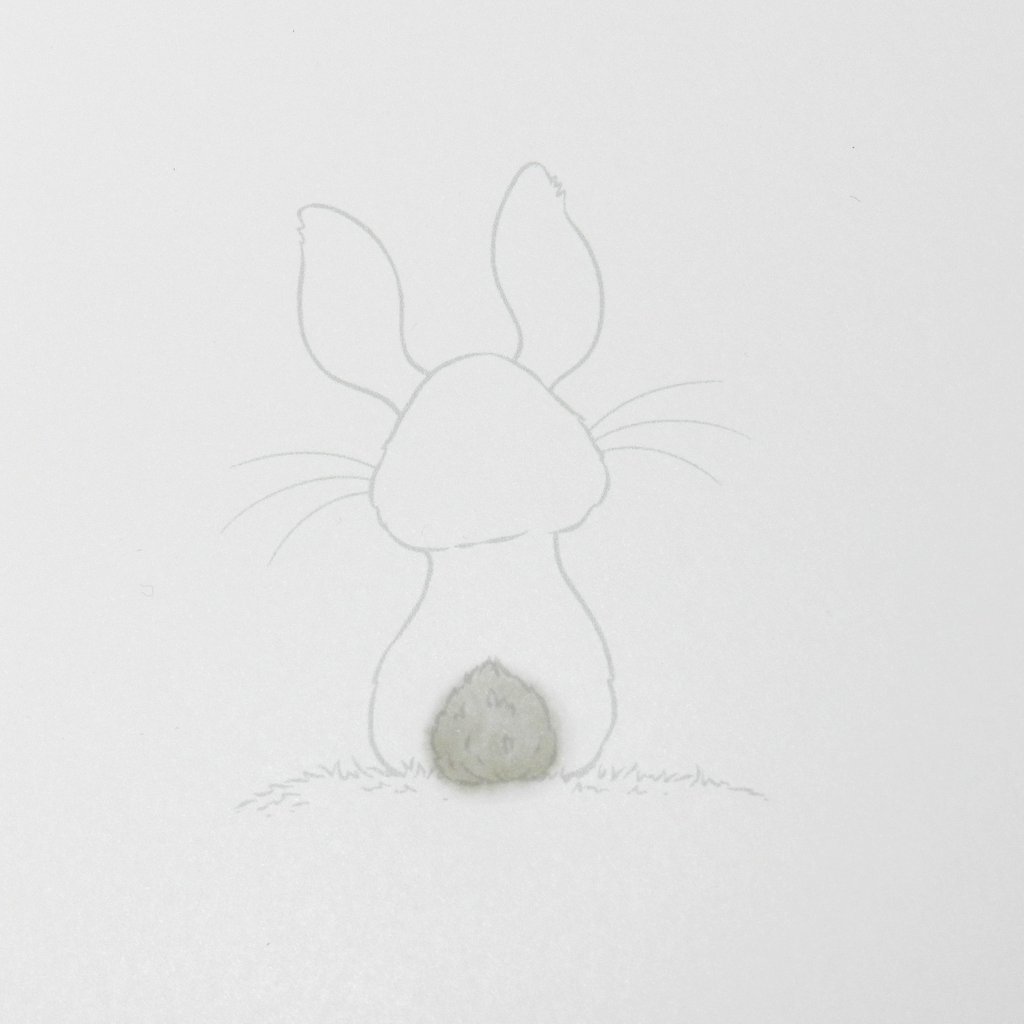
One of the very first things I learned about alcohol markers was not to overwork the image, which, of course, meant that it's one of the very first things I did (what's the worst that could happen, right?) It's true that the ink becomes mottled and splotchy with no way to correct it. But...


... it makes fabulous fluffy bunnies!!


For the best results, print or stamp your image with a very light colour. A heavy black outline will camouflage a lot of the effect that we looking to achieve with this technique.


Soak a small area of your image with the 0 blending pen, and while it's wet, add your colour. Don't wait for anything to dry between layers, just keep adding the ink. It won't take long before you start to notice a "halo" form around the area you're colouring. This is the ink starting to bleed outward.


Work in small stages so that the ink doesn't have time to dry. Add lots of ink to each layer, working light colours into dark until the pigment starts to become mottled and you end up with a splotchy look.


Once the ink dries, you'll notice the edges are fuzzy from where the ink has bled outward... and you've now got a lovely fluffy bunny!


Stamps: