


Telescoping cards consist of a series of progressively larger shapes that pivot to form a single card. Although generally comprised of three sections, you can have as many as you like and you can make them whatever shape you desire.

1. The first thing you'll need to do is choose your shapes. I'm using circle dies - three with a stitched edge that will become image panels, and three with scalloped edges that will be the backing for each image panel. The scalloped dies are all larger than the stitched ones so that when they nest together you can see very little, if any, of the stitched edged dies. (NOTE: You can achieve the same results with nesting shapes cut on an electronic cutter or with a hand cutter)

2. Cut three image panels from white cardstock and three backing panels from coloured card. Stamp and colour the image panels as desired. I used the characters from the Howdy Girl set of stamps and coloured with alcohol markers.


3. Use glue or tape to adhere the images to each of the backing panels. You can make this card from single layers of cardstock, but having the additional layer gives extra strength and support (and also hides the ink that tends to leak through when colouring with alcohol markers.)


4. The panels are going to end up in the configuration shown below. Each section will be joined to the next with a brad so that it can pivot in place. The smallest panel will sit over the middle panel, which in turn, will sit over the largest panel. When folded together, only the top image will show.


5. OPTIONAL: Telescoping cards are designed to hang so you'll need to punch a small hole in the centre top of the smallest panel. You can thread some ribbon or twine through the hole once you've joined the other pieces.

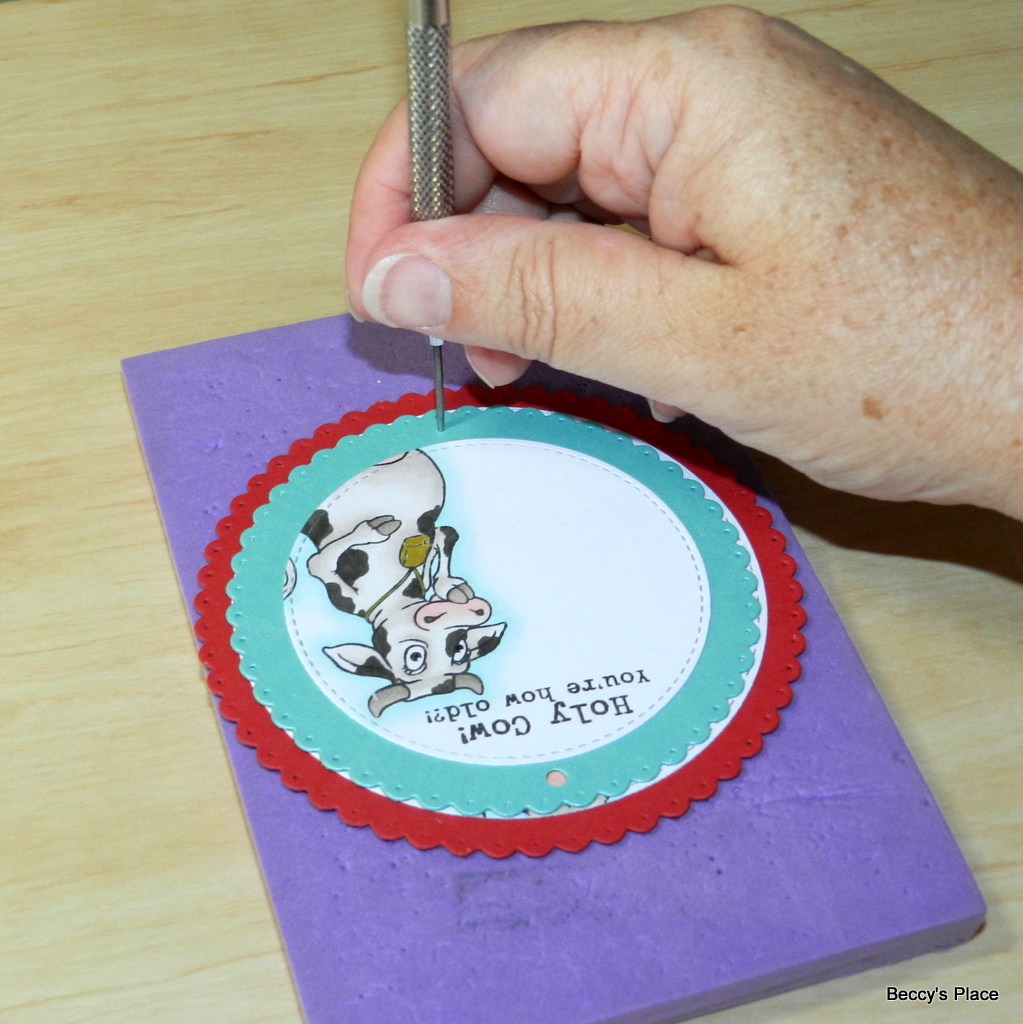
7. You'll need two brads (split pins) and a piercing tool to join the panels together. Start by poking a hole through the backing card at the centre, bottom of the smallest panel.


8. The hole you just pierced needs to line up with the hole you're going to pierce at the top of the middle sized panel. Remember that this is a pivot point, meaning the small panel will swing around on the brad you place through the hole.

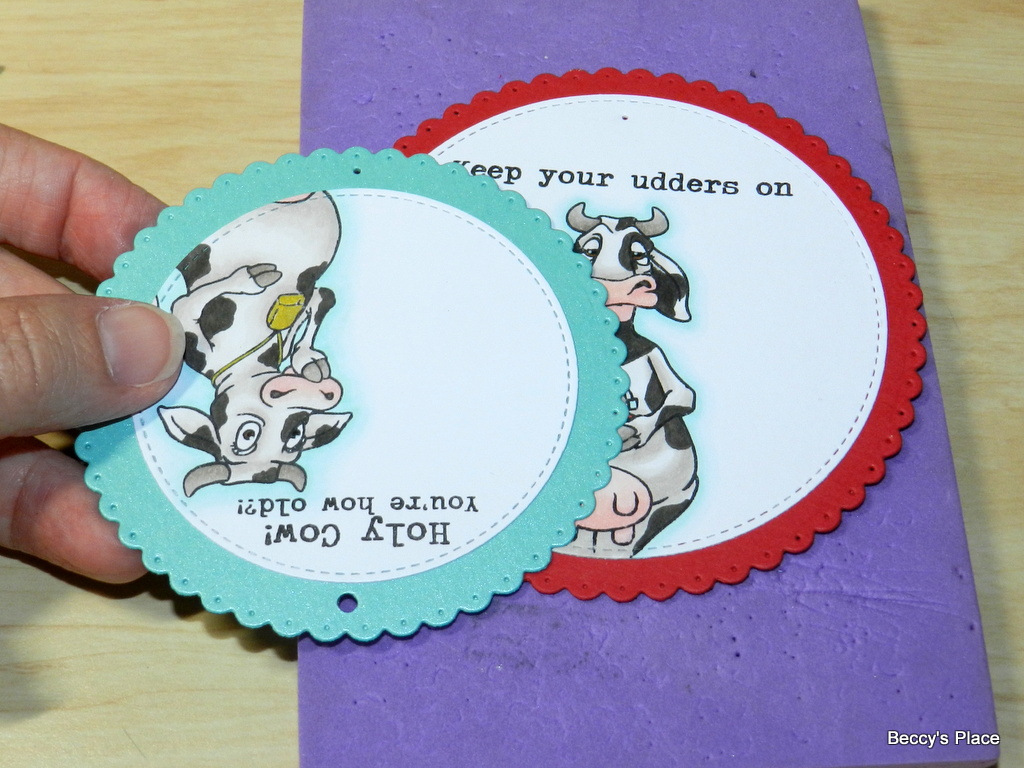
9. Keep the middle panel the right way up, then place the small panel upside down over the top. Remember, this is because the panels will pivot around the brad.

10. Line up the small panel so that it's in the centre of the second panel. You should see very little, if any, of the image panel below. Even though one is upside down, the two pieces should be as parallel as possible - you want all the holes to be at either the centre top or centre bottom of each panel.

11. Using the hole in the smaller panel as a guide, pierce through the middle sized panel. The hole should end up in the centre, top of the white cardstock.
12. Pierce a hole at the bottom, centre of the middle-sized panel, through the backing cardstock. Repeat the same process to place the hole in the largest panel. Remember that the hole at the bottom of the middle-sized panel will line up with the hole you pierce in the top of the largest panel.


13. Push one of the brads through the front of the small panel then through the front, top of the second panel. Open and flatten the pins to set the brad in place.


14. Place the second brad through the front, bottom of the middle-sized panel, then through the top of the largest panel. Open and flatten the pins to set the brad in place.

15. Embellishments are best added to the smallest panel of the card, which is also the front section. Given that the cardstock has to slide open and closed, any raised embellishments are likely to either catch on the cardstock or be flicked off over time. I simply added some small cardstock flowers and little sticker gems to the front for interest, as well as a piece of twine to hang the completed card.


Stamps:

2 comments:
Super cute! Clever idea.
Love this!
Post a Comment