


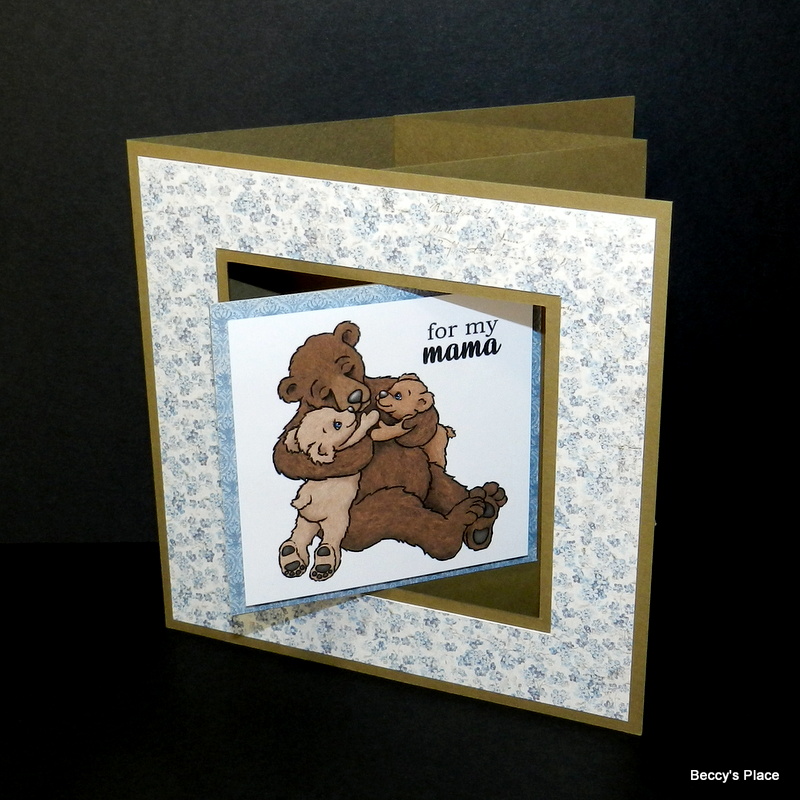
This is one of those fabulous cards that gives you lots of bang for your buck! Although it looks somewhat complicated, and includes a clever lever action in the front, it's actually very easy to put together and folds nice and flat for postage. Yep, it's one of those great cards that really has it all!
TEMPLATE:

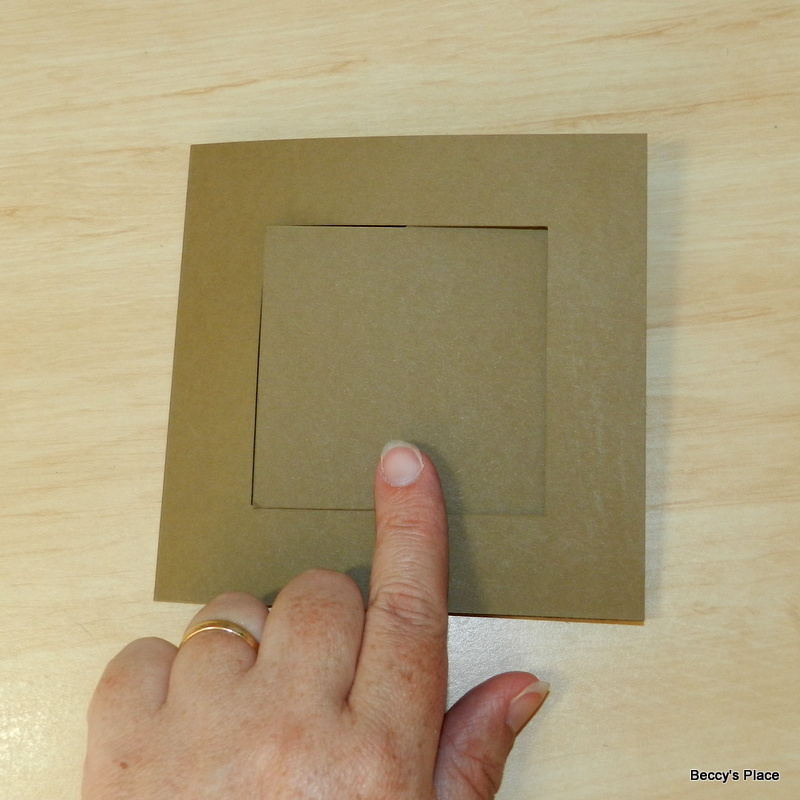
1. To create a card the same size as I have, you'll need two pieces of card stock measuring 5" x 10". Place one of the pieces of card stock horizontally on your score board and score at 5". Fold the card along the score line to form the card blank.

2. Cut a 3" square window in the centre front of the card blank. The window will be 1" from the top, bottom and sides. Refer to the template above for correct placement. Set the card blank aside.


3. To create the inner piece, place the second piece of card stock horizontally on your cutting mat and make a 3" cut down the left hand side, starting 1" from the top and 1" from the side. The cut should stop 1" from the bottom. Turn the card 90 degrees and make a 11/2" cut starting from one end of the first cut line. It should stop at 21/2". Make another 11/2" cut from the other end of the first cut line, also stopping at 21/2". See the template above and the photos below for correct placement.


4. Place the inner piece horizontally on your score board with the cut end on the left hand side. Score at 21/2", starting from the top of the card and ending at the cut. Score another line at 21/2", this time starting from the bottom of the card and stopping at the bottom cut. Refer to the template for correct placement.

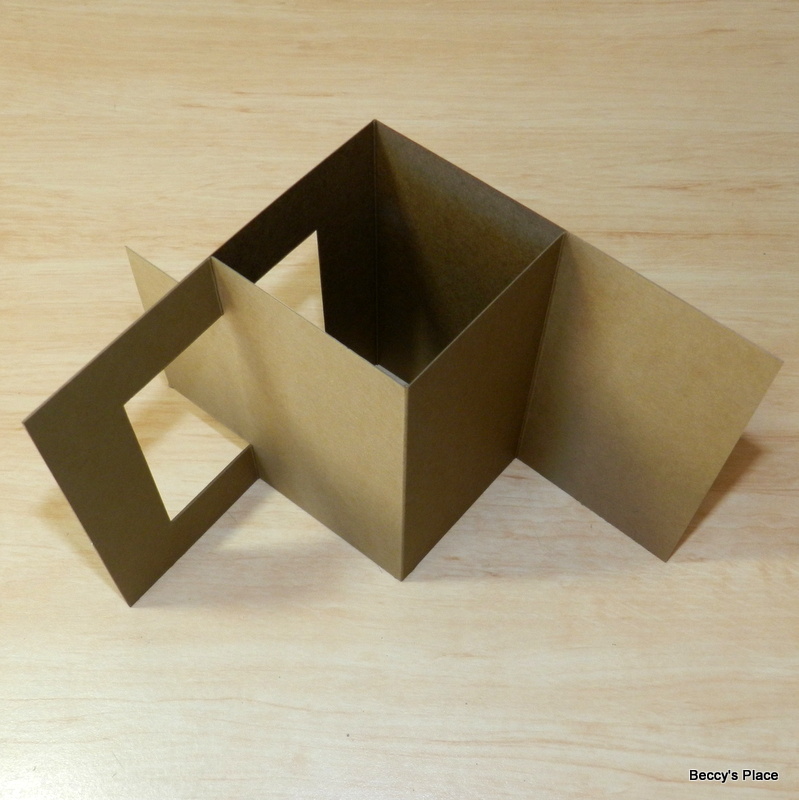
5. Fold along the score lines beginning with a valley fold, followed by a mountain fold and then another valley. See the image below.

6. Now it's time to join the card blank and the inner piece together to form the card base.

7. Fold the first section of the inner piece back and apply some liquid glue.

8. Open the card blank and place the inner piece over the top. Carefully line up all the edges and adhere the inner piece to the card blank. Allow to dry.


9. Fold back the other end of the inner piece and apply more liquid glue. Line up the edges and adhere in place to form the card base.


10. To decorate, close the card and work on the 3" square in the centre. This area is on the "lever" portion of the card and will be visible from both the inside and outside of the card. Take care not to place anything over the edges or you may obstruct the lever action.


Once you understand how the card works it's quite simple to alter the size to suit your needs. Just make sure the two pieces of card stock are the same size and that the measurements for the window in the card base are the same as the cuts for the inner piece.

Stamps:

6 comments:
Thank you so much Beccy for a wonderful tutorial and a great card.
Beautiful card and great tutorial x
Amazing, beautiful and much more, Beccy you always wow me with your stamps and card designs, thank you for sharing all you do, hugs, Lori m
Adorable and fun card. Thank you for the tutorial.
What a cute card!
So clever with the design and a beautiful card is the result.
Faith x
Post a Comment