


Today's tutorial is more of a decorative element than a true card fold technique. It involves concertina folding a piece of double-sided paper to form a pretty decoration that brings to mind pleated curtains.


1. Start with a strip of double-sided patterned paper measuring 21/2" x 103/4". Measure 3/4" from the bottom, right hand edge and mark with a pencil. Using a ruler and craft knife or a trimmer, cut from the top, left hand corner to the mark you made on the right hand side. We'll only be working with the piece that has one 21/2" edge and one 3/4" edge.
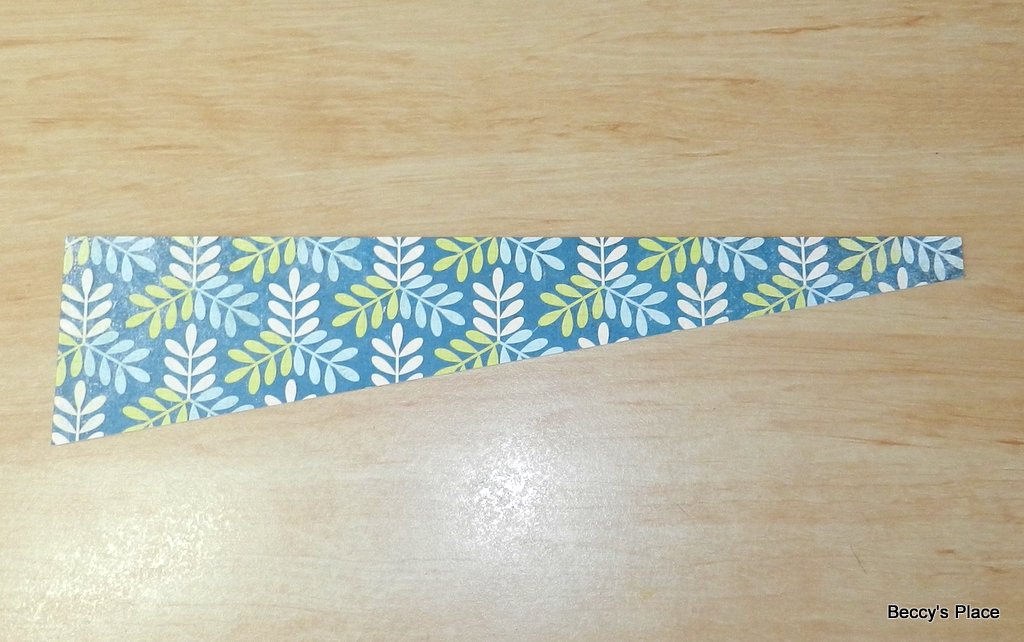
2. Place the patterned paper on your score board with the horizontal edge against the top and the 21/2" edge at the left edge. See the photo below. Score at 3/4", 21/4", 3" 41/2", 51/4", 63/4", 71/2", 9" and 93/4".

3. Beginning with a mountain fold, concertina the scored paper from beginning to end. Once folded, it should measure 4" wide.


4. Apply a small amount of glue between each fold and press firmly to hold in place.

5. Now it's time to assemble your card. You can add whatever images, stamps, decorations and embellishments you like. Traditionally, the folded patterned paper is positioned at the bottom of the card as a kind of frill.

6. Apply a couple of strips of double sided tape or some glue and attach the "curtain" at the bottom of your card.

7. Add a strip of ribbon, washi tape or card stock over the top of the "curtain" to give it a finished look. Complete your card with a sentiment and whatever additional embellishments you like.


Stamps:

8 comments:
Will have to give this a try! Very pretty.
Striking Becca - nice work!
Hi Beccy this is a stunning card. I love it. That fold is amazing and makes such a lovely decorative element. Take care. Hugs Jackie
Great looking card and fold technique...you pick the perfect paper to go with the color of the birds....well done and tfs
Pretty!
Inspiring. Thank you for the tutorial.
If you angle the line slightly less and have 3/4" on either side you have 2 pieces of patterned paper to use rather than 1. (paper mustn't have a 1 way pattern) I love this card and will have a go at it today.
Great idea! Thanks for the tip.
Cheers,
Beccy
Post a Comment