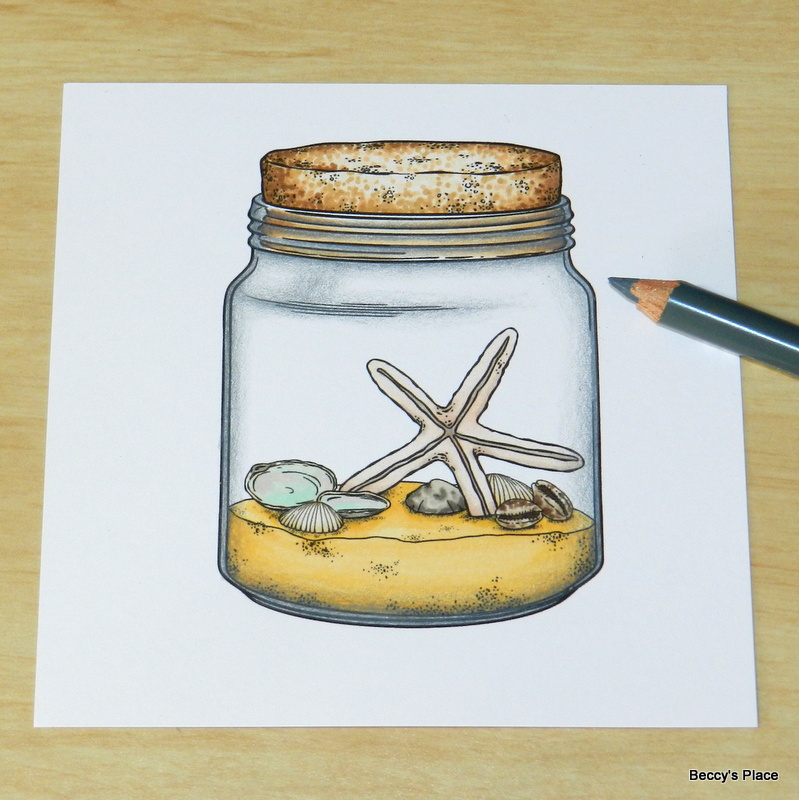
Even though glass is transparent, it still has highlights, shadows, and reflections that can be added when you're colouring. It will help to give the impression of shape and dimension for a more realistic look.
Print and colour your image. I used alcohol markers on smooth cardstock, but you can use whatever mediums you prefer.
The jar in this image has a screw top section that is made of glass of different thicknesses. It will bend the light at different angles, distorting whatever you can see through it. Because of that, I've coloured the portion of the cork lid visible through the glass without all the texture and detail. I've used the same colours, but applied in long strokes with gaps between. This will give the impression that the "glass" is distorting the view of the lid.
Now we're going to add shadows and highlights to our glass. The first thing to do is choose a different medium - one that won't interact with the colouring I've already done. I chose pencil, but you could also use water based markers.
Add a dark shadow under the screw top portion of the jar. Feather the colour as you move down the jar. Use a lighter grey to further soften and lighten the shadow as you move outward.
Add more shadows around the screw-top section of the jar, starting with the darker grey and blending it out with the lighter grey. Don't colour the entire area with shadow, only the recessed sections.
Now add shadows around the sides and base of the jar using the same technique.
Time to add shadows to the body of the jar, beginning with the section where the glass changes shape. You will need to feather the colour on both sides of this shadow, lightening it top and bottom.
Some vertical shadows will help "shape" the glass, tricking the eye into seeing dimension. You can see from the photos below, that my shadows follow the direction of the glass. There's an angle at the top, where the glass comes from the screw-top section to the side, and then the shadow continues vertically down to the bottom of the jar.
I've used a black pencil to darken the shadows here and there...
... and a white pencil to add some highlights. Glass is very reflective, so your highlights can be nice and intense in colour. Add them around the screw-top section of the jar in fine, broken lines.
Add another highlight down the side of the glass, opposite the shadow, and another smaller one right beside the shadow for some contrast.
A few lines and dots with a white gel pen will really make your glass shine. But try to resist the temptation of adding too much or you'll ruin the effect.
Here are the other jars from the set, before and after the glass has been coloured:
Digital Stamps: