


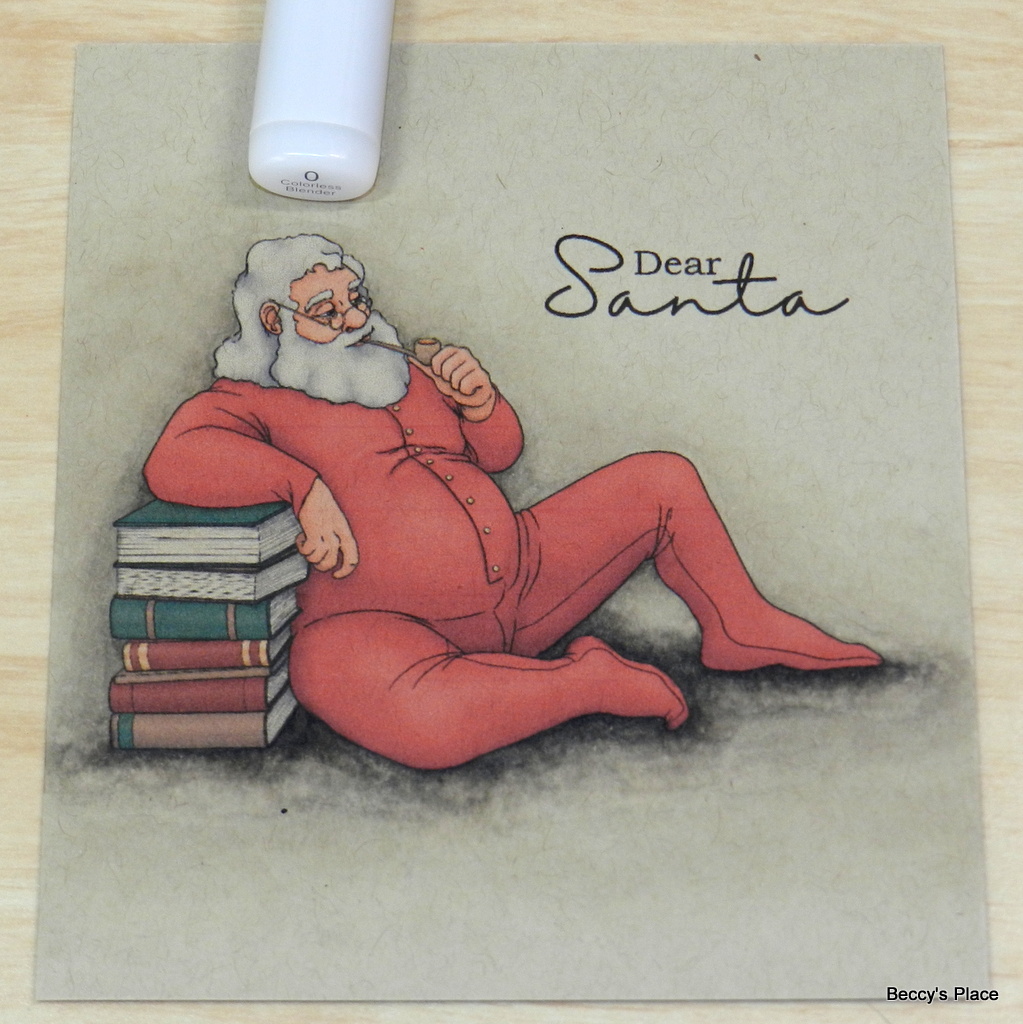
My oldest son designed this beautiful image of Santa relaxing with a big stack of books. When I saw it, I knew I wanted to give the impression that he was sitting in front of a cosy fireplace, which meant I needed to add deep shadows to contrast with the warm glow of the flames. Let me show what I did...

1. Print the coloured image onto a piece of kraft cardstock and select a range of warm grey markers for the shadows beneath and around the image. I'm using copic markers - W8 down to W0 and a clear 0 for blending.

2. Add the darkest marker under Santa's body, feet and the book stack, then progressively shade the colour out using lighter and lighter greys.


3. When I got to the W6, I started to add shadows higher up on the image - under his raised knee, under his elbow and between his arm and the top of the book stack. Continue shading out the greys until you've reached W0.


4. Use the 0 blending marker to soften the outer edge of the shadow and blend it into the paper. If you wish, you can break up the dark shadow underneath the image with the 0 marker to add more texture.

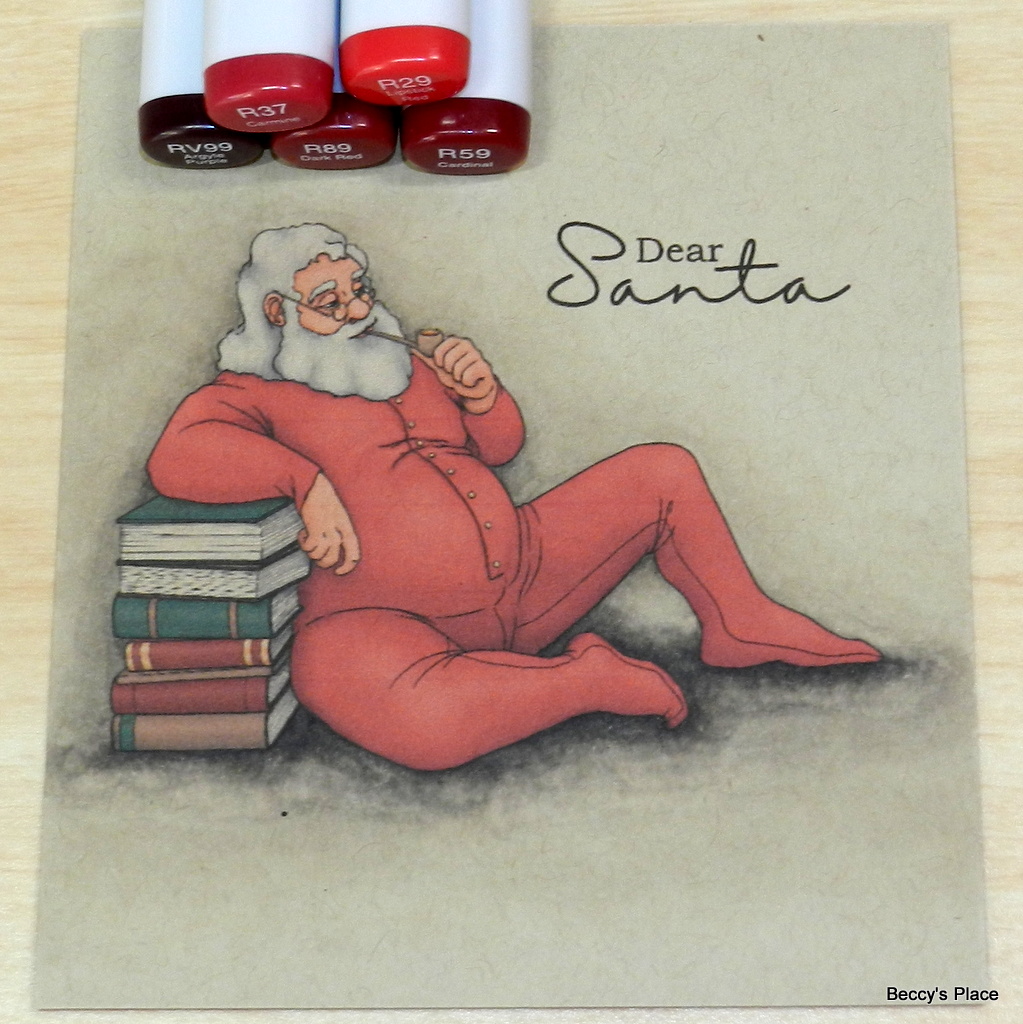
5. I chose RV99, R89, R59, R37, and R29 to colour Santa's long johns. Place the RV99 in all the areas where the light doesn't reach, then use the remainder of the reds to shade out the colour, leaving the highest areas, such as his belly, chest, top of the legs, until last. They will be coloured with the lightest shade of red. These will also be the areas where you focus the "glow" of the flames.


6. For Santa's face and hands, I used E18, E17, E15, E13, and E11. The darkest areas will be around his eyes, beside his nose, in his ears, between and behind the hands. The lightest places will be along his nose and forehead, the apples of his cheeks, and the tops of his hands.


7. I used cool greys for his hair and beard, starting with C7 and working down to a C1. Remember that the darkest areas will face away from the light or be behind things that cast a shadow, such as his ears and nose.


8. I coloured and shaded the books with reds, greens, greys and the E series I used for his skin. Remember to add nice deep shadows for contrast.

9. To add a glow, I'm using a very warm yellow with a touch of light yellow for the highlights. The glow will be on all the high areas that are facing the fire, such as his nose, forehead, the front of his hair and beard, his legs and arms. Don't forget to add a little hint of yellow to the ends of the books.


Products:

1 comment:
Wow Beccy, such a great colouring to give shade on an image. Love it and thanks for the tutorial.
Karin
Post a Comment