


I enjoy adding little additions to stamped images. It's a great way to personalise them or even change the theme so they can be used for a wider variety of occasions. Today I want to show you a simple way to add a crown of daisies to the hippo image from the Pond Pals digital stamp set.

1. Start by printing the image onto cardstock. I used the pre-coloured version with a little additional coloured pencil to deepen the shadows and colour the water.

2. Select some colours for the centres of your flowers. I've used alcohol markers, but you could use a spot of coloured pencil, liquid pearls or even little rhinestones if you prefer.

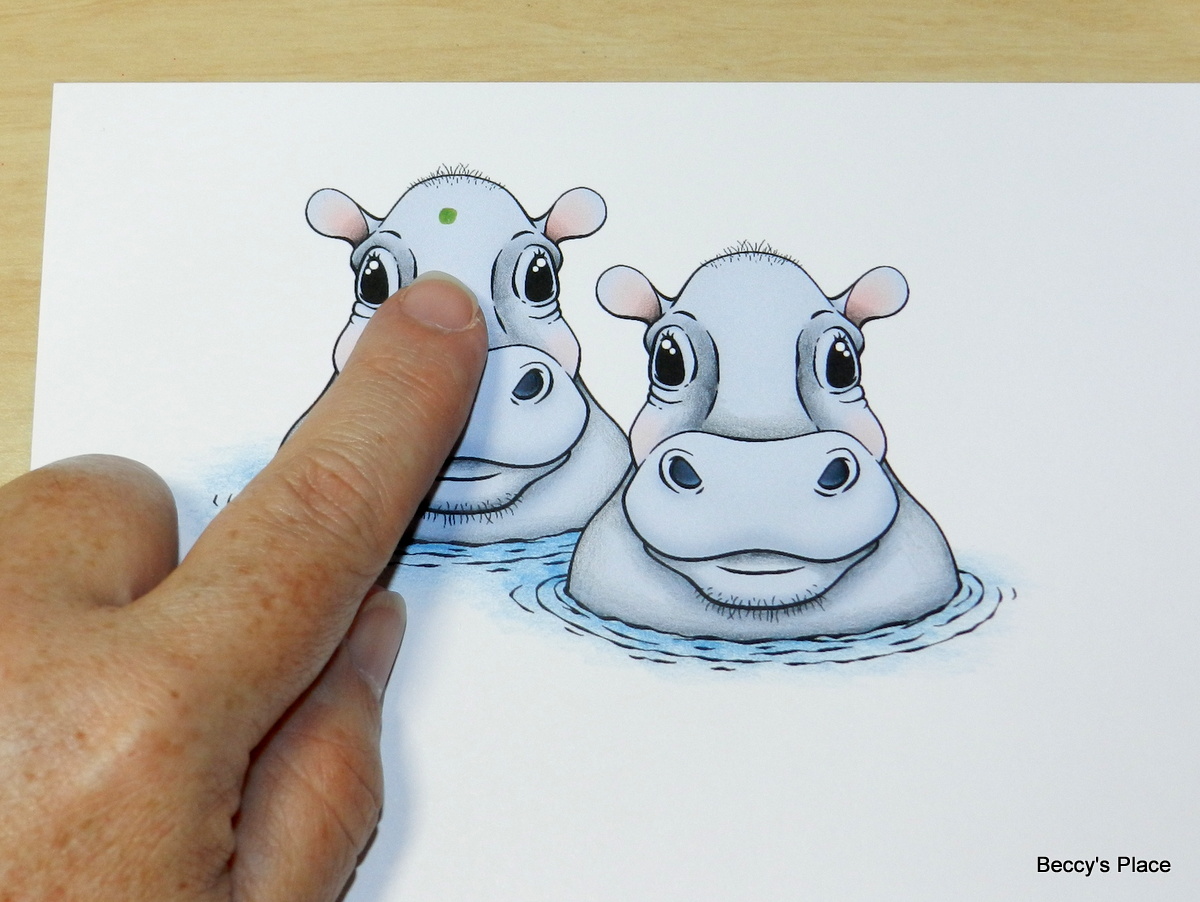
3. Add a dot of colour on the first image. Always work from the centre front of the characters head, as this is the flower that will sit furthest forward with the others tucking in behind on either side giving the illusion of depth.
4. Use a fine line black pen to trace around the dot. It doesn't have to be neat and tidy and the ends don't have to meet.

5. Now add some "petals" with a white pen. Again, don't worry if they're a bit wobbly and the shape is a little off... in fact, simple lines will also work.

6. Use the black pen to trace around each petal.

7. Repeat the process for the flowers on each side of the first one, remembering to tuck some behind the ears and sides of the head.


8. Repeat the same steps for the other image. If you wish, you can also add little dots of the black and white pens to the centre of each flower.

Digital Stamps:

2 comments:
Thank you! I like how different it makes it look.
Gorgeous colours xx
Post a Comment