Arrow Fold Tent Cards are a fabulous combination of slimline and arrow fold. They only require a couple of pieces of cardstock for the base, and then some patterned paper and a few embellishments to decorate.
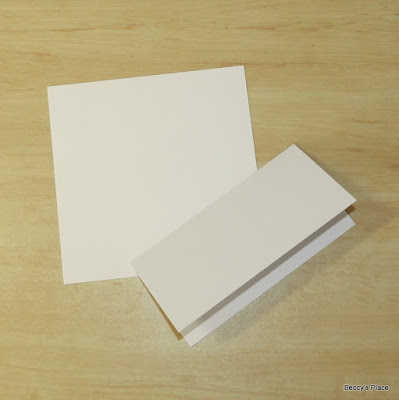
1. Start with two 5" square pieces of cardstock. (The starting size of the cardstock is the size of your finished card, therefore, if you want a 6" card, start with two pieces of 6" square cardstock. If you'd like a 4" card, start with two pieces of 4" square cardstock, and so on.)
2. Place one piece of cardstock on your scoreboard and score at 21/2". Fold along the score line to form a slimline card. Set aside.
3. Take the second piece of cardstock and mark the half way point (21/2") along three sides.
4. Position the card so the unmarked edge is farthest from you. Score from each of the top corners to the centre bottom of the cardstock. Score from each of the sides to the centre bottom of the cardstock. Refer to the template below for correct placement.
5. Fold along the score lines - one valley and one mountain fold on each side. Set aside.
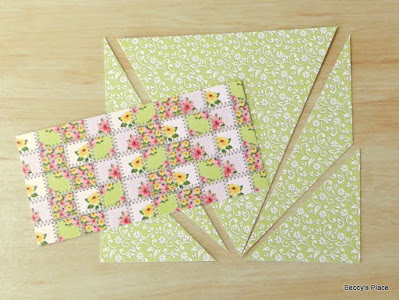
6. To decorate, trim a piece of patterned paper to 43/4" x 43/4". Mark the half way point along three sides in the same way you did in step 3. Instead of scoring, cut the paper along the same lines using a trimmer, scissors or a craft knife.
7. Trim another piece of patterned paper to 23/8" x 47/8" to decorate the front of the slimline card. Secure the patterned paper to the cardstock with glue or double sided tape. You'll have two long triangles left over, which you can discard or use for another project.
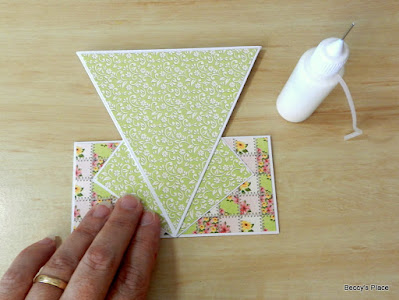
8. Flip the large square of cardstock over and apply glue to the long, thin triangle section in the middle of one side (see photo below). Fold along the score line to secure the cardstock in place.
9. Add glue or tape to the other side of the large, thin triangle and fold along the second score line. This will secure the smaller triangle in place. Repeat for the other side to form your arrow fold.
10. Secure the arrow fold to the front of the slimline card, lining up the point with the bottom edge and keeping it centred. See photo below.
11. Add a sentiment, image and embellishments to complete your card.
Stamps:


5 comments:
Great card, I love the fold….. another one for me to try. Thanks for the instructions. xx
Lovely card with that great arrow fold!
xxx Margreet
Such a unique fun fold! Thanks for the instructions!
This is a stunning card, awesome tutorial, thank you, hugs, Lori m
What a great tutorial for this lovely fold Beccy. Love the card.
Post a Comment