
Quick, resizable, folds flat for postage AND it's a two-for-one!!

1. Start with a piece of cardstock - I'm using an A4 piece but the size doesn't really matter, so use whatever you have in your stash. Place it vertically on your scoreboard and score at the halfway point. Turn it 90 degrees so that it's horizontal and score again at the halfway point.


2. Cut the cardstock diagonally from one corner to the other. Your cut should pass through the intersection of the two scored lines. These two pieces will be individual cards (the two-for-one I mentioned earlier).

3. Fold along the score lines to form the card base.


4. Time to decorate! Cut a piece of patterned paper that is 1/4" shorter and 1/4" narrower than your card base. (For example, if your card base measures 6" x 4", cut your patterned paper to 53/4" x 33/4")

5. Cut the patterned paper diagonally from one corner to the other. These two pieces will fit on the front panels of your card base with a small border around the edges. Secure them in place with glue or double sided tape.


6. Decorate the front in whatever manner you wish. I found that an image panel fixed on one side of the opening provided enough weight to hold the card closed. Just remember to only apply adhesive to one side... you don't want to glue the card closed!

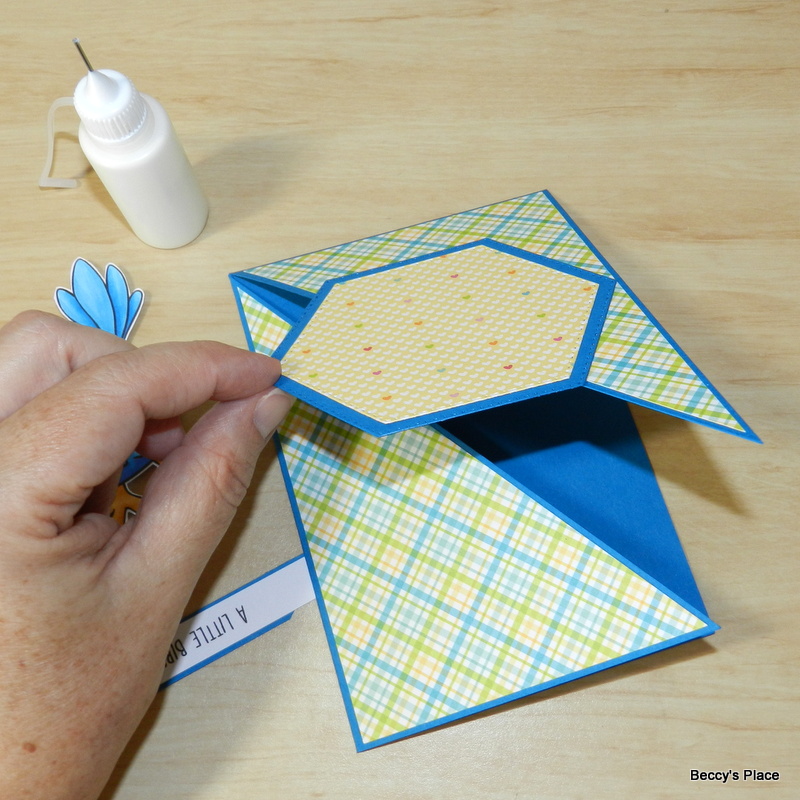
7. I added a white panel to the centre of my card for a personalised message, as well as a little image and some sentiments.


Stamps:

Thank you for the clear tutorial, it's a lovely card.
ReplyDeleteGreat tutorial. Thanks!
ReplyDeletexxx Margreet
clever way to make these diagonal cards ! Thank you for the tutorial. Beautiful card with the blue bird !
ReplyDeleteThnaks a lot for this tutorial. I will give it a try!
ReplyDeleteLia xx
Thanks for the tutorial Beccy.
ReplyDeleteKarin
Fantastic card, thank you for sharing the tutorial, hugs, Lori m
ReplyDeleteGeeft een heel leuk effect, bedankt voor de foto tutorial, is héél duidelijk allemaal.
ReplyDeleteThanks for sharing!!!
ReplyDeleteThank you for this tutorial.
ReplyDeleteSuper cute card :)
ReplyDeleteThanks for this clear and nice tutorial Beccy, I enjoyed making it:
https://freubelmina.blogspot.com/2023/06/dikke-knuffel.html xx