Arrow fold cards are easy to create from any size card blank...
all it takes is a couple of folds and some decorations and you're done!
TEMPLATE:
1. Start with a 6" x 8" piece of cardstock, score and fold in half to create a 6" x 4" card blank.
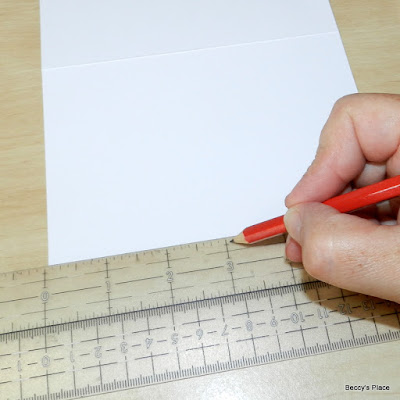
2. Place a pencil mark at the centre point of your card blank, along the bottom edge. Mark the centre of each side of the card, measuring from the centre fold to the bottom edge. See the template for correct placement.
3. Score from the beginning of the centre fold to the mark you made at the bottom of the card. Score again from the end of the centre fold to the mark at the bottom of the card. Now score from each side mark to the mark at the bottom of the card. You should end up with four diagonal score lines. See the template for correct placement.
4. Turn the cardstock over and make valley folds along the first two score lines, creasing well.
5. Now make mountain folds along the second two score lines to form the "arrow" section of the card.
6. You can leave the folds as is, but I find they sit better and the card folds flatter if you glue the arrow section down. Take care to apply the glue only in the areas covered by cardstock - you don't want to glue your card shut.
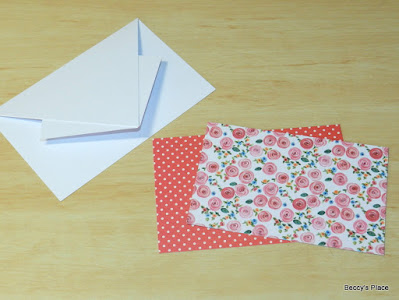
7. To decorate, you'll need two coordinating pieces of patterned paper, one measuring 53/4" x 33/4" and the other measuring 51/2" x 31/2".
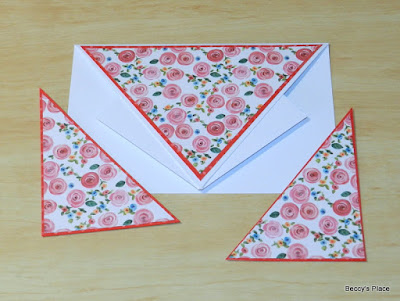
8. As you did with the card base, measure and mark the centre point on one long edge of each piece of patterned paper. Use your trimmer, scissors or craft knife to cut from the top corners to the centre mark. See the photos below.
9. Use glue or double sided tape to secure the small pieces to the larger pieces leaving a narrow border.
10. Secure the large triangle to the card front leaving a small border of cardstock around the edges. The two smaller triangles are glued to the inside of the card, again leaving small borders of cardstock.
11. Add a sentiment, image and embellishments to complete your project.
Stamps:


What a beautiful pattern with a beautiful end result Beccy, I will try to make it soon, thanks xx
ReplyDeleteVery nice, Thank you for sharing.
ReplyDeleteGreat tutorial ~ Thanks for sharing the details!
ReplyDeleteHi Beccy, a fun and surprisingly easy fancy fold card, thank you for the tutorial and the measurements, I look forward to trying this out... Have a wonderful week... Megan
ReplyDeleteThank you for this tutorial Beccy - I have been avoiding this fold, but no longer
ReplyDeleteBlessings
Maxine